smartd Command in Linux
The smartd command is part of the smartmontools package, which is used to monitor and manage the health of hard disk drives (HDDs) and solid-state drives (SSDs) using the Self-Monitoring, Analysis, and Reporting Technology (SMART) system.
The smartd daemon runs in the background, continuously monitoring the health of the drives and reporting any potential issues.
SMART technology allows drives to monitor themselves, detecting and reporting on a range of health metrics. By analyzing these metrics, smartd can provide early warnings of drive failures, allowing you to take preventive measures and avoid data loss.
Table of Contents
Here is a comprehensive guide to the options available with the smartd command −
- Understanding the smartd Command
- How to Use smartd Command in Linux?
- Command-Line Options
- Examples of smartd Command in Linux
- Common smartctl Commands
- Example of Using smartctl
- Email Alerts Configuration
- Logging and Reporting
Understanding the smartd Command
Before using smartd, you need to install the smartmontools package. The installation process varies depending on your Linux distribution −
Debian / Ubuntu −
sudo apt-get install smartmontools
Red Hat / Fedora −
sudo yum install smartmontools
Arch Linux −
sudo pacman -S smartmontools
OpenSUSE −
sudo zypper install smartmontools
How to Use smartd Command in Linux?
The main configuration file for smartd is /etc/smartd.conf. This file contains directives that specify which devices to monitor, what actions to take when problems are detected, and how often to perform certain tasks.
Let's now take a look at some common configuration directives −
Monitor a Specific Device
/dev/sda -a

This directive tells smartd to monitor the device /dev/sda and perform all default SMART tests and actions.
Send Email Alerts
/dev/sda -m user@example.com

This directive instructs smartd to send an email alert to user@example.com if any issues are detected with the device /dev/sda.
Run Daily Short Self-Test
/dev/sda -s S/../.././02

This directive schedules a short self-test to be run on the device /dev/sda every day at 2 AM.
Run Weekly Long Self-Test
/dev/sda -s L/../../6/03

This directive schedules a long self-test to be run on the device /dev/sda every Saturday at 3 AM.
Log Errors to a Specific File
/dev/sda -l local3

This directive logs any errors detected on the device /dev/sda to the system log facility local3.
Command-Line Options
The smartd command supports various command-line options that allow you to customize its behavior. Here are some commonly used options −
Start the Daemon
sudo smartd
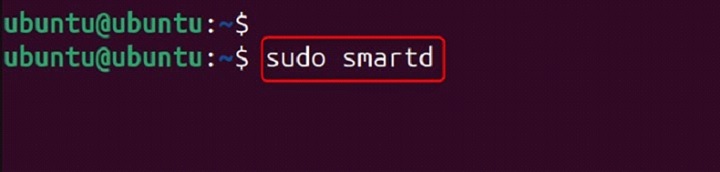
This command starts the smartd daemon using the default configuration file (/etc/smartd.conf).
Specify a Custom Configuration File
sudo smartd -c /path/to/smartd.conf

This command starts the smartd daemon using the specified configuration file.
Run in Debug Mode
sudo smartd -d
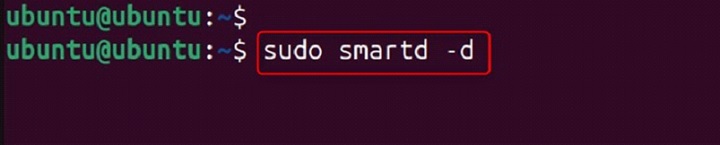
This command starts the smartd daemon in debug mode, providing detailed output about its operations.
Log to a Specific File
sudo smartd -l /var/log/smartd.log

This command starts the smartd daemon and logs all messages to the specified file.
Examples of smartd Command in Linux
Here are some examples of how to use the smartd command −
- Basic Configuration
- Advanced Configuration
Basic Configuration
Create a basic configuration file at /etc/smartd.conf to monitor a single device and send email alerts −
/dev/sda -a -m user@example.com

Start the smartd daemon −
sudo smartd

Advanced Configuration
Create an advanced configuration file at /etc/smartd.conf to monitor multiple devices, schedule self-tests, and log errors −
/dev/sda -a -s S/../.././02 -s L/../../6/03 -l local3 -m user@example.com
/dev/sdb -a -s S/../.././02 -s L/../../6/03 -l local3 -m user2@example.com
Start the smartd daemon −
sudo smartd

Monitoring and Testing with smartctl
In addition to the smartd daemon, the smartmontools package includes the smartctl command, which allows you to perform various tests and retrieve detailed information about your drives.
Common smartctl Commands
Check SMART Status
sudo smartctl -H /dev/sda

This command checks the overall SMART status of the device /dev/sda.
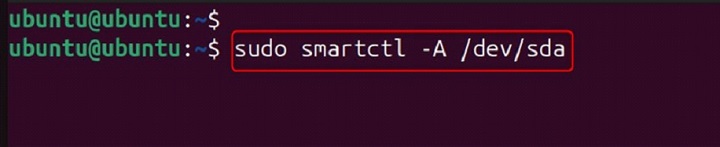
Retrieve SMART Attributes
sudo smartctl -A /dev/sda

This command retrieves and displays the SMART attributes of the device /dev/sda.
Run Short Self-Test
sudo smartctl -t short /dev/sda

This command starts a short self-test on the device /dev/sda.
Run Long Self-Test
sudo smartctl -t long /dev/sda

This command starts a long self-test on the device /dev/sda.
Example of Using smartctl
Here is an example of using the smartctl command to perform a short self-test and retrieve SMART attributes −
Run a Short Self-Test
sudo smartctl -t short /dev/sda

Wait for the Test to Complete
The short self-test typically takes a few minutes to complete. You can check the progress using the following command −
sudo smartctl -a /dev/sda | grep "Self-test execution status"

Retrieve SMART Attributes
sudo smartctl -A /dev/sda
Email Alerts Configuration
To receive email alerts from smartd, you need to ensure that your system is configured to send emails. You can use tools like sendmail, postfix, or ssmtp to set up email sending capabilities.
Example Configuration with ssmtp
Install ssmtp −
sudo apt-get install ssmtp
Configure ssmtp − Edit the /etc/ssmtp/ssmtp.conf file to include your email server settings:
root=postmaster
	mailhub=smtp.example.com:587
	hostname=yourhostname
	AuthUser=yourusername
	AuthPass=yourpassword
	UseSTARTTLS=YES
Test Email Sending − Test the email sending configuration using the following command −
echo "Test email from smartd" | ssmtp user@example.com
Configure smartd to Send Email Alerts − Add the following directive to your /etc/smartd.conf file −
/dev/sda -a -m user@example.com
Logging and Reporting
The smartd daemon logs its activities to the system log by default. You can view these logs using tools like journalctl or by checking the log files in /var/log.
Viewing Logs with journalctl − To view smartd logs using journalctl, use the following command −
sudo journalctl -u smartd
Custom Log File − You can configure smartd to log to a custom file by using the -l option in the configuration file −
/dev/sda -a -l /var/log/smartd.log -m user@example.com
Monitoring RAID Arrays − smartd can monitor RAID arrays by specifying the appropriate devices in the configuration file. For example, to monitor a software RAID array managed by mdadm, use the following directive −
/dev/md0 -a -m user@example.com
Monitoring NVMe Drives − To monitor NVMe drives, use the appropriate device names in the configuration file. For example −
/dev/nvme0n1 -a -m user@example.com
Conclusion
The smartd command is a powerful tool for monitoring and managing the health of your hard drives and SSDs. By leveraging the capabilities of SMART technology, smartd can provide early warnings of potential drive failures, allowing you to take preventive measures and avoid data loss.
By configuring the smartd daemon and using the various command-line options, you can ensure that your drives are continuously monitored and any potential issues are detected early. Whether you are managing a single workstation or a large server farm, smartd can help you maintain the reliability and performance of your storage devices.
