quota Command in Linux
The quota command in Linux is a powerful tool used to manage and enforce disk usage limits for users and groups. It helps system administrators control the amount of disk space and the number of inodes (files) that users and groups can consume.
Table of Contents
Here is a comprehensive guide to the options available with the quota command −
- Understanding quota Command
- How to Use quota Command in Linux?
- Initialize Quota Files
- Set Quotas for Users and Groups
- Examples of quota Command in Linux
Understanding quota Command
The quota command in Linux is an essential tool for managing and enforcing disk usage limits for users and groups. By setting up quotas, system administrators can prevent any single user or group from consuming excessive disk space, ensuring fair resource allocation and maintaining system stability.
Let's cover the installation, configuration, and usage of the quota command, providing detailed examples to help you effectively manage disk quotas on your Linux system.
Install Quota Package
The quota package may not be installed by default on your Linux system. You can install it using the package manager for your distribution. Here are the commands for some common distributions −
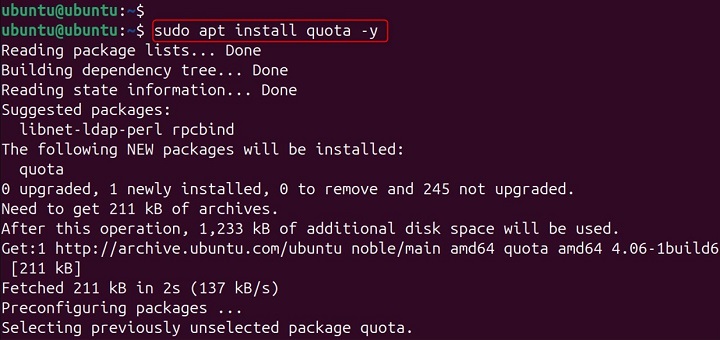
Debian/Ubuntu
sudo apt update
sudo apt install quota -y
CentOS/RHEL −
sudo yum install quota -y
Fedora −
sudo dnf install quota -y
How to Use quota Command in Linux?
To use the quota command, you need to enable disk quotas on the filesystems where you want to enforce limits. This involves modifying the /etc/fstab file and remounting the filesystems.
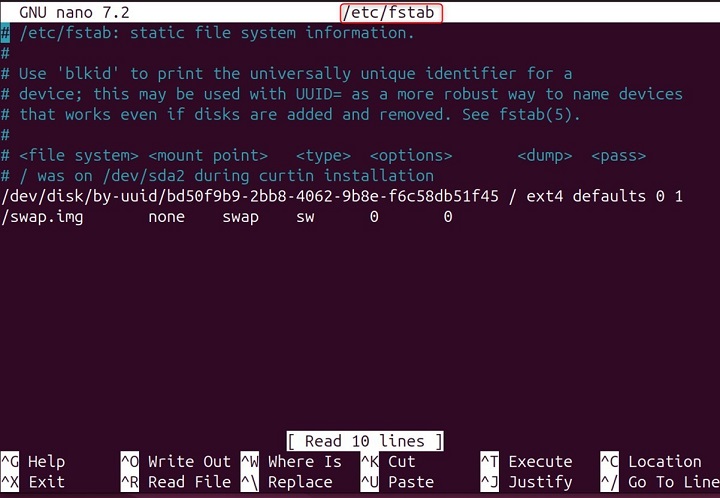
Edit the /etc/fstab file −
Open the /etc/fstab file in a text editor −
sudo nano /etc/fstab
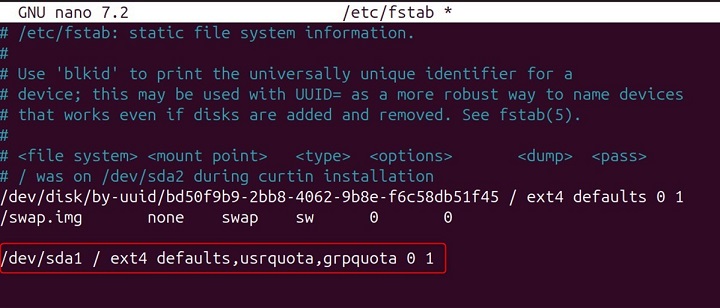
Add the usrquota and grpquota options −
Add the usrquota and grpquota options to the filesystems where you want to enable quotas. For example −
/dev/sda1 / ext4 defaults,usrquota,grpquota 0 1
Remount the filesystems −
Remount the filesystems to apply the changes −
sudo mount -o remount /

Initialize Quota Files
After enabling quotas on the filesystems, you need to initialize the quota files. These files store the quota information for users and groups.
Create the quota files −
Use the quotacheck command to create the quota files −
sudo quotacheck -cug /

Enable quotas −
Use the quotaon command to enable quotas on the filesystems. Here, Verbose mode, displays information about the quotas being enabled −
sudo quotaon -v /

Set Quotas for Users and Groups
You can set disk usage limits for users and groups using the edquota command. This command opens a text editor where you can specify the quota limits.
Set user quotas −
Use the edquota command to set quotas for a specific user −
sudo edquota username

Replace ubuntu with the name of the user for whom you want to set quotas. The edquota command opens a text editor with the following format −
Disk quotas for user username (uid 1001) −
Filesystem blockssofthard inodes soft hard
/dev/sda110000 800012000 500 400600
Set group quotas −
Use the edquota command to set quotas for a specific group −
sudo edquota -g groupname
Replace group name with the name of the group for which you want to set quotas.
Check Quota Usage
You can check the current quota usage for users and groups using the quota command.
Check user quota −
Use the quota command to check the quota usage for a specific user −
quota username
Replace username with the name of the user whose quota usage you want to check.
Check group quota −
Use the quota command to check the quota usage for a specific group −
quota -g groupname
Replace groupname with the name of the group whose quota usage you want to check.
Report Quota Usage
You can generate reports on quota usage using the repquota command. This command provides detailed information about the quota usage for all users and groups on a filesystem.
Report user quota usage −
Use the repquota command to generate a report on user quota usage −
sudo repquota /
Report group quota usage −
Use the repquota command to generate a report on group quota usage −
sudo repquota -g /
Examples of quota Command in Linux
Let's explore some detailed examples and explanations of the quota command and its usage.
Setting User Quotas
To set disk usage limits for a user named john, use the following command −
sudo edquota john
The edquota command opens a text editor with the following format −
Disk quotas for user john (uid 1001) −
Filesystem blocks soft hard inodes soft hard
/dev/sda 110000 800012000 500 400600
You can modify these values to set the desired limits for the user.
Setting Group Quotas
To set disk usage limits for a group named developers, use the following command −
sudo edquota -g developers
The edquota command opens a text editor with the following format −
Disk quotas for group developers (gid 1002) −
Filesystem blocks soft hard inodes soft hard
/dev/sda120000 16000 24000 1000 8001200
You can modify these values to set the desired limits for the group.
Checking User Quota Usage
To check the current quota usage for a user named john, use the following command −
quota john
The quota command displays the following information −
Disk quotas for user john (uid 1001) −
Filesystem blocks quota limit grace files quota limit grace
/dev/sda 110000 8000 12000 none 500 400 600 none
Checking Group Quota Usage
To check the current quota usage for a group named developers, use the following command −
quota -g developers
The quota command displays the following information −
Disk quotas for group developers (gid 1002) −
Filesystem blocks quota limit grace files quota limit grace
/dev/sda120000 16000 24000 none 1000 800 1200 none
In this example −
- The current disk usage for the developer's group is 20,000 blocks.
- The soft limit for disk usage is 16,000 blocks.
- The hard limit for disk usage is 24,000 blocks.
- The current number of inodes (files) is
Conclusion
By following the steps outlined in this guide, you can enable disk quotas on your filesystems, set usage limits for users and groups, and monitor quota usage to ensure compliance. Regularly checking and adjusting quotas can help you maintain optimal system performance and prevent potential issues related to disk space exhaustion.
With the quota command, you have a powerful tool at your disposal to manage disk resources efficiently and effectively.
