msguniq Command in Linux
When dealing with message translation files in Linux, you may encounter duplicated messages in .po files. To deal with this issue, the msguniq command comes in handy, which cleans up these files. This process ensures that message entries are unique and easier to maintain.
Table of Contents
Here is a comprehensive guide to the options available with the msguniq command −
- What is msguniq Command in Linux?
- Syntax of msguniq Command
- msguniq Command Options
- How to Install msguniq Command in Linux?
- Examples of msguniq Command in Linux
- Best Practices for Using msguniq Command
What is msguniq Command in Linux?
The msguniq command is part of the GNU gettext package, which is primarily used for handling message translation files, such as .po files. These files are generally used in localization projects, where strings are translated into various languages.
The purpose of msguniq command is to eliminate duplicate message entries in these files. It identifies messages that have the same content and consolidates them. This process ensures that the translated files are cleaner and more efficient.
Syntax of msguniq Command
To use the msguniq command in Linux, you must follow the following syntax −
msguniq [options] [input-file]
Here, the input-file represents the .po file you want to process. If you don't specify an input file, the msguniq command reads from the standard input (stdin).
msguniq Command Options
The msguniq command supports several options that enable us to achieve different functionalities. The most commonly used options are listed below −
| Option | Description |
|---|---|
| --output-file= fileName | This option lets us write the output to the specified file instead of the standard output. |
| --force-po | This option forces msguniq to generate a .po file even if the input file is already in .po format. |
| --no-location | It stops the output file from showing location information. This is helpful if you don't need to know where the message appears in the source code. |
| --verbose | It provides detailed output about what msguniq is doing, such as which messages it is processing and whether it is eliminating duplicates. |
| --help | It retrieves the help message with information about all available options and their usage. |
| --version | It returns the version of the msguniq command. |
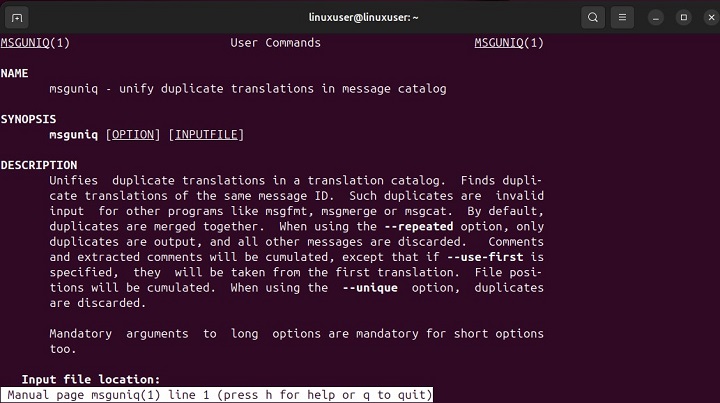
To learn more about the msguniq command and its usage, simply execute the following command −
man msguniq
How to Install msguniq Command in Linux?
The msguniq command is part of the GNU gettext package, which is typically pre-installed on most Linux distributions. However, if it's not available on your system, you can easily install it with the respect package manager −
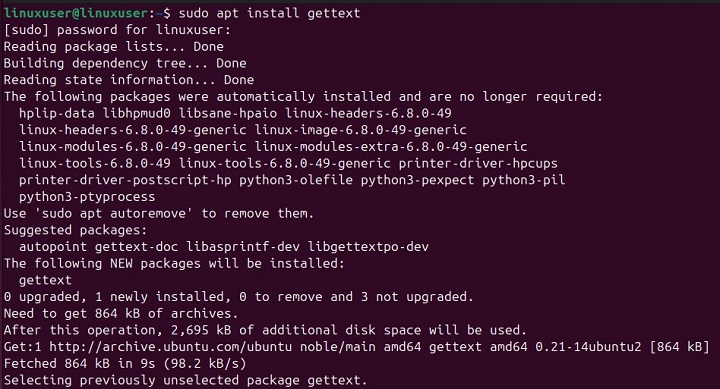
For instance, to install msguniq command on Ubuntu/Debian-based systems, you need to install the gettext package, as follows −
sudo apt update
sudo apt install gettext
To install msguniq on CentOS/RHEL-based systems, use the yum package manager as follows −
sudo yum install gettext
Similarly, you can use the dnf package manager on Fedora to install gettext (including msguniq) −
sudo dnf install gettext
Arch Linux users can use the pacman package manager to install gettext −
sudo pacman -S gettext
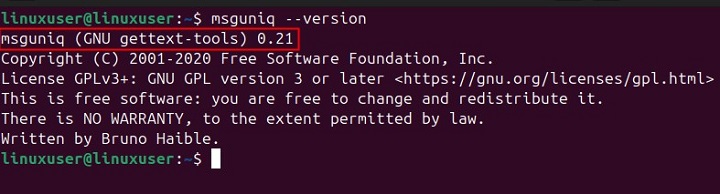
After installing gettext package, you can verify the installation by executing the msguniq command with the --version option in the terminal −
msguniq --version
The output confirms that the msguniq command has been installed successfully on our system −
Examples of msguniq Command in Linux
Now that the msguniq command is installed and ready to use, let's go through the following examples to learn how to use it in Linux.
Remove Duplicate Messages from a .po File
Suppose you have a .po file called rawTranslations.po that contains duplicate translations. To clean it up, let's use the msguniq command as follows −
msguniq rawTranslations.po > cleanedTranslations.po
It will read the rawTranslations.po file, remove duplicate entries, and return the cleaned file as cleanedTranslations.po.
Force .po Format on Input File
If you have a file that isn't in .po format but you want to treat it like one, you can use the --force-po option, as shown below −
msguniq --force-po rawFile.txt > processedFile.po
This command will read the given text file as a po file and process it accordingly. The output will be written to processedFile.po.
Suppress Location Information
You can use the --no-location option to skip the location information from the output −
msguniq --no-location translationsFile.po > cleanedFile.po
This time, The output file (cleanedFile.po) will not contain any location information.
Display Verbose Output
To view what's happening behind the scenes, you can enable verbose output using the following command −
msguniq --verbose translationsFile.po
Best Practices for Using msguniq Command
To avoid any issues while using the msguniq command, you can follow the below-listed practices −
- While msguniq is generally safe, it's always a good idea to protect your data. Therefore, it's recommended to back up your .po file before using msguniq.
- Instead of using the > symbol to redirect output, it's better to specify an output file with the --output-file option. This way, you won't accidentally overwrite your original file.
- If you're working on a large translation project with many .po files, consider adding msguniq to your automation scripts. This will automatically remove duplicate messages during the translation process.
- Only use the --force-po option when necessary. If your file is already in .po format, using this option can cause unwanted formatting.
- Lastly, check for updates to the gettext package from time to time. msguniq may get updates that improve your workflow.
By following best practices, like backing up your files and adding msguniq to your automation tasks, you can avoid common mistakes and improve your translation process.
Conclusion
The msguniq command is a valuable tool for managing .po files, particularly when dealing with duplicate messages. It helps streamline the translation process by ensuring that messages are unique, which improves file organization and efficiency.
In this tutorial, we've explored the command's syntax, options, installation, and practical usage examples. We demonstrate how to remove duplicates, suppress location information, and handle files in the appropriate format.
