- JavaFX Tutorial
- JavaFX - Home
- JavaFX - Overview
- JavaFX Installation and Architecture
- JavaFX - Installation Using Netbeans
- JavaFX - Installation Using Eclipse
- JavaFX - Installation using Visual Studio Code
- JavaFX - Architecture
- JavaFX - Application
- JavaFX 2D Shapes
- JavaFX - 2D Shapes
- JavaFX - Drawing a Line
- JavaFX - Drawing a Rectangle
- JavaFX - Drawing a Rounded Rectangle
- JavaFX - Drawing a Circle
- JavaFX - Drawing an Ellipse
- JavaFX - Drawing a Polygon
- JavaFX - Drawing a Polyline
- JavaFX - Drawing a Cubic Curve
- JavaFX - Drawing a Quad Curve
- JavaFX - Drawing an Arc
- JavaFX - Drawing an SVGPath
- JavaFX Properties of 2D Objects
- JavaFX - Stroke Type Property
- JavaFX - Stroke Width Property
- JavaFX - Stroke Fill Property
- JavaFX - Stroke Property
- JavaFX - Stroke Line Join Property
- JavaFX - Stroke Miter Limit Property
- JavaFX - Stroke Line Cap Property
- JavaFX - Smooth Property
- Operations on 2D Objects
- JavaFX - 2D Shapes Operations
- JavaFX - Union Operation
- JavaFX - Intersection Operation
- JavaFX - Subtraction Operation
- JavaFX Color and Texture
- JavaFX - Colors
- JavaFX Text
- JavaFX - Text
- JavaFX Effects
- JavaFX - Effects
- JavaFX Transformations
- JavaFX - Transformations
- JavaFX Animations
- JavaFX - Animations
- JavaFX Images
- JavaFX - Images
- JavaFX 3D Shapes
- JavaFX - 3D Shapes
- JavaFX - Creating a Box
- JavaFX - Creating a Cylinder
- JavaFX - Creating a Sphere
- Properties of 3D Objects
- JavaFX - Cull Face Property
- JavaFX - Drawing Modes Property
- JavaFX - Material Property
- JavaFX Event Handling
- JavaFX - Event Handling
- JavaFX - Using Convenience Methods
- JavaFX - Event Filters
- JavaFX - Event Handlers
- JavaFX UI Controls
- JavaFX - UI Controls
- JavaFX - ListView
- JavaFX - Accordion
- JavaFX - ButtonBar
- JavaFX - ChoiceBox
- JavaFX - HTMLEditor
- JavaFX - MenuBar
- JavaFX - Pagination
- JavaFX - ProgressIndicator
- JavaFX - ScrollPane
- JavaFX - Separator
- JavaFX - Slider
- JavaFX - Spinner
- JavaFX - SplitPane
- JavaFX - TableView
- JavaFX - TabPane
- JavaFX - ToolBar
- JavaFX - TreeView
- JavaFX - Label
- JavaFX - CheckBox
- JavaFX - RadioButton
- JavaFX - TextField
- JavaFX - PasswordField
- JavaFX - FileChooser
- JavaFX - Hyperlink
- JavaFX - Tooltip
- JavaFX - Alert
- JavaFX - DatePicker
- JavaFX - TextArea
- JavaFX Charts
- JavaFX - Charts
- JavaFX - Creating Pie Chart
- JavaFX - Creating Line Chart
- JavaFX - Creating Area Chart
- JavaFX - Creating Bar Chart
- JavaFX - Creating Bubble Chart
- JavaFX - Creating Scatter Chart
- JavaFX - Creating Stacked Area Chart
- JavaFX - Creating Stacked Bar Chart
- JavaFX Layout Panes
- JavaFX - Layout Panes
- JavaFX - HBox Layout
- JavaFX - VBox Layout
- JavaFX - BorderPane Layout
- JavaFX - StackPane Layout
- JavaFX - TextFlow Layout
- JavaFX - AnchorPane Layout
- JavaFX - TilePane Layout
- JavaFX - GridPane Layout
- JavaFX - FlowPane Layout
- JavaFX CSS
- JavaFX - CSS
- Media with JavaFX
- JavaFX - Playing Video
- JavaFX Useful Resources
- JavaFX - Quick Guide
- JavaFX - Useful Resources
- JavaFX - Discussion
JavaFX - Installation using Visual Studio Code
Microsoft Visual Studio Code also allows you to create a JavaFX application. You do not need any extra plug-ins or installations to create a non-modular project. Instead we just update the run configurations, like Netbeans and Eclipse IDE.
In this chapter, we will install the latest version of Microsoft Visual Studio Code to work with the latest version of JavaFX SDK.
Installing Visual Studio Code
Like NetBeans, Microsoft VSCode also provides inbuilt support for JavaFX. Thus, you can create any application using JavaFX without any additional plug-ins. To set up the VSCode environment, you need to follow the steps given below.
Step 1 − Go to the Visual Studio Code website and click the appropriate download link given.
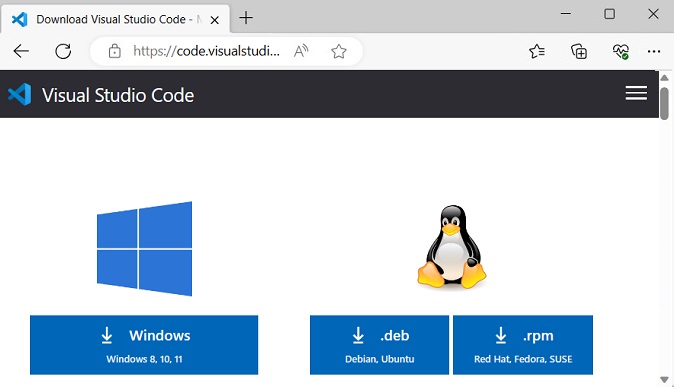
A file named VSCodeUserSetup-x64-1.73.1.exe will start downloading. Once the download is done, run this file to start the installation.
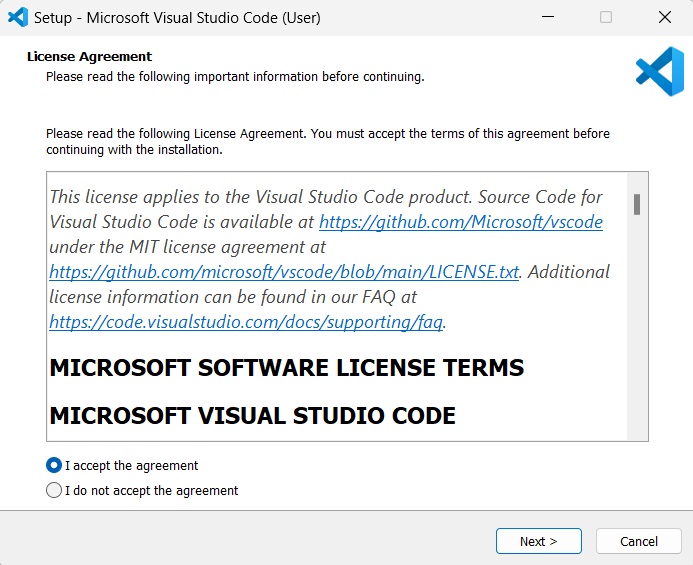
Step 2 − Then, a new setup window pops up with the license agreement. You can read the agreement and click "I agree" in order to start the installation.
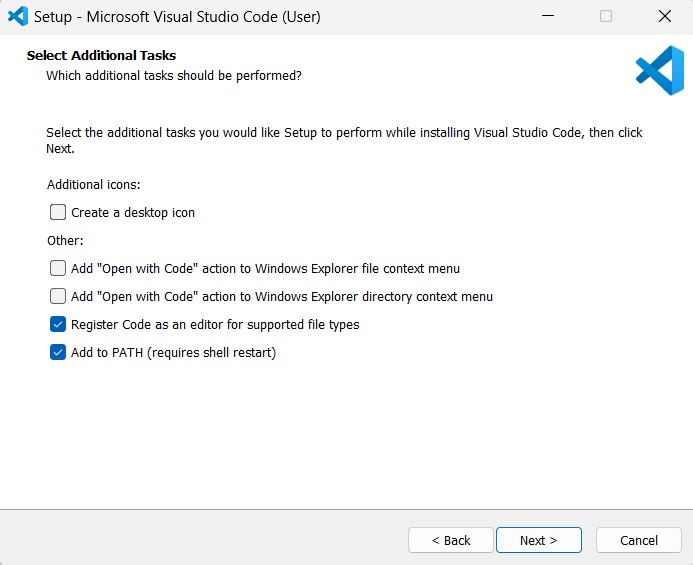
Step 3 − Now, you are asked to perform few additional tasks, like creating a desktop shortcut for VSCode, etc. Check the boxes that you want to perform and click 'Next'.
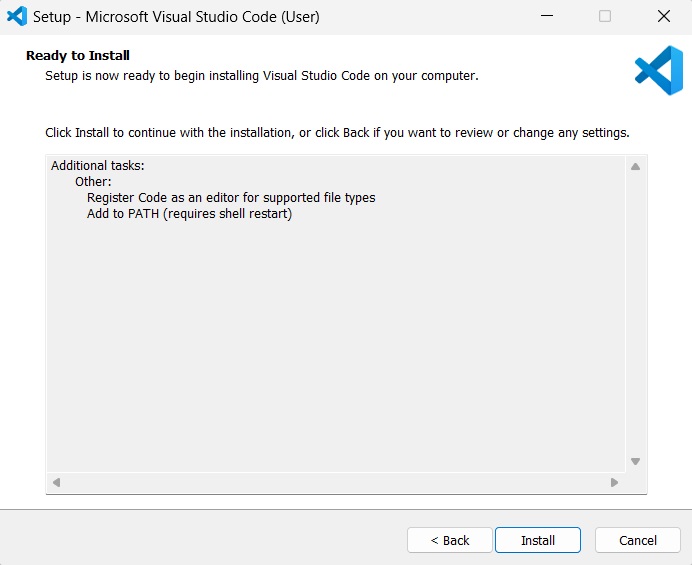
Step 4 − Your Visual Studio Code is now ready to be installed. Click 'install' to begin the installation.
Step 5 − This step shows the process of installation. This might take a while to finish.
Step 6 − Once your installation is finished, you can click on "Finish" as shown in the image below.
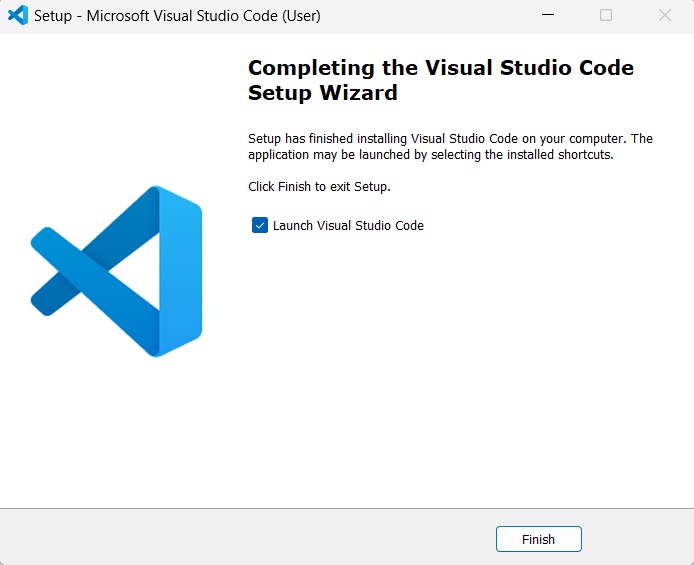
The app is launched immediately after you click 'finish'. If you don't want to launch it just yet, you can uncheck the Launch check box in this step.
Creating JavaFX Project in Visual Studio Code
Once your Visual Studio Code is installed, you can create a JavaFX application by following the steps below.
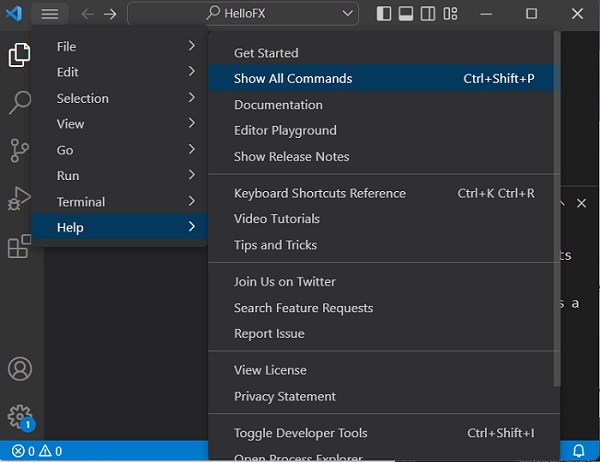
Step 1 − Go to "Help -> Show All Commands"
Step 2 − Then, find "Java: Create Java Project..." command and run it.

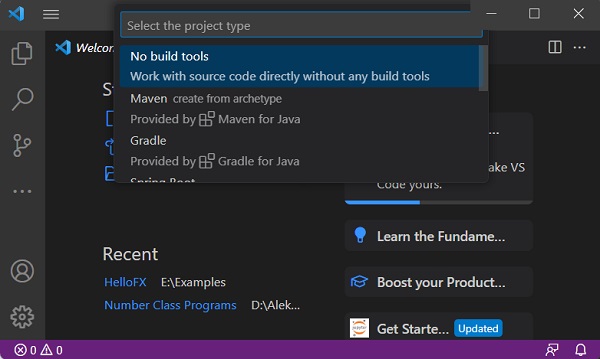
Step 3 − In this step, click on the "No build tools" command as shown in the image below, because we are not trying to use any build tools like Maven and Gradle etc.
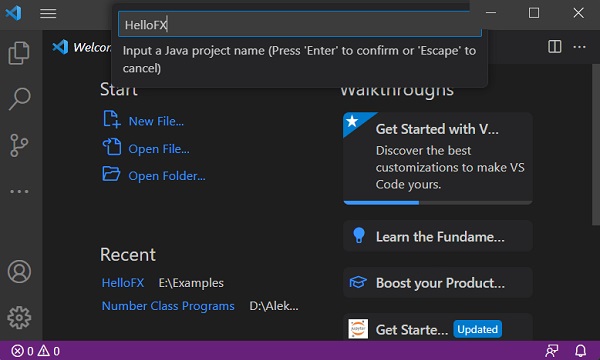
Step 4 − Now, input a Java project folder name to store the codes for JavaFX application.
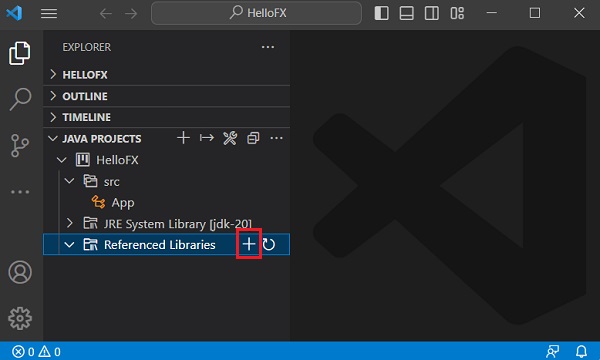
Step 5 − You must add JavaFX dependencies to your project. This is done by simply importing all the JAR files within the "lib" folder of JavaFX SDK, by clicking on the '+' symbol beside Referenced Libraries.
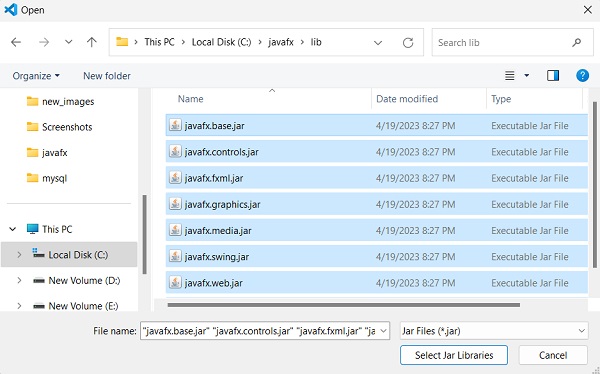
Step 6 − Select all the .jar files present in the "lib" directory of JavaFX SDK.
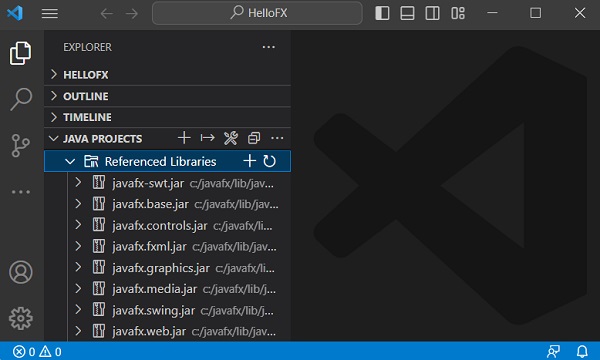
Step 7 − As you can see, all the .jar files are now imported to Referenced Libraries.
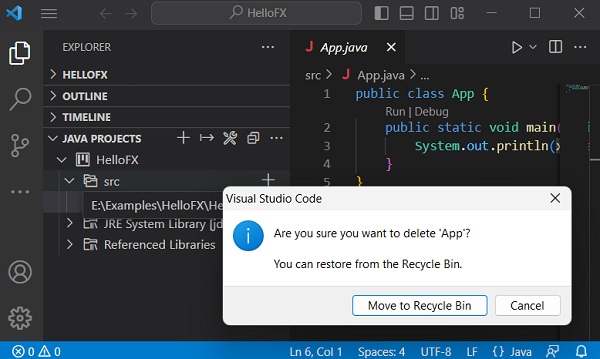
Step 8 − Now, delete the pre-existing App.java file in the src library to avoid runtime errors.
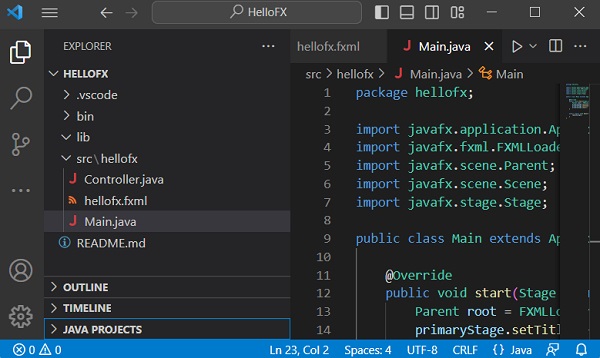
Step 9 − Create the files containing relevant code to execute under the src library. As a sample, we are creating a "hellofx" package and created "Main.java", "hellofx.fxml" and "Controller.java" files within it. Look in the screenshot below.
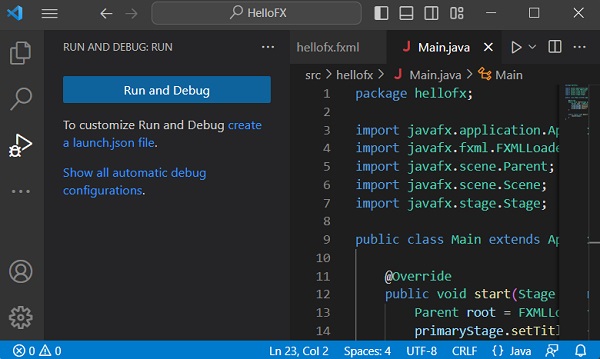
Step 10 − In the "Run and Debug" viewlet, click on the "create a launch.json file".
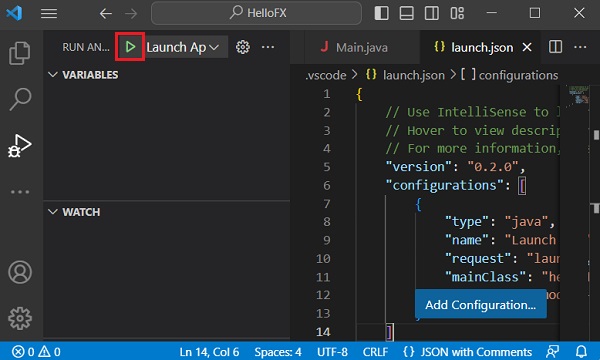
Step 11 − Once the launch.json file is created, update the "<Java_lib_path>" to the "lib" path of JavaFX SDK in your system and click the green button highlighted in the image below. This will run your JavaFX application.
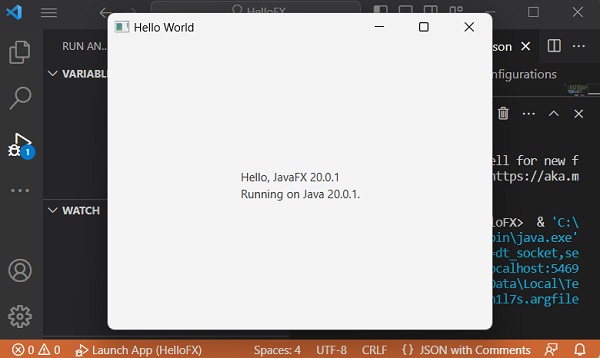
Step 12 − A new window pops up displaying the output of your sample JavaFX application.
Note − We will learn about the codes in further chapters.