- JavaFX - Environment
- JavaFX - Installation Using Netbeans
- JavaFX - Installation Using Eclipse
- JavaFX - Installation using Visual Studio Code
- JavaFX - Architecture
- JavaFX - Application
- JavaFX 2D Shapes
- JavaFX - 2D Shapes
- JavaFX - Drawing a Line
- JavaFX - Drawing a Rectangle
- JavaFX - Drawing a Rounded Rectangle
- JavaFX - Drawing a Circle
- JavaFX - Drawing an Ellipse
- JavaFX - Drawing a Polygon
- JavaFX - Drawing a Polyline
- JavaFX - Drawing a Cubic Curve
- JavaFX - Drawing a Quad Curve
- JavaFX - Drawing an Arc
- JavaFX - Drawing an SVGPath
- JavaFX Properties of 2D Objects
- JavaFX - Stroke Type Property
- JavaFX - Stroke Width Property
- JavaFX - Stroke Fill Property
- JavaFX - Stroke Property
- JavaFX - Stroke Line Join Property
- JavaFX - Stroke Miter Limit Property
- JavaFX - Stroke Line Cap Property
- JavaFX - Smooth Property
- Operations on 2D Objects
- JavaFX - 2D Shapes Operations
- JavaFX - Union Operation
- JavaFX - Intersection Operation
- JavaFX - Subtraction Operation
- JavaFX Path Objects
- JavaFX - Path Objects
- JavaFX - LineTo Path Object
- JavaFX - HLineTo Path Object
- JavaFX - VLineTo Path Object
- JavaFX - QuadCurveTo Path Object
- JavaFX - CubicCurveTo Path Object
- JavaFX - ArcTo Path Object
- JavaFX Color and Texture
- JavaFX - Colors
- JavaFX - Linear Gradient Pattern
- JavaFX - Radial Gradient Pattern
- JavaFX Text
- JavaFX - Text
- JavaFX Effects
- JavaFX - Effects
- JavaFX - Color Adjust Effect
- JavaFX - Color input Effect
- JavaFX - Image Input Effect
- JavaFX - Blend Effect
- JavaFX - Bloom Effect
- JavaFX - Glow Effect
- JavaFX - Box Blur Effect
- JavaFX - GaussianBlur Effect
- JavaFX - MotionBlur Effect
- JavaFX - Reflection Effect
- JavaFX - SepiaTone Effect
- JavaFX - Shadow Effect
- JavaFX - DropShadow Effect
- JavaFX - InnerShadow Effect
- JavaFX - Lighting Effect
- JavaFX - Light.Distant Effect
- JavaFX - Light.Spot Effect
- JavaFX - Point.Spot Effect
- JavaFX - DisplacementMap
- JavaFX - PerspectiveTransform
- JavaFX Transformations
- JavaFX - Transformations
- JavaFX - Rotation Transformation
- JavaFX - Scaling Transformation
- JavaFX - Translation Transformation
- JavaFX - Shearing Transformation
- JavaFX Animations
- JavaFX - Animations
- JavaFX - Rotate Transition
- JavaFX - Scale Transition
- JavaFX - Translate Transition
- JavaFX - Fade Transition
- JavaFX - Fill Transition
- JavaFX - Stroke Transition
- JavaFX - Sequential Transition
- JavaFX - Parallel Transition
- JavaFX - Pause Transition
- JavaFX - Path Transition
- JavaFX Images
- JavaFX - Images
- JavaFX 3D Shapes
- JavaFX - 3D Shapes
- JavaFX - Creating a Box
- JavaFX - Creating a Cylinder
- JavaFX - Creating a Sphere
- Properties of 3D Objects
- JavaFX - Cull Face Property
- JavaFX - Drawing Modes Property
- JavaFX - Material Property
- JavaFX Event Handling
- JavaFX - Event Handling
- JavaFX - Using Convenience Methods
- JavaFX - Event Filters
- JavaFX - Event Handlers
- JavaFX UI Controls
- JavaFX - UI Controls
- JavaFX - ListView
- JavaFX - Accordion
- JavaFX - ButtonBar
- JavaFX - ChoiceBox
- JavaFX - HTMLEditor
- JavaFX - MenuBar
- JavaFX - Pagination
- JavaFX - ProgressIndicator
- JavaFX - ScrollPane
- JavaFX - Separator
- JavaFX - Slider
- JavaFX - Spinner
- JavaFX - SplitPane
- JavaFX - TableView
- JavaFX - TabPane
- JavaFX - ToolBar
- JavaFX - TreeView
- JavaFX - Label
- JavaFX - CheckBox
- JavaFX - RadioButton
- JavaFX - TextField
- JavaFX - PasswordField
- JavaFX - FileChooser
- JavaFX - Hyperlink
- JavaFX - Tooltip
- JavaFX - Alert
- JavaFX - DatePicker
- JavaFX - TextArea
- JavaFX Charts
- JavaFX - Charts
- JavaFX - Creating Pie Chart
- JavaFX - Creating Line Chart
- JavaFX - Creating Area Chart
- JavaFX - Creating Bar Chart
- JavaFX - Creating Bubble Chart
- JavaFX - Creating Scatter Chart
- JavaFX - Creating Stacked Area Chart
- JavaFX - Creating Stacked Bar Chart
- JavaFX Layout Panes
- JavaFX - Layout Panes
- JavaFX - HBox Layout
- JavaFX - VBox Layout
- JavaFX - BorderPane Layout
- JavaFX - StackPane Layout
- JavaFX - TextFlow Layout
- JavaFX - AnchorPane Layout
- JavaFX - TilePane Layout
- JavaFX - GridPane Layout
- JavaFX - FlowPane Layout
- JavaFX CSS
- JavaFX - CSS
- Media with JavaFX
- JavaFX - Handling Media
- JavaFX - Playing Video
- JavaFX Useful Resources
- JavaFX - Quick Guide
- JavaFX - Useful Resources
- JavaFX - Discussion
JavaFX - Text
A JavaFX application can consist of a lot of elements including all kinds of media like images, videos, GIFs, and all dimensional shapes, text, etc. This is to improve the quality of user experience with the application. All these elements are represented by nodes on a JavaFX scene graph.
Previously, we have learned how to create both 2D and 3D shapes. But you can also create a Text element in JavaFX applications. The Text element is represented by a separate node and it can be altered with respect to its font, size, color, and some other properties.
In this chapter, we will learn how to display a Text node on an application using JavaFX.
JavaFX Text Node
The text node in JavaFX is represented by the class named Text, which belongs to the package javafx.scene.text.
This class contains several properties to create text in JavaFX and modify its appearance. This class also inherits the Shape class which belongs to the package javafx.scene.shape.
Therefore, in addition to the properties of the text like font, alignment, line spacing, text, etc. It also inherits the basic shape node properties such as strokeFill, stroke, strokeWidth, strokeType etc.
Creating a Text Node
Since the class Text of the package javafx.scene.text represents the text node in JavaFX, you can create a text by instantiating this class as follows −
Text text = new Text();
The class Text contains a property named text of string type, which represents the text that is to be created.
After instantiating the Text class, you need to set value to this property using the setText() method as shown below.
String text = "Hello how are you"
Text.setText(text);
You can also set the position (origin) of the text by specifying the values to the properties x and y using their respective setter methods namely setX() and setY() as shown in the following code block −
text.setX(50);
text.setY(50);
Example
The following program is an example demonstrating how to create a text node in JavaFX. Save this code in a file with name TextExample.java.
import javafx.application.Application;
import javafx.scene.Group;
import javafx.scene.Scene;
import javafx.stage.Stage;
import javafx.scene.text.Text;

public class TextExample extends Application {
   @Override
   public void start(Stage stage) {
      //Creating a Text object
      Text text = new Text();

      //Setting the text to be added.
      text.setText("Hello how are you");

      //setting the position of the text
      text.setX(50);
      text.setY(50);

      //Creating a Group object
      Group root = new Group(text);

      //Creating a scene object
      Scene scene = new Scene(root, 600, 300);

      //Setting title to the Stage
      stage.setTitle("Sample Application");

      //Adding scene to the stage
      stage.setScene(scene);

      //Displaying the contents of the stage
      stage.show();
   }
   public static void main(String args[]){
      launch(args);
   }
}
Compile and execute the saved java file from the command prompt using the following commands.
javac --module-path %PATH_TO_FX% --add-modules javafx.controls TextExample.java
java --module-path %PATH_TO_FX% --add-modules javafx.controls TextExample
Output
On executing, the above program generates a JavaFX window displaying the specified text as follows −

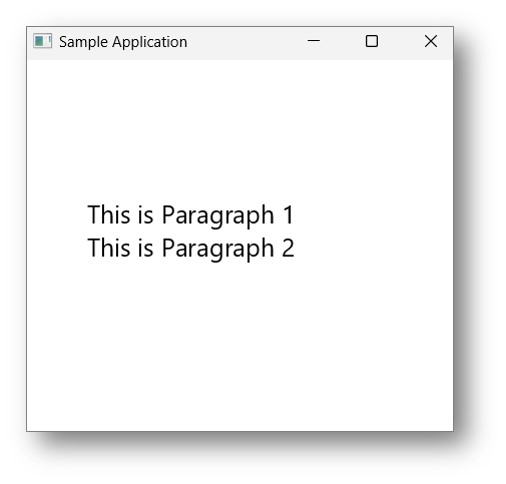
Example
Let us see another example where we are trying to create a text node by applying various properties like Font, size, alignment, etc. on the said text. Save this code in a file with name TextExample1.java.
import javafx.application.Application;
import javafx.scene.Group;
import javafx.scene.Scene;
import javafx.stage.Stage;
import javafx.scene.text.*;

public class TextExample1 extends Application {
   @Override
   public void start(Stage stage) {
      //Creating a Text object
      Text text = new Text();
      text.setFont(new Font(20));
      text.setWrappingWidth(200);
      text.setTextAlignment(TextAlignment.JUSTIFY);
      text.setText("This is Paragraph 1\nThis is Paragraph 2");

      //setting the position of the text
      text.setX(50);
      text.setY(130);

      //Creating a Group object
      Group root = new Group(text);

      //Creating a scene object
      Scene scene = new Scene(root, 600, 300);

      //Setting title to the Stage
      stage.setTitle("Sample Application");

      //Adding scene to the stage
      stage.setScene(scene);

      //Displaying the contents of the stage
      stage.show();
   }
   public static void main(String args[]){
      launch(args);
   }
}
Compile and execute the saved java file from the command prompt using the following commands.
javac --module-path %PATH_TO_FX% --add-modules javafx.controls TextExample1.java
java --module-path %PATH_TO_FX% --add-modules javafx.controls TextExample1
Output
On executing, the above program generates a JavaFX window displaying the specified text as follows −
Position & Font of a Text node
You can also add a Text Node in a JavaFX application. However, any text that can be added has some default values set to it, like the size of text, font, and its color (which is black). However, it becomes necessary to change the default values, as they are not suitable for all scenarios.
For instance, the default position of a text node in JavaFX application starts from the beginning of the screen. But, when the text content is longer and it goes out of display range, there arises a need to change its position to display all the content properly.
Changing the position and font of text will also allow the user to develop an application as per their own requirements.
The setFont() Method
You can change the font size and color of the text using the setFont() method. This method accepts an object of the Font class.
The class named Font of the package javafx.scene.text is used to define the font for the text. This class contains a static method named font().
This method accepts four parameters namely −
family − This is of a String type and represents the family of the font that we want to apply to the text.
weight − This property represents the weight of the font. It accepts 9 values, which are − FontWeight.BLACK, FontWeight.BOLD, FontWeight.EXTRA_BOLD, FontWeight.EXTRA_LIGHT, LIGHT, MEDIUM, NORMAL, SEMI_BOLD, THIN.
posture − This property represents the font posture (regular or italic). It accepts two values FontPosture.REGULAR and FontPosture.ITALIC.
size − This property is of type double and it represents the size of the font.
You can set font to the text by using the following method −
text.setFont(Font.font("verdana", FontWeight.BOLD, FontPosture.REGULAR, 20));
Example
Before trying to set the desired position and font, let us see a program with default properties of a text node in a JavaFX application.
Save this code in a file with the name TextDefault.java.
import javafx.application.Application;
import javafx.scene.Group;
import javafx.scene.Scene;
import javafx.stage.Stage;
import javafx.scene.text.*;

public class TextDefault extends Application {
   @Override
   public void start(Stage stage) {
      //Creating a Text object
      Text text = new Text();

      //Setting the text to be added.
      text.setText("Hi how are you");

      //Creating a Group object
      Group root = new Group(text);

      //Creating a scene object
      Scene scene = new Scene(root, 600, 300);

      //Setting title to the Stage
      stage.setTitle("Default text");

      //Adding scene to the stage
      stage.setScene(scene);

      //Displaying the contents of the stage
      stage.show();
   }
   public static void main(String args[]){
      launch(args);
   }
}
Compile and execute the saved Java file from the command prompt using the following commands.
javac --module-path %PATH_TO_FX% --add-modules javafx.controls TextDefault.java
java --module-path %PATH_TO_FX% --add-modules javafx.controls TextDefault
Output
On executing, the above program generates a JavaFX window displaying the text with its default properties.
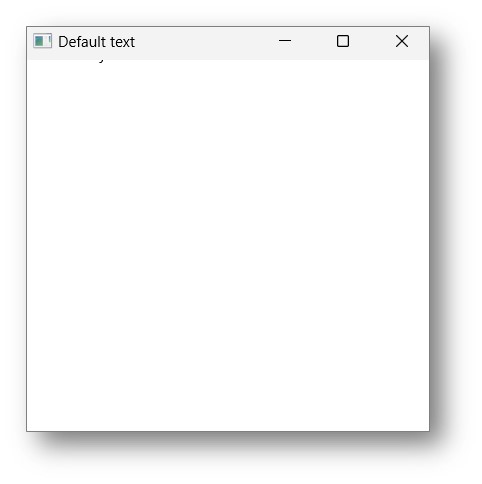
As you can see, the text is not correctly displayed within the application, hence, prompting the need for setting position and font properties.
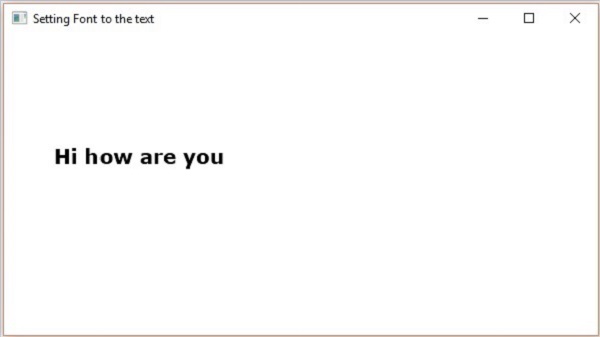
Example
The following program is an example demonstrating how to set font of the text node in JavaFX. In here, we are setting the font to Verdana, weight to bold, posture to regular and size to 20.
Save this code in a file with the name TextFontExample.java.
import javafx.application.Application;
import javafx.scene.Group;
import javafx.scene.Scene;
import javafx.stage.Stage;
import javafx.scene.text.Font;
import javafx.scene.text.FontPosture;
import javafx.scene.text.FontWeight;
import javafx.scene.text.Text;

public class TextFontExample extends Application {
   @Override
   public void start(Stage stage) {
      //Creating a Text object
      Text text = new Text();

      //Setting font to the text
      text.setFont(Font.font("verdana", FontWeight.BOLD, FontPosture.REGULAR, 20));

      //setting the position of the text
      text.setX(50);
      text.setY(130);

      //Setting the text to be added.
      text.setText("Hi how are you");

      //Creating a Group object
      Group root = new Group(text);

      //Creating a scene object
      Scene scene = new Scene(root, 600, 300);

      //Setting title to the Stage
      stage.setTitle("Setting Font to the text");

      //Adding scene to the stage
      stage.setScene(scene);

      //Displaying the contents of the stage
      stage.show();
   }
   public static void main(String args[]){
      launch(args);
   }
}
Compile and execute the saved java file from the command prompt using the following commands.
javac --module-path %PATH_TO_FX% --add-modules javafx.controls TextFontExample.java
java --module-path %PATH_TO_FX% --add-modules javafx.controls TextFontExample
Output
On executing, the above program generates a JavaFX window displaying the text with the specified font as follows −
Stroke and Color of a Text node
Every node in JavaFX has some default values assigned to it, in regards to the way they are displayed and positioned. For instance, any 3D shape like box, cylinder, sphere etc. has a diffuse color of light gray as its default color.
You can also change such default values of a JavaFX Text node. A Text node can be designed in various ways: underlined, bold, italic, the text can be written with either double strokes, or wider strokes, etc. All these improvements can be made with the JavaFX Application as well.
The setFill() Method
The Text class also inherits the class Shape of the package. Therefore, you can use javafx.scene.shape with which you can set the stroke and color to the text node too.
You can set the color to the text using the setFill() method of the shape (inherited) class as follows −
text.setFill(Color.BEIGE);
Similarly, you can set the stroke color of the text using the method setStroke(). While the width of the stroke can be set using the method setStrokeWidth() as follows −
//Setting the color
text.setFill(Color.BROWN);

//Setting the Stroke
text.setStrokeWidth(2);

//Setting the stroke color
text.setStroke(Color.BLUE);
Example
The following program is an example that demonstrates how to set the strokeWidth of the text node. In this code, we are setting the stroke width to "2".
Save this code in a file with the name StrokeExample.java.
import javafx.application.Application;
import javafx.scene.Group;
import javafx.scene.Scene;
import javafx.stage.Stage;
import javafx.scene.paint.Color;
import javafx.scene.text.Font;
import javafx.scene.text.FontPosture;
import javafx.scene.text.FontWeight;
import javafx.scene.text.Text;

public class StrokeExample extends Application {
   @Override
   public void start(Stage stage) {
      //Creating a Text object
      Text text = new Text();

      //Setting font to the text
      text.setFont(Font.font("verdana", FontWeight.BOLD, FontPosture.REGULAR, 50));

      //setting the position of the text
      text.setX(50);
      text.setY(130);

      //Setting the Stroke
      text.setStrokeWidth(2);

      // Setting the stroke color
      text.setStroke(Color.BLUE);

      //Setting the text to be added.
      text.setText("Hi how are you");

      //Creating a Group object
      Group root = new Group(text);

      //Creating a scene object
      Scene scene = new Scene(root, 600, 300);

      //Setting title to the Stage
      stage.setTitle("Setting font to the text");

      //Adding scene to the stage
      stage.setScene(scene);

      //Displaying the contents of the stage
      stage.show();
   }
   public static void main(String args[]){
      launch(args);
   }
}
Compile and execute the saved java file from the command prompt using the following commands.
javac --module-path %PATH_TO_FX% --add-modules javafx.controls StrokeExample.java
java --module-path %PATH_TO_FX% --add-modules javafx.controls StrokeExample
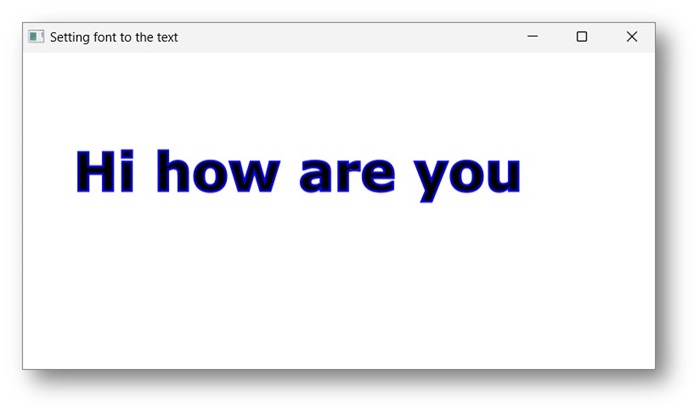
Output
On executing, the above program generates a JavaFX window displaying the text with the specified stroke and color attributes as follows −
Example
Let us try to color the Save this code in a file with the name ColorExample.java.
import javafx.application.Application;
import javafx.scene.Group;
import javafx.scene.Scene;
import javafx.scene.paint.Color;
import javafx.stage.Stage;
import javafx.scene.text.*;

public class ColorExample extends Application {
   @Override
   public void start(Stage stage) {
      //Creating a Text object
      Text text = new Text();

      //Setting font to the text
      text.setFont(Font.font("Times New Roman", FontWeight.LIGHT, FontPosture.REGULAR, 20));

      //setting the position of the text
      text.setX(50);
      text.setY(130);

      //Setting the color
      text.setFill(Color.BROWN);

      //Setting the text to be added.
      text.setText("Hi how are you");

      //Creating a Group object
      Group root = new Group(text);

      //Creating a scene object
      Scene scene = new Scene(root, 600, 300);

      //Setting title to the Stage
      stage.setTitle("Setting font to the text");

      //Adding scene to the stage
      stage.setScene(scene);

      //Displaying the contents of the stage
      stage.show();
   }
   public static void main(String args[]){
      launch(args);
   }
}
Compile and execute the saved java file from the command prompt using the following commands.
javac --module-path %PATH_TO_FX% --add-modules javafx.controls ColorExample.java
java --module-path %PATH_TO_FX% --add-modules javafx.controls ColorExample
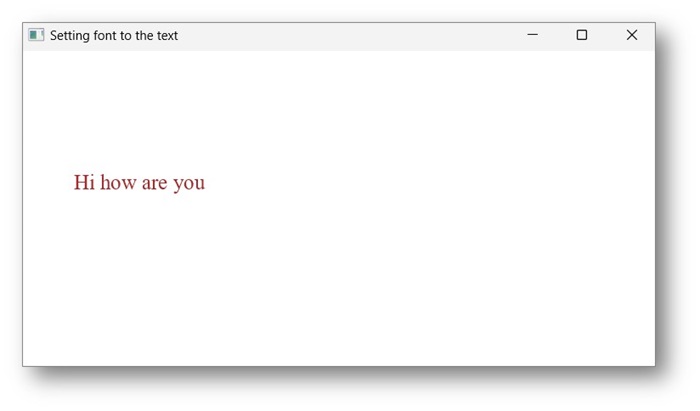
Output
On executing, the above program generates a JavaFX window displaying the text with the specified stroke and color attributes as follows −
Applying Decorations to a Text node
You can also apply decorations such as strike through, in which case a line is passed through the text, and underlining a text using the methods of the Text class.
You can strike through the text using the method setStrikethrough(). This accepts a Boolean value, pass the value true to this method to strike through the text as shown in the following code box −
//Striking through the text
text1.setStrikethrough(true);
In the same way, you can underline a text by passing the value true to the method setUnderLine() as follows −
//underlining the text
text2.setUnderline(true);
Example
The following program is an example demonstrating how to apply strike through decoration to a text. Save this code in a file with the name StrikeThroughExample.java.
import javafx.application.Application;
import javafx.scene.Group;
import javafx.scene.Scene;
import javafx.stage.Stage;
import javafx.scene.text.*;

public class StrikeThroughExample extends Application {
   @Override
   public void start(Stage stage) {
      //Creating a Text_Example object
      Text text1 = new Text("Welcome to Tutorialspoint");

      //Setting font to the text
      text1.setFont(Font.font("verdana", FontWeight.BOLD, FontPosture.REGULAR, 20));

      //setting the position of the text
      text1.setX(50);
      text1.setY(75);

      //strike through the text
      text1.setStrikethrough(true);

      //Creating a Group object
      Group root = new Group(text1);

      //Creating a scene object
      Scene scene = new Scene(root, 600, 300);

      //Setting title to the Stage
      stage.setTitle("Strike Through Decoration Example");

      //Adding scene to the stage
      stage.setScene(scene);

      //Displaying the contents of the stage
      stage.show();
   }
   public static void main(String args[]){
      launch(args);
   }
}
Compile and execute the saved Java file from the command prompt using the following commands.
javac --module-path %PATH_TO_FX% --add-modules javafx.controls StrikeThroughExample.java
java --module-path %PATH_TO_FX% --add-modules javafx.controls StrikeThroughExample
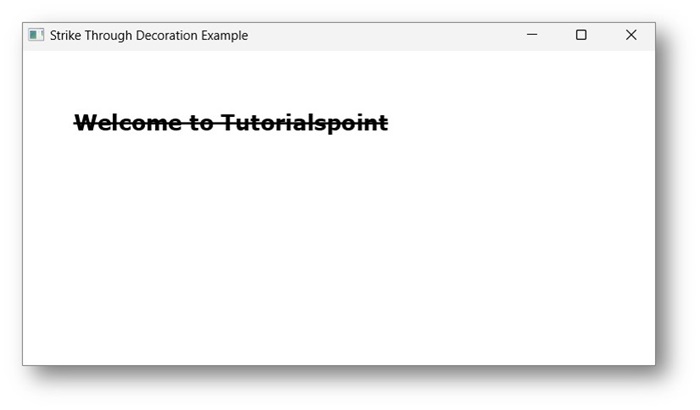
Output
On executing, the above program generates a JavaFX window as shown below −
Example
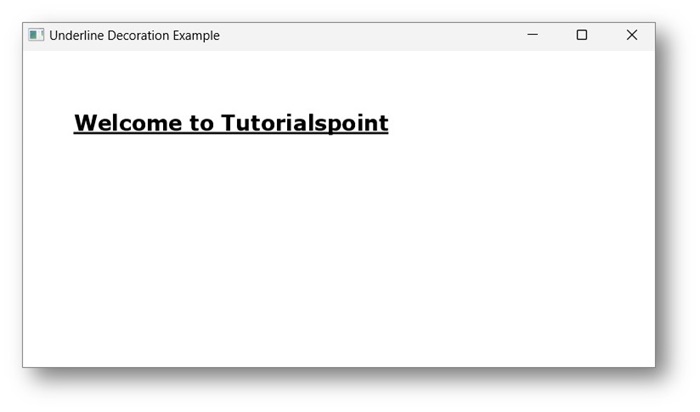
The following program is an example demonstrating how to apply underline decoration to a text. Save this code in a file with the name UnderlinesExample.java.
import javafx.application.Application;
import javafx.scene.Group;
import javafx.scene.Scene;
import javafx.stage.Stage;
import javafx.scene.text.*;

public class UnderlinesExample extends Application {
   @Override
   public void start(Stage stage) {
      //Creating a Text_Example object
      Text text1 = new Text("Welcome to Tutorialspoint");

      //Setting font to the text
      text1.setFont(Font.font("verdana", FontWeight.BOLD, FontPosture.REGULAR, 20));

      //setting the position of the text
      text1.setX(50);
      text1.setY(75);

      //underlining the text
      text1.setUnderline(true);

      //Creating a Group object
      Group root = new Group(text1);

      //Creating a scene object
      Scene scene = new Scene(root, 600, 300);

      //Setting title to the Stage
      stage.setTitle("Underline Decoration Example");

      //Adding scene to the stage
      stage.setScene(scene);

      //Displaying the contents of the stage
      stage.show();
   }
   public static void main(String args[]){
      launch(args);
   }
}
Compile and execute the saved Java file from the command prompt using the following commands.
javac --module-path %PATH_TO_FX% --add-modules javafx.controls UnderlinesExample.java
java --module-path %PATH_TO_FX% --add-modules javafx.controls UnderlinesExample
Output
On executing, the above program generates a JavaFX window as shown below −