- TestLink - Home
- TestLink – Introduction
- TestLink – Features
- TestLink – Installation
- TestLink – Login
- TestLink – Add a Project
- TestLink – Dashboard
- TestLink – Projects
- TestLink – Inventory
- TestLink – Test Plan
- TestLink – Build Management
- TestLink – Test Specification
- TestLink – Test Suite
- TestLink – Test Cases
- TestLink – Import Data
- TestLink – Export Data
- TestLink – Test Plan Relation
- TestLink – Search
- TestLink – Keywords
- Test Specification Document
- TestLink – Create Requirement
- TestLink – Requirement Overview
- TestLink – Assign Test Execution
- TestLink – Bulk User Assignment
- TestLink – Platforms
- TestLink – Milestones
- TestLink – Test Execution Setup
- TestLink – Test Execution
- TestLink – Reports & Metrics
- TestLink – Reports
- TestLink – Charts
TestLink - Test Cases
A test case is a document, which has a set of test data, preconditions, expected results and post-conditions, developed for a particular test scenario in order to verify compliance against a specific requirement.
Test case acts as the starting point for test execution, and after applying a set of input value the application has a definitive outcome and leaves the system at some endpoint, also known as execution post-condition.
Create a Test Case
To create a Test Case, you should have Create Test Cases permission.
Following are the steps to create a Test Case −
Step 1 − Navigate to Test Specification → Test Specification from the dashboard.
Step 2 − Select the test suite from the tree structure on the left side panel on the screen.
Step 3 − Click the Setting type icon known as Actions on this page, present on the right panel of the screen as shown below.
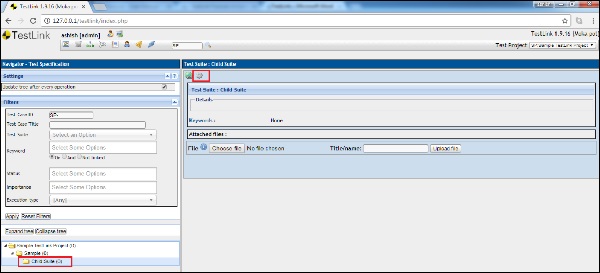
It will open Test Suite Operations as well as Test Case Operations.
Step 4 − Click the + icon of Test Case Operations to create a new test case as shown below.
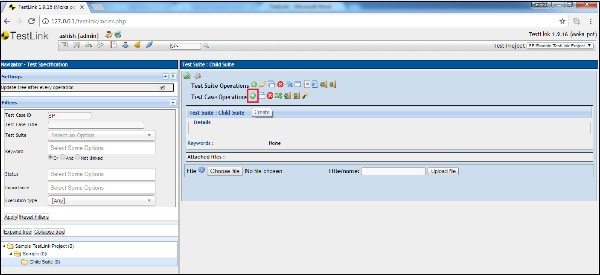
It opens the create test case page.
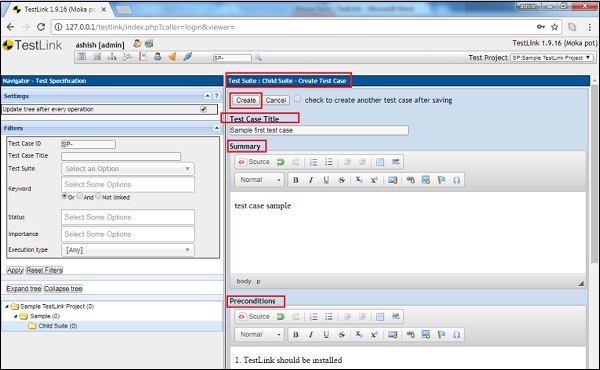
Step 5 − Enter the following fields in the form −
Name of Test Case
Summary
Pre-conditions
Select Status, Importance and Execution type
Enter the estimated execution type in minutes
Keywords − It displays all the available keywords. You can assign them based on the relation.
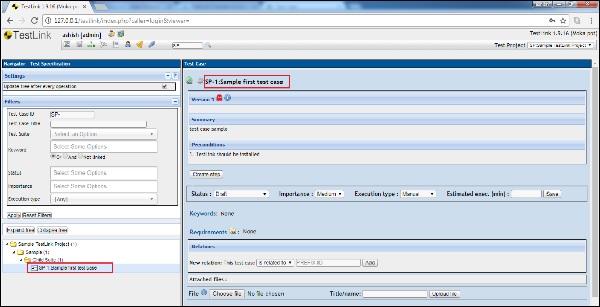
Step 6 − Click the Create button as displayed in the following screenshot.

Once you click the Create button, you can see the test case in the tree structure on the left side panel as well as the details are available on the right side of the screen.
Edit a Test Case
To edit a test case, you should have Edit Test Case permission.
Following are the steps to edit a test case −
Step 1 − Select the test case from the tree structure on the left panel of the screen and click the settings known as actions to display all the available options.
Step 2 − Click the Edit button as shown below.
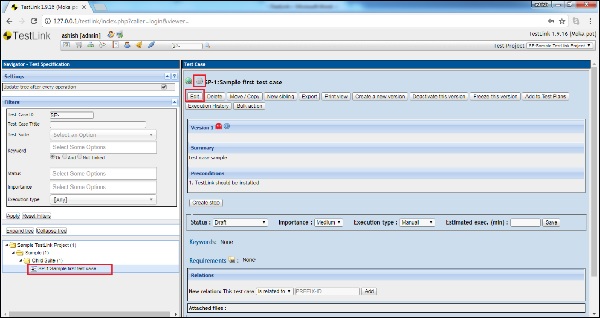
It opens the Test case details in the edit page.
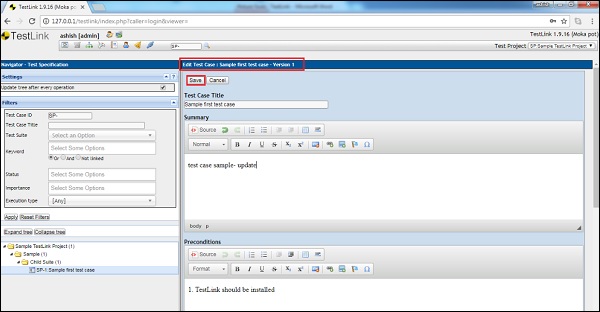
Step 3 − You can edit the Name, Details or any other fields as shown below.
Step 4 − Click the Save button to update the test case.
Move/Copy a Test Case
To Move/Copy a test case, you should have Create/Edit Test Suite permission. This functionality allows creating a duplicate test case or reordering of the structure.
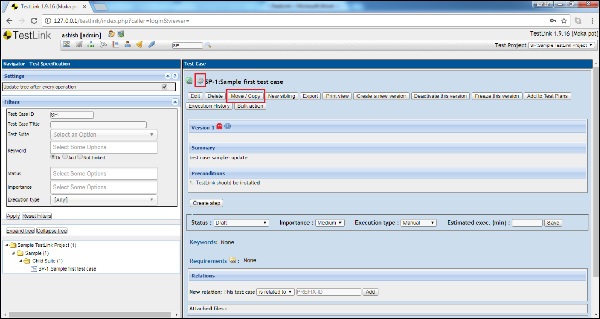
Step 1 − To copy/move a test suite into another project, select the test cases that need to be copied/moved and click the setting icon known as Actions.
Step 2 − Click the Move/Copy button as shown below.
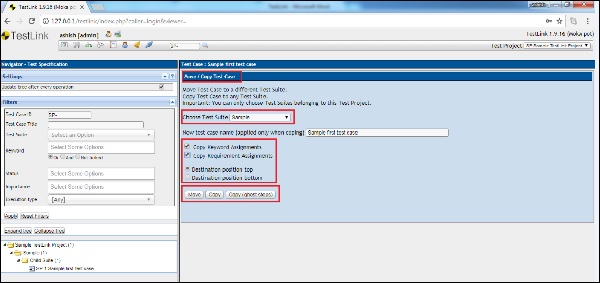
Step 3 − It opens the Move/Copy page. You can select the test suite to move or copy a new test case name and decide whether the keywords and requirements should be copied/moved to the target suite.
Step 4 − After selection, click the Copy or Move button according to requirement.
Step 5 − The Copy button will copy the test suite in both of the suites, while the move button will move the test case from the current suite to the target suite.
Following screenshot shows how to copy/move the test case to another suite −
Delete a Test Case
To delete a Test Case, you should have Delete Test Case permission.
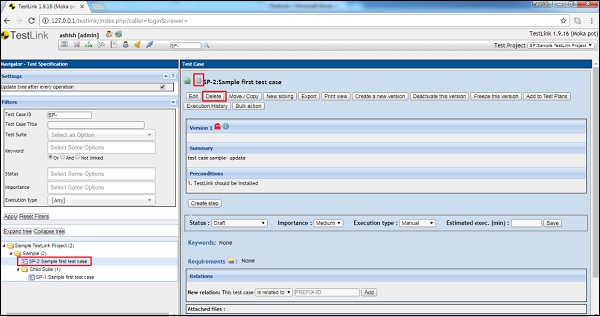
Step 1 − To delete a test case, select the test case from the suite that needs to be deleted and click the setting icon known as Actions.
Step 2 − Once done, click the delete button as shown below.
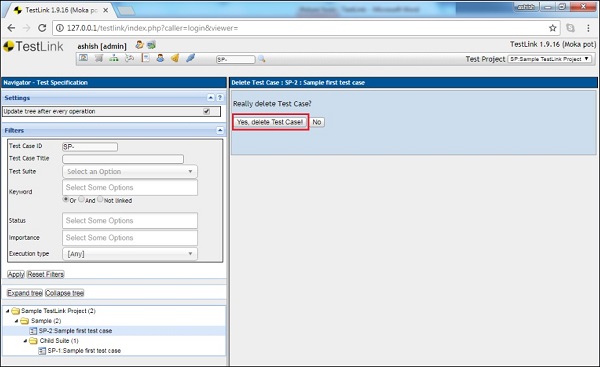
A confirmation message will be displayed to delete. Click Yes to delete the test cases as shown in following screenshot.
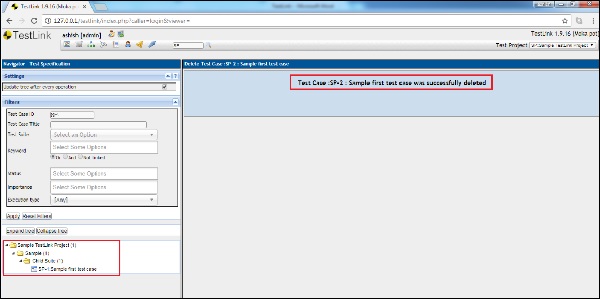
The page will be refreshed and the test case will be deleted from the tree structure on the left side panel of the screen.
A successful deletion message will be displayed as shown below.
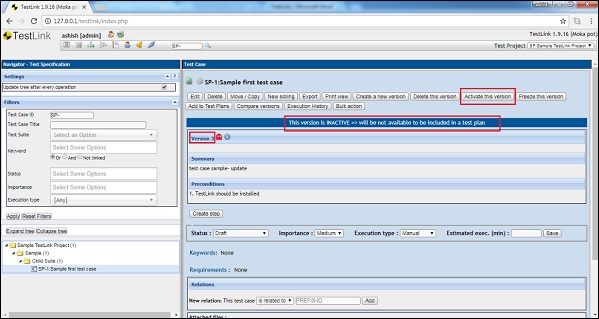
Active Attribute
This feature is very useful when one test case has many versions. Active/Inactive attribute helps to recognize which test case should be used.
Step 1 − To create a new version of the test case, click the button Create a new version as shown below.
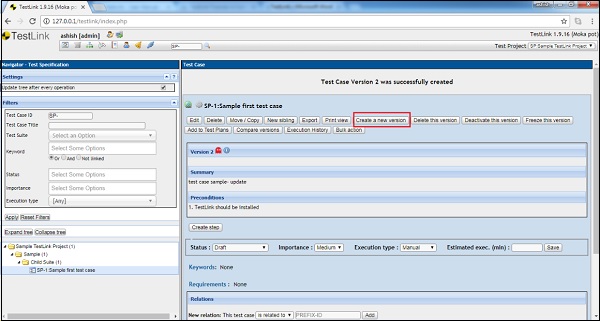
It will create a new version of test case and a successful message will be displayed as shown below.
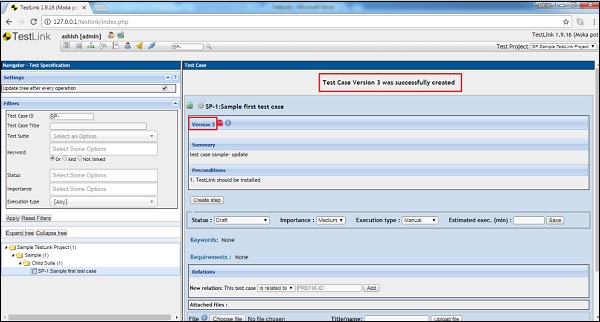
Once a new version is created, by default it is in Active mode.
It is recommended to deactivate the version of previous test case before creating a new version.
Deactivate Test Case Version is not available in "Add Test Cases to Test Plan". This can be useful for test designers. They can edit or change the Test Case Version and only when they decide it is completed, change the Status to ACTIVE for it to be available to be used in a Test Plan.
Step 2 − After clicking on Actions, the button - Deactivate this version is displayed.
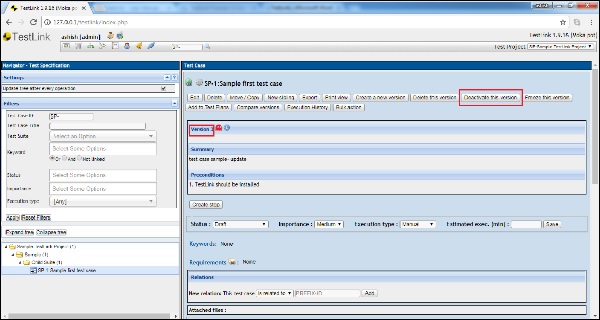
Step 3 − Once you click the button, a message that the test case version is deactivated is displayed and the button changes to Activate this version.