- TestLink - Home
- TestLink – Introduction
- TestLink – Features
- TestLink – Installation
- TestLink – Login
- TestLink – Add a Project
- TestLink – Dashboard
- TestLink – Projects
- TestLink – Inventory
- TestLink – Test Plan
- TestLink – Build Management
- TestLink – Test Specification
- TestLink – Test Suite
- TestLink – Test Cases
- TestLink – Import Data
- TestLink – Export Data
- TestLink – Test Plan Relation
- TestLink – Search
- TestLink – Keywords
- Test Specification Document
- TestLink – Create Requirement
- TestLink – Requirement Overview
- TestLink – Assign Test Execution
- TestLink – Bulk User Assignment
- TestLink – Platforms
- TestLink – Milestones
- TestLink – Test Execution Setup
- TestLink – Test Execution
- TestLink – Reports & Metrics
- TestLink – Reports
- TestLink – Charts
TestLink - Milestones
Milestones are associated with the project and is one of the best ways to track the progress and timeline. It is similar to the small targets in a project. A milestone can be an important target such as a planned public software release, an internal test version, a new beta release for an important customer, etc.
Once stakeholders add milestones to TestLink, the users can assign test runs to specific milestones. It helps to track the milestones progress separately. Especially, if multiple milestones are in progress in parallel or if the users have many test runs active at the same time.
Add a Milestone
Following are the steps to add a milestone.
Step 1 − Go to Test Plan → Milestone Overview from the dashboard as shown below.
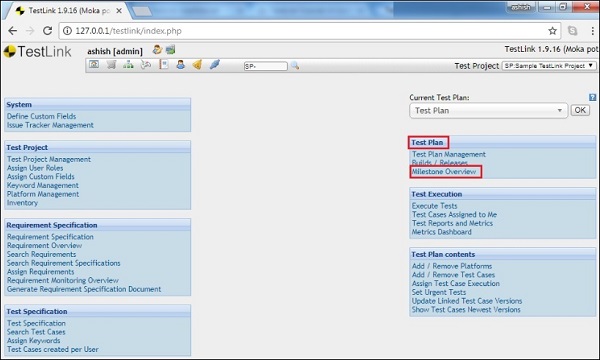
It opens the Milestone page along with the Create button.
Step 2 − Click the Create button as shown below.
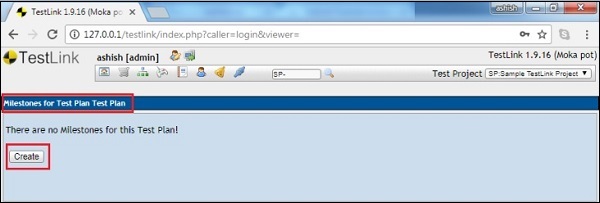
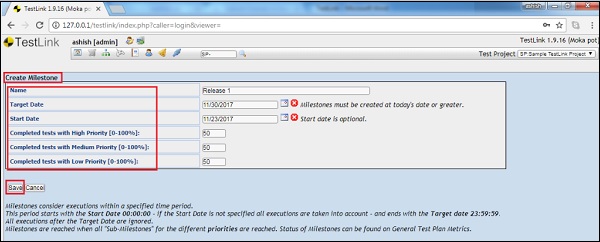
It opens the Create Milestone forms.
Step 3 − Enter the Name, Target Date and Start Date.
There are sub-milestones as Complete test with high priority, Complete test with medium priority and Complete test with low priority.
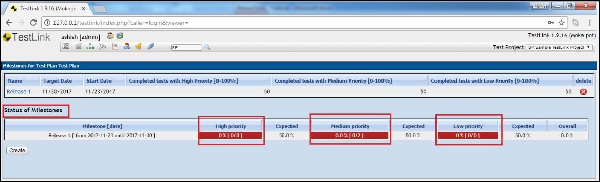
Step 4 − After entering the percentage, click the Save button.
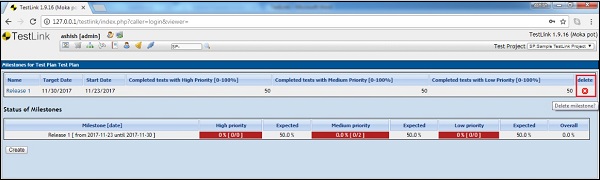
You can see the status and progress of the milestone as shown in the following screenshot.
Delete a Milestone
Step 1 − Navigate to Test Plan → Milestone Overview. It displays a list of all available milestones along with the delete symbol in red as X.
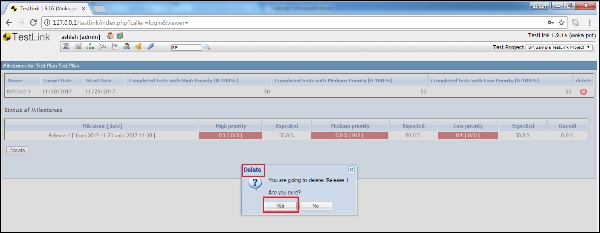
Step 2 − Click the Delete symbol as shown below.
A delete confirmation pop-up is displayed.
Step 3 − Click the Yes button as shown below.
The page gets refreshed and the Milestone is delisted from the page.
