- TestLink - Home
- TestLink – Introduction
- TestLink – Features
- TestLink – Installation
- TestLink – Login
- TestLink – Add a Project
- TestLink – Dashboard
- TestLink – Projects
- TestLink – Inventory
- TestLink – Test Plan
- TestLink – Build Management
- TestLink – Test Specification
- TestLink – Test Suite
- TestLink – Test Cases
- TestLink – Import Data
- TestLink – Export Data
- TestLink – Test Plan Relation
- TestLink – Search
- TestLink – Keywords
- Test Specification Document
- TestLink – Create Requirement
- TestLink – Requirement Overview
- TestLink – Assign Test Execution
- TestLink – Bulk User Assignment
- TestLink – Platforms
- TestLink – Milestones
- TestLink – Test Execution Setup
- TestLink – Test Execution
- TestLink – Reports & Metrics
- TestLink – Reports
- TestLink – Charts
TestLink - Inventory
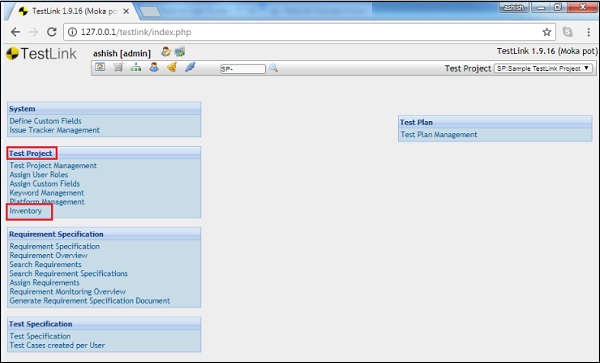
In the Inventory, you can list all hardware details required in the project. To access this feature, you should enable it while creating a project or in the edit project page.
You can access the Inventory by navigating to Test Project → Inventory in Dashboard as shown in the below screenshot. Inventory offers three actions − Create, Edit and Delete.
Create a Record
Following are the steps to create a record in inventory −
Step 1 − Click Inventory on the Dashboard to visit the Inventory page.
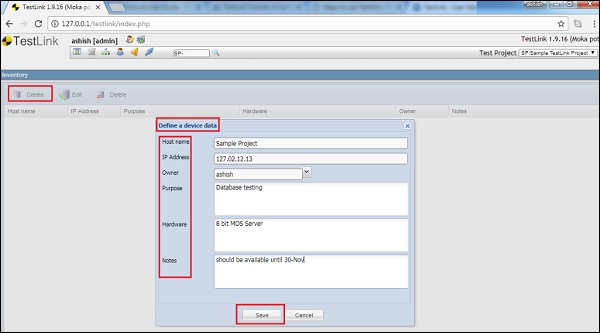
Step 2 − Click the Create link present at the left top corner of the screen. It will open a pop-up form to define a device data.
Step 3 − Enter the following details −
- Host Name
- IP Address
- Owner
- Purpose − It supports up to 2000 characters.
- Hardware − It supports up to 2000 characters.
- Notes − It supports up to 2000 characters.
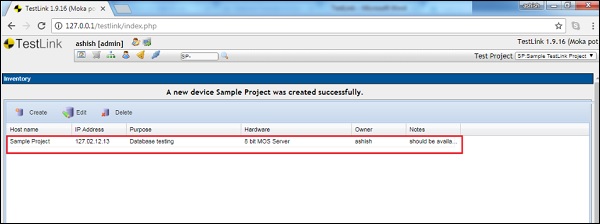
Step 4 − Click the Save button.
Once you click Save, a new row gets added along with all the entered details as shown in the following screenshot.
Edit a Record
To edit a record, a row must be selected.
Following are the steps to edit a record −
Step 1 − Click the Host Name to select a record to edit in the Inventory page.

Step 2 − Click the Edit link present at the top left corner of the screen. It will open a pop-up form to define a device data.
Step 3 − Update the following details −
- Host Name
- IP Address
- Owner
- Purpose − It supports up to 2000 characters.
- Hardware − It supports up to 2000 characters.
- Notes − It supports up to 2000 characters.
Step 4 − Click the Save button.
Step 5 − Once you click the Save button, all the details get updated and saved in the same row.
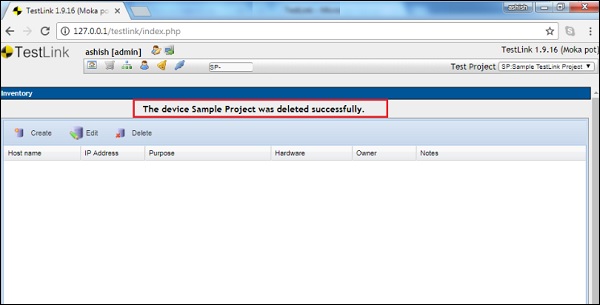
Delete a Record
Following are the steps to delete a record −
Step 1 − Click the Host Name to select a record to delete in the Inventory page.
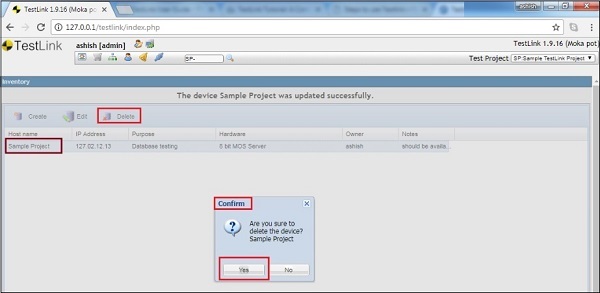
Step 2 − Click the Delete link present at the top left corner of the screen. It will ask for confirmation to delete.
Step 3 − Click Yes to delete the record.
You will receive a successful deletion message and the row gets deleted as shown in the following screenshot.