- TestLink - Home
- TestLink – Introduction
- TestLink – Features
- TestLink – Installation
- TestLink – Login
- TestLink – Add a Project
- TestLink – Dashboard
- TestLink – Projects
- TestLink – Inventory
- TestLink – Test Plan
- TestLink – Build Management
- TestLink – Test Specification
- TestLink – Test Suite
- TestLink – Test Cases
- TestLink – Import Data
- TestLink – Export Data
- TestLink – Test Plan Relation
- TestLink – Search
- TestLink – Keywords
- Test Specification Document
- TestLink – Create Requirement
- TestLink – Requirement Overview
- TestLink – Assign Test Execution
- TestLink – Bulk User Assignment
- TestLink – Platforms
- TestLink – Milestones
- TestLink – Test Execution Setup
- TestLink – Test Execution
- TestLink – Reports & Metrics
- TestLink – Reports
- TestLink – Charts
TestLink - Export Data
TestLink supports XML and CSV file to export data. It supports exporting the data of test suites, test cases, requirements, test execution results, keywords, etc. However, for a few cases it supports only XML and in few cases both XML and CSV.
Following table displays the functionalities that support export and file format.
| Item | File Format | Export |
|---|---|---|
| Test Project | XML | Yes |
| Test Suite | XML | Yes |
| Test Case | XML | Yes |
| Keyword | CSV, XML | Yes |
| Requirement | CSV, XML | Yes |
| Platforms | XML | Yes |
| Custom Fields | XML | Yes |
Export Requirements
TestLink supports XML and CSV to export the requirement data.
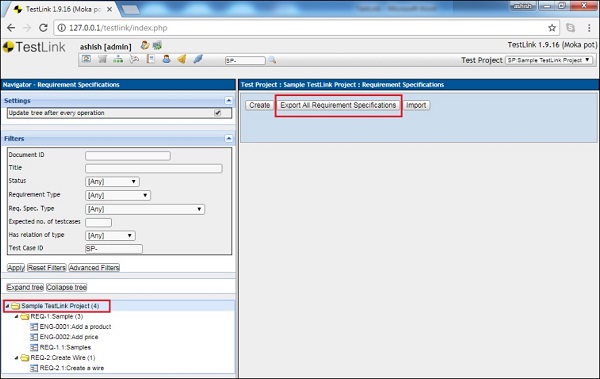
Step 1 − Go to Requirement Specification → Requirement Specification from the dashboard.
Step 2 − To export all the Requirement Specifications, select the parent folder from the left pane and click the Export All Requirement Specification button on the right side as follows.
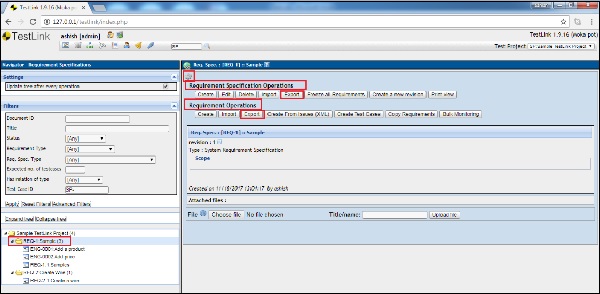
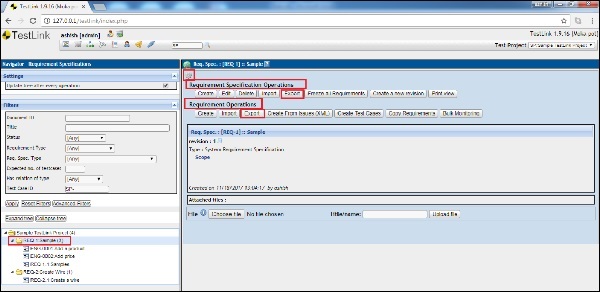
Step 3 − To export any one requirement specification with all the requirement details inside the folder, select the folder in the left pane and click the Actions icon on the right pane.
It displays the Requirement Specification Operation page.
Step 4 − Click Export.
OR
If you want to only export the Requirement Details but not Requirement Specification, click the Export button present under Requirement Operations (present below the Requirement Specification Operations section) as shown below.
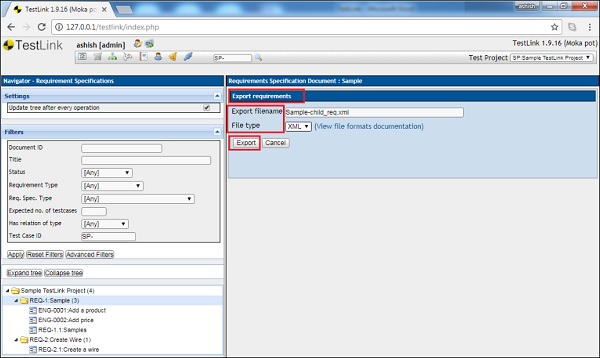
Once any of these Export buttons is clicked, it displays the Export Requirement page.
Step 5 − Export Filename can be edited. Choose the file type. Then, click the Export button as shown below.
It will download the corresponding files into the local drive that can be accessed by navigating the Downloads folder.
Export Test Suites & Cases
TestLink supports XML to export test suites and cases data.
Step 1 − Go to Test Specification → Test Specification from the dashboard.
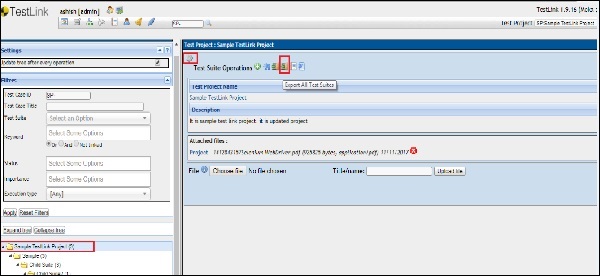
Step 2 − To export all the test suites, select the parent folder from the left pane and click the Action icon on the right pane.
It opens the test suite operations page.
Step 3 − Click Export All Test Suites icon on the right side as shown below.
Step 4 − To export any one test suite with all the test cases inside the folder, select the folder on the left pane and click the Actions icon on the right pane.
It displays Test Suite Operations page.
Step 5 − Click Export.
OR
If you want to only export Test Cases but not Test Suites, click the Export button present under Test Case Operations as shown below.

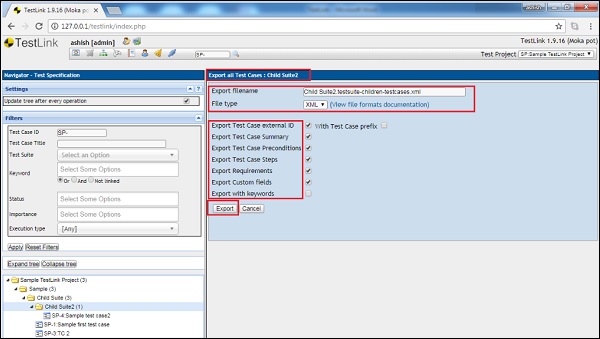
Once any of these Export buttons is clicked, it displays the Export Test Suite/Case page.
Step 6 − The Export Filename can be edited. Choose the file type.
You can select and narrow down the exported data by selecting the checkbox for available details.
Step 7 − Click the Export button as shown below.
It will download the corresponding files into the local drive that can be accessed by navigating the Downloads folder.
