- qTest - Home
- qTest - Introduction
- qTest - Features
- qTest - Free Trial Access
- qTest - Login
- qTest - Dashboard
- qTest - Invite Users
- qTest - Add a Project
- Test Plan & Release Management
- Test Plan & Build Management
- qTest - Modules Management
- qTest - Requirements
- qTest - Create Associated Test Cases
- qTest - Import Requirements
- qTest - Export Requirements
- qTest - Export RTM
- qTest - Test Design
- qTest - Calling a Test Case
- qTest - Approve a Test Case
- qTest - Import Test Cases
- qTest - Export Test Cases
- qTest - Test Cycle Management
- qTest - Test Suite Management
- qTest - Add Test Runs
- qTest - Test Execution
- qTest - Quick Run
- qTest - Submit a Defect
- qTest - Clone a Defect
- qTest - Import a Defect
- qTest - Reports
- qTest - Filter
- qTest - Drag & Drop
- qTest - Hotkeys
- qTest - Recycle Bin
- qTest - Search
- qTest - Toggle ID
- qTest - Tagging ID
qTest - Clone a Defect
While viewing a defect, you can easily create a copy of the defect using the Clone Defect function. To clone a defect, you should have the Create and Edit Defects permission.
Following are the steps to clone a defect.
Step 1 − Open an existing defect. Go to the Defect section and enter a Query type Defect ID. Click Run Query. The result will get displayed at the bottom as shown in the following screenshot.
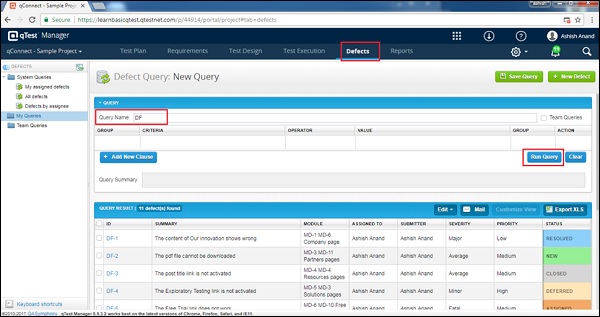
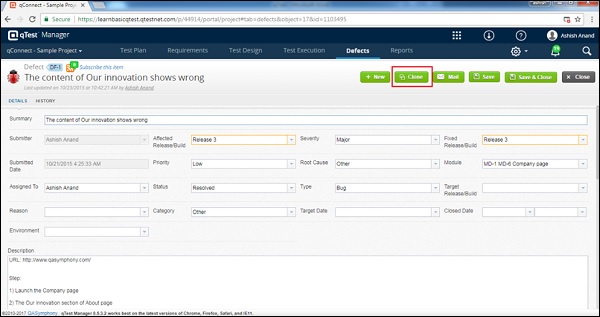
Step 2 − Click the Defects ID to open the details of the defect.
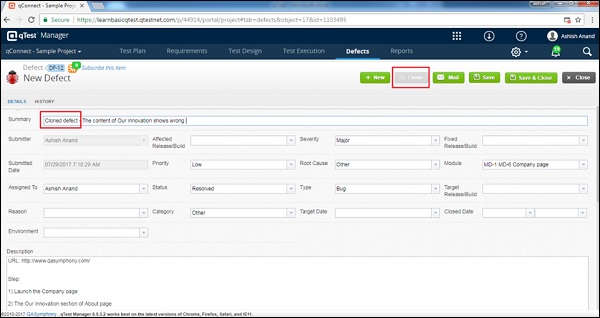
Step 3 − Click the Clone button. A new defect form displays with all the details is copied as shown in the following screenshot.
Step 4 − After clicking the Clone button, the button gets disabled and the Summary has a name as Cloned defect.
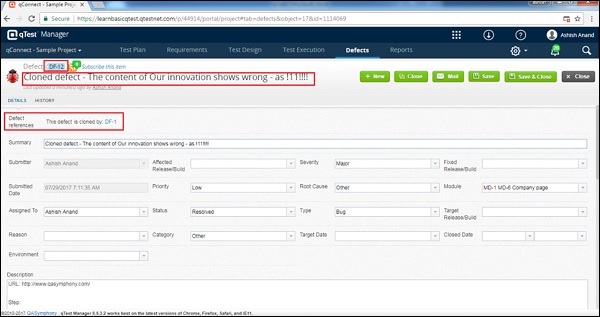
Step 5 − Edit Details in Cloned defect. Then, click the Save button to submit the clone defect.
A new Defect ID generates with reference to the original defect id as shown in the following screenshot.
Consider the following points while cloning a defect −
- Clone defect will always be in New status.
- Only the details of the defect are copied from the original defect.
- Linked Test Runs, Attachments, Comment, and History will not be copied.
