- qTest - Home
- qTest - Introduction
- qTest - Features
- qTest - Free Trial Access
- qTest - Login
- qTest - Dashboard
- qTest - Invite Users
- qTest - Add a Project
- Test Plan & Release Management
- Test Plan & Build Management
- qTest - Modules Management
- qTest - Requirements
- qTest - Create Associated Test Cases
- qTest - Import Requirements
- qTest - Export Requirements
- qTest - Export RTM
- qTest - Test Design
- qTest - Calling a Test Case
- qTest - Approve a Test Case
- qTest - Import Test Cases
- qTest - Export Test Cases
- qTest - Test Cycle Management
- qTest - Test Suite Management
- qTest - Add Test Runs
- qTest - Test Execution
- qTest - Quick Run
- qTest - Submit a Defect
- qTest - Clone a Defect
- qTest - Import a Defect
- qTest - Reports
- qTest - Filter
- qTest - Drag & Drop
- qTest - Hotkeys
- qTest - Recycle Bin
- qTest - Search
- qTest - Toggle ID
- qTest - Tagging ID
qTest - Calling a Test Case
This feature is very useful when a test case has the same steps as other test cases along with few additional steps. This feature allows replacing an individual test step by another test case.
Following are the steps to call a test case.
Step 1 − Go to the Test Step section, where you want to call a test case.
Step 2 − Go to individual step where the user will call the function.
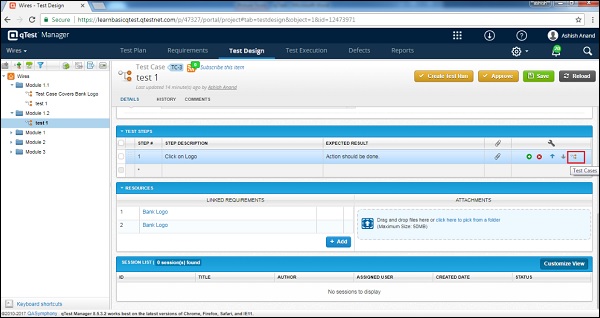
Step 3 − In the Settings tab of the Test step, click the Test Case icon as shown in the following screenshot.
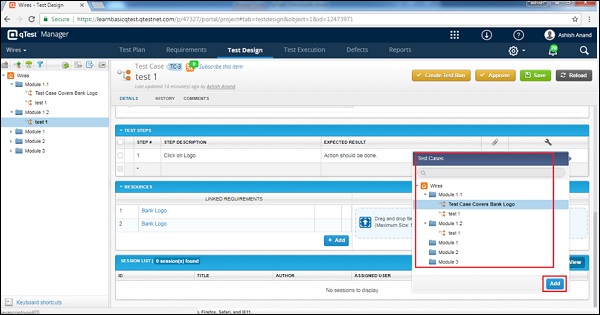
Step 4 − The Test Cases wizard opens, where all the test cases are listed. Select a specific test case that is to be called in this step. After selection of the test case, click the Add button. Following screenshot displays the Test Case wizard and the Add button.
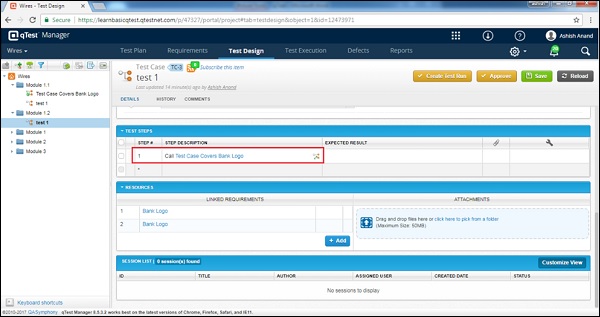
Step 5 − After clicking the Add button, a test case will be called in the test step as shown in the following screenshot.
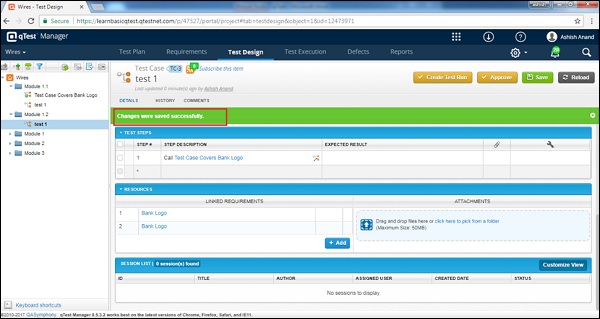
Step 6 − Click the Save button on the top right corner of the screen to keep the latest version of the test case.

Step 7 − A successful message is displayed as shown in the following screenshot.
Important Points
Following are a few important points related to the calling of a test case.
A Test Case cannot call itself.
Only Approved Test Case can be called by another Test Case. Otherwise, a dialog box will appear asking for confirmation to approve the test case first before calling.
A Test Case can call the same Test Case in different Test Steps.
