- Adobe InDesign CC - Home
- Desktop Publishing - Introduction
- Popular DTP Software
- InDesign CC - Introduction
- InDesign CC - Workspace Basics
- Create the First Document
- InDesign CC - Page Management
- InDesign CC - Section Options
- InDesign CC - Text Frames
- InDesign CC - Story Editor
- Spellchecking Features
- InDesign CC - Find/Change Function
- InDesign CC - Import Images
- InDesign CC - Image Links
- InDesign CC - Edit Images
- InDesign CC - Image Fitting
- InDesign CC - Image Transparency
- InDesign CC - QR Codes
- Selection Tools & Fill Strokes
- Image Color & Transparency
- InDesign CC - Drop Shadows
- Special Effects to Objects
- InDesign CC - Eyedropper Tool
- Find/Change Feature for Objects
- InDesign CC - Swatches Panel
- InDesign CC - Color Panel
- InDesign CC - Gradients & Blends
- InDesign CC - Paths & Outlines
- InDesign CC - Stack Objects
- InDesign CC - Layers
- InDesign CC - Nest Objects
- InDesign CC - Align Objects
- Text Wrap & Anchor Objects
- InDesign CC - Object Transformation
- InDesign CC - Characters
- InDesign CC - Text Formatting
- InDesign CC - Paragraph Formatting
- Paragraph & Character Styles
- InDesign CC - Tables
- InDesign CC - Long Documents
- InDesign CC - Table of Contents
- InDesign CC - Interactive Documents
- InDesign CC - Ebook
- InDesign CC - Preflighting
- InDesign CC - Package Documents
- Print Documents & Booklets
- Export Documents as PDFs
- Selective Text Frame Export
- Word & InDesign
- Word File Import to InDesign
- Word To InDesign
- Photoshop & Illustrator Workflows
- Export InDesign Artwork
- Preserve Layers & Vectors
Photoshop amd Illustrator Workflows
Using Adobe Photoshop and Adobe Illustrator along with InDesign generally completes the creative workflow for most people. All these programs interact well with each other and you might find yourself constantly juggling between these three programs.
InDesign makes it easy to move between all three of them. However, instead of just selecting your image and copy pasting between Photoshop or Illustrator and InDesign, there are some rules to follow.
Importing Images from Photoshop
Photoshop is a bitmap raster image program which means that images can lose or gain resolution with scaling. Most of the images we deal with daily are raster image formats. Images that are able to maintain native resolution no matter the scaling are called vector images which are the kind of images that Illustrator deals with.
The most important thing to remember when integrating Photoshop with InDesign is the file format that you choose to work with. JPEGs are the default and are fine with most cases but if you want to have high quality images, layer, and transparency information, JPEGs are not the ones you should be using. Photoshop supports literally almost all the image formats there is but the best choice remains the Photoshop format, also known as PSD.
When you work with an image in Photoshop, you might want to include transparency information or isolate the foreground from the background in another layer. Importing this transparency image or alpha channel will help the object to blend easily with the rest of the document when you import it into InDesign.
Always use the Place command instead of simply copy and paste to have more flexibility on your imports.
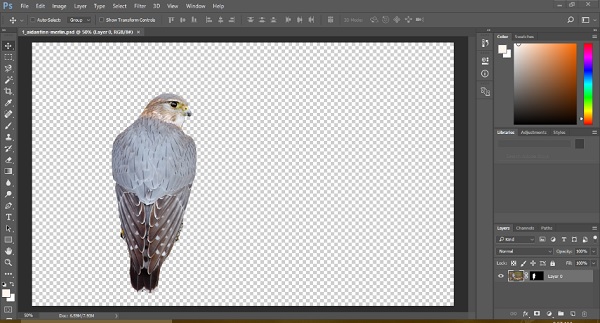
In the following example, we see that there is a transparency layer behind the bird which has been created in Photoshop and saved as a native PSD file.
We can now use the Place command to place the image of the bird directly in the InDesign document. Make sure that the Show Import Options checkbox is checked.
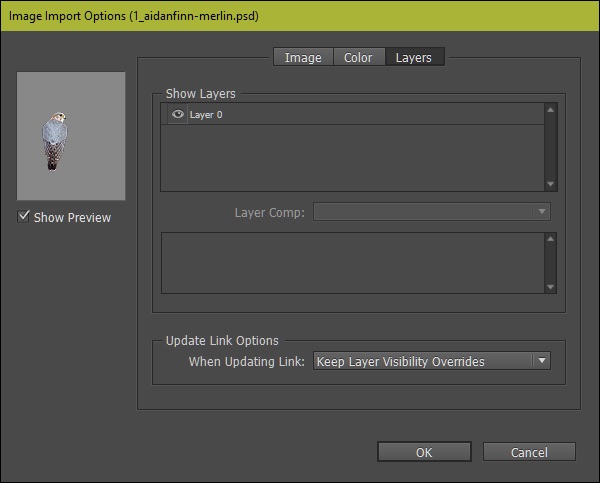
This will open the Image Import Options dialog box.
This dialog box will allow you to select which layer of the image you want to import and also allows you to select the transparency layer. Here it shows the preview of the bird. We can go ahead and import it by pressing OK.
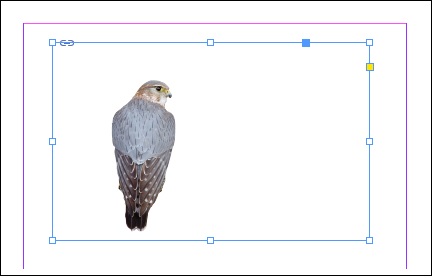
This will reveal the Place cursor with the image. Simply drag a frame with the Place cursor to place the image in the frame.
If you have clipping paths in your original Photoshop image, you can select the clipping paths or the alpha channel while importing the image. It is always better to go with the alpha channel to ensure anti-aliasing and smooth blending.
Importing Images from Illustrator
Importing Illustrator files is a little tricky. Similar to Photoshop, you need to save the Illustrator drawing in a compatible format before InDesign can make sense of it. The best formats suited for this are native Adobe Illustrator (.ai) files and Adobe PDF (.pdf) files. InDesign does not yet have support for import Scalable Vector Graphics (.svg) files so if you have .svg files that you want to work with, you might want to save them as .ai or .pdf from Illustrator before importing them into InDesign. Try to avoid .eps files as much as possible.
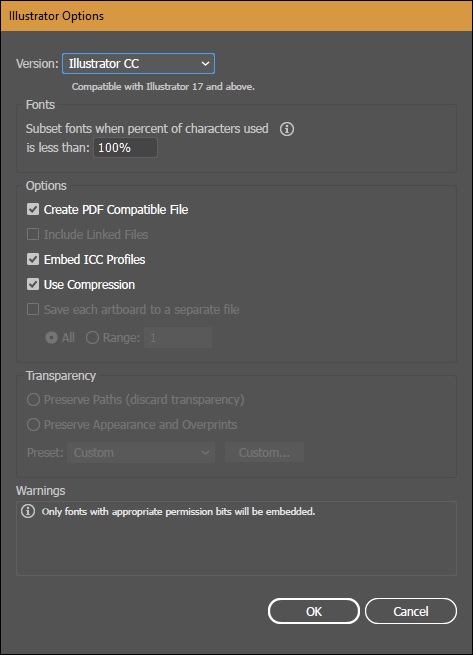
When you save the file as a .ai file, the Illustrator Options dialog box opens. Be sure to check the Create PDF Compatible File in the Options section otherwise InDesign will not be able to read the .ai file.
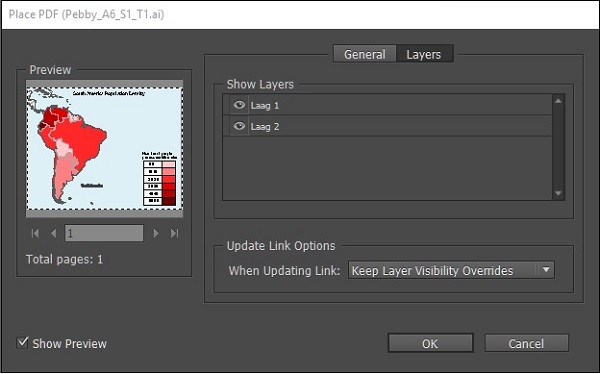
Now, use the Place command in InDesign. This will open the Place PDF dialog box (remember that the PDF is embedded within the .ai file) if the Show Import Options dialog box is checked when using Place or you can also hold down the Shift key when using Place. Here, you can choose which layers you want to import and click OK.
You will see the Place cursor on the InDesign document. Drag a frame to place the vector art within it.