- Adobe InDesign CC - Home
- Desktop Publishing - Introduction
- Popular DTP Software
- InDesign CC - Introduction
- InDesign CC - Workspace Basics
- Create the First Document
- InDesign CC - Page Management
- InDesign CC - Section Options
- InDesign CC - Text Frames
- InDesign CC - Story Editor
- Spellchecking Features
- InDesign CC - Find/Change Function
- InDesign CC - Import Images
- InDesign CC - Image Links
- InDesign CC - Edit Images
- InDesign CC - Image Fitting
- InDesign CC - Image Transparency
- InDesign CC - QR Codes
- Selection Tools & Fill Strokes
- Image Color & Transparency
- InDesign CC - Drop Shadows
- Special Effects to Objects
- InDesign CC - Eyedropper Tool
- Find/Change Feature for Objects
- InDesign CC - Swatches Panel
- InDesign CC - Color Panel
- InDesign CC - Gradients & Blends
- InDesign CC - Paths & Outlines
- InDesign CC - Stack Objects
- InDesign CC - Layers
- InDesign CC - Nest Objects
- InDesign CC - Align Objects
- Text Wrap & Anchor Objects
- InDesign CC - Object Transformation
- InDesign CC - Characters
- InDesign CC - Text Formatting
- InDesign CC - Paragraph Formatting
- Paragraph & Character Styles
- InDesign CC - Tables
- InDesign CC - Long Documents
- InDesign CC - Table of Contents
- InDesign CC - Interactive Documents
- InDesign CC - Ebook
- InDesign CC - Preflighting
- InDesign CC - Package Documents
- Print Documents & Booklets
- Export Documents as PDFs
- Selective Text Frame Export
- Word & InDesign
- Word File Import to InDesign
- Word To InDesign
- Photoshop & Illustrator Workflows
- Export InDesign Artwork
- Preserve Layers & Vectors
Adobe InDesign CC - Gradients and Blends
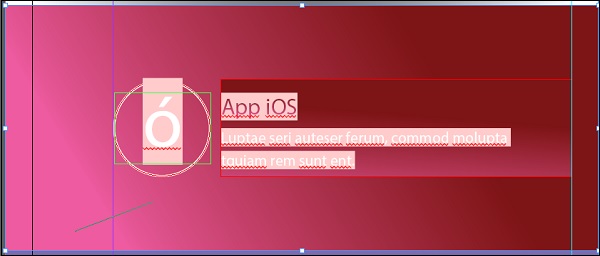
Applying Gradients
Using gradients can lend some great effects to the document. For using gradients, create an empty gradient swatch by going to the options of the Swatches panel and selecting New Gradient Swatch and click Ok.
Right-click the new gradient swatch, which you will see now and select Swatch Options to open the Gradient Options dialog box.
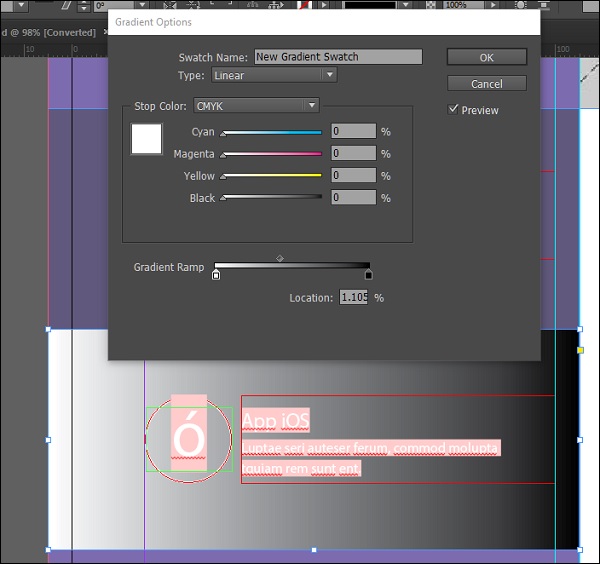
In this case, the default gradient color is from white to black. Clicking the first stop (the small white icon) in the Gradient Ramp allows you to define the CMYK color which you want as the starting point of the gradient. You can also change this to RGB to Lab by selecting the appropriate option from the Stop Color dropdown menu.
The Stop Color dropdown menu also allows you to select an existing swatch as your gradient color.
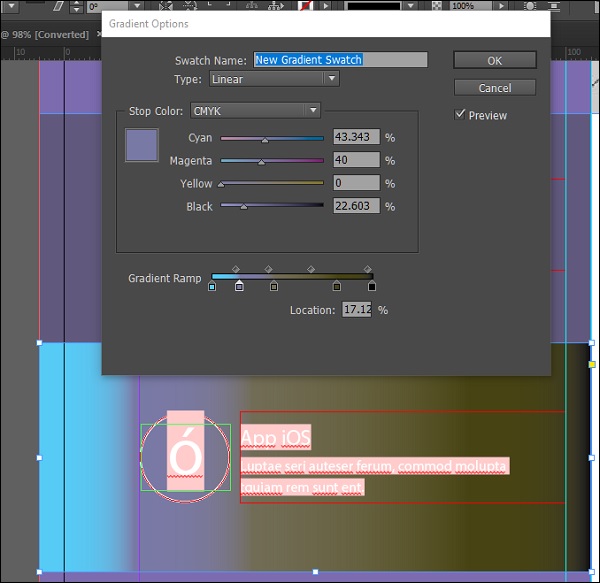
You can also add a multi-stop gradient by clicking the Gradient Ramp. If you notice, you will see a diamond shaped handle on top of the Gradient Ramp. That allows you to define the extent of the gradient.
If you want to remove any of the gradient stops, click and drag the stop out of the ramp.
Blending Gradients
You can fine tune the gradients you have created to have a more consistent look with the rest of the document.
For this, let us create two gradient swatches one will be a radial gradient and one will be a linear one. Select the frames that you want these gradients to be applied.
To fine tune the gradients, select the Gradient panel and adjust the gradients start and end points.
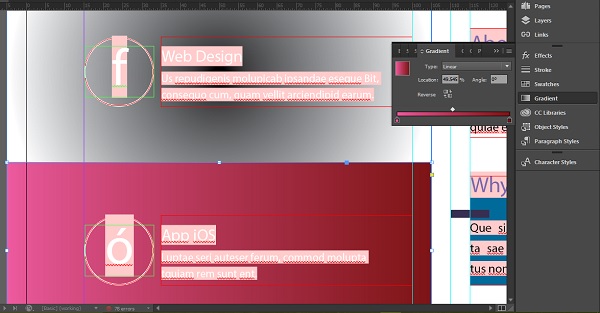
You can also select the Gradient Swatch Tool from the toolbar and simply drag a line within the frame in the direction you want the gradient to be applied.