- Adobe InDesign CC - Home
- Desktop Publishing - Introduction
- Popular DTP Software
- InDesign CC - Introduction
- InDesign CC - Workspace Basics
- Create the First Document
- InDesign CC - Page Management
- InDesign CC - Section Options
- InDesign CC - Text Frames
- InDesign CC - Story Editor
- Spellchecking Features
- InDesign CC - Find/Change Function
- InDesign CC - Import Images
- InDesign CC - Image Links
- InDesign CC - Edit Images
- InDesign CC - Image Fitting
- InDesign CC - Image Transparency
- InDesign CC - QR Codes
- Selection Tools & Fill Strokes
- Image Color & Transparency
- InDesign CC - Drop Shadows
- Special Effects to Objects
- InDesign CC - Eyedropper Tool
- Find/Change Feature for Objects
- InDesign CC - Swatches Panel
- InDesign CC - Color Panel
- InDesign CC - Gradients & Blends
- InDesign CC - Paths & Outlines
- InDesign CC - Stack Objects
- InDesign CC - Layers
- InDesign CC - Nest Objects
- InDesign CC - Align Objects
- Text Wrap & Anchor Objects
- InDesign CC - Object Transformation
- InDesign CC - Characters
- InDesign CC - Text Formatting
- InDesign CC - Paragraph Formatting
- Paragraph & Character Styles
- InDesign CC - Tables
- InDesign CC - Long Documents
- InDesign CC - Table of Contents
- InDesign CC - Interactive Documents
- InDesign CC - Ebook
- InDesign CC - Preflighting
- InDesign CC - Package Documents
- Print Documents & Booklets
- Export Documents as PDFs
- Selective Text Frame Export
- Word & InDesign
- Word File Import to InDesign
- Word To InDesign
- Photoshop & Illustrator Workflows
- Export InDesign Artwork
- Preserve Layers & Vectors
Adobe InDesign CC - Drop Shadows
Drop shadows are a great way to make an object stand out and can give a sense of depth to the object. However, care must be taken not to overuse them else, the document can look too gaudy.
There are two ways to implement drop shadows in InDesign.
Using the Default Drop Shadow Function
There is a direct and easy way to create a drop shadow in InDesign. Just go to the Control Panel and click the Drop Shadow icon. This will instantly create a drop shadow for the object under selection.
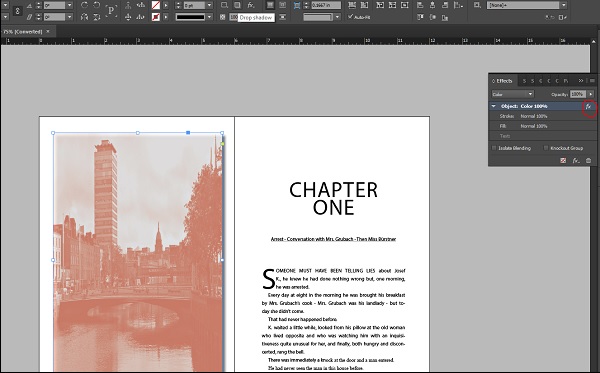
You will see that a drop shadow has been applied to the image. If you notice carefully, there is a fx written beside the object in the Effects panel (circled in red).
You can double-click the fx icon to gain more control over the drop shadow which we will see next. Hovering over the fx icon gives a tooltip that tells you the effect applied to the object.
More Drop Shadow Settings
Double-clicking the fx icon opens up a dialog box to further fine tune the shadow characteristics.
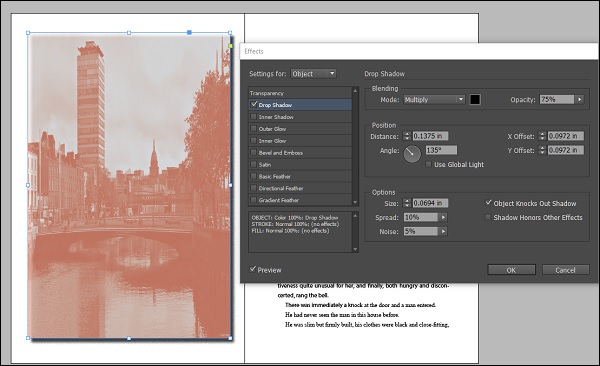
Here, you can change various parameters such as the spread, angle, and offset of the shadow. You can also add a custom color to the shadow.
It is always a good idea to add some noise to the shadow (about 3-5%) to make it look more natural.
