- Microsoft Azure Tutorial
- Microsoft Azure - Home
- Cloud Computing - Overview
- Microsoft Azure - Windows
- Microsoft Azure - Components
- Microsoft Azure - Compute Module
- Microsoft Azure - Fabric Controller
- Microsoft Azure - Storage
- Microsoft Azure - Blobs
- Microsoft Azure - Queues
- Microsoft Azure - Tables
- Microsoft Azure - CDN
- Microsoft Azure - Applications
- Microsoft Azure - Security
- Microsoft Azure - Datacenters
- Microsoft Azure - Scenarios
- Microsoft Azure Advanced
- Microsoft Azure - Management Portal
- Azure - Create Virtual Network
- Azure - Deploying Virtual Machines
- Azure - Endpoint Configuration
- Azure - Point-to-Site Connectivity
- Azure - Site-to-Site Connectivity
- Microsoft Azure - Traffic Manager
- Microsoft Azure - PowerShell
- Azure - Monitoring Virtual Machines
- Azure - Setting Up Alert Rules
- Azure - Application Deployment
- Microsoft Azure - Backup & Recovery
- Azure - Self-Service Capabilities
- Azure - Multi-Factor Authentication
- Azure - Forefront Identity Manager
- Azure - Data Import & Export Job
- Microsoft Azure - Websites
- Microsoft Azure - Scalability
- Microsoft Azure - Disk Configuration
- Microsoft Azure - Disk Caching
- Microsoft Azure - Personalize Access
- Azure - Personalize Company Brand
- Azure - Self-Service Password Reset
- Microsoft Azure - Self-Service Group
- Microsoft Azure - Create a Group
- Azure - Security Reports & Alerts
- Azure - Orchestrated Recovery
- Microsoft Azure - Health Monitoring
- Microsoft Azure - Upgrades
- Microsoft Azure Useful Resources
- Microsoft Azure - Quick Guide
- Microsoft Azure - Useful Resources
- Microsoft Azure - Discussion
Microsoft Azure - Backup & Recovery
Azure backup can be used to backing up on-premise data in cloud. Data is stored in an encrypted mode. The following sections provide a detailed illustration of how to do it using Azure. In this process, we will first create a backup vault where our data will be stored and then see how data can be backed up from our on-premise computer. The backup agent which is installed on the computer, first encrypts the data and then sends it over the network to the storage place in Azure. Your data is completely safe and secure.
Create Backup Vault
Step 1 − Login into your management portal.
Step 2 − At the bottom right corner, select New → Data Services → Recovery Services → Backup Vault → Quick Create.
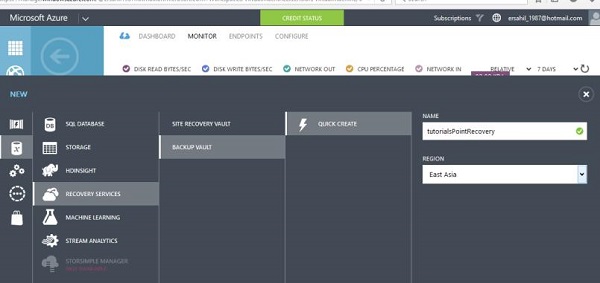
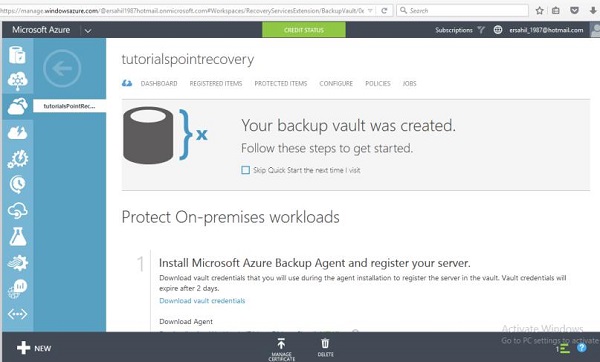
Step 3 − Enter the name of vault and select the region. It will be created and displayed in your management portal.
Step 4 − Select the vault and click ‘Download Vault Credentials’ as shown in the following image.
Step 5 − It will save a credential file on your computer.
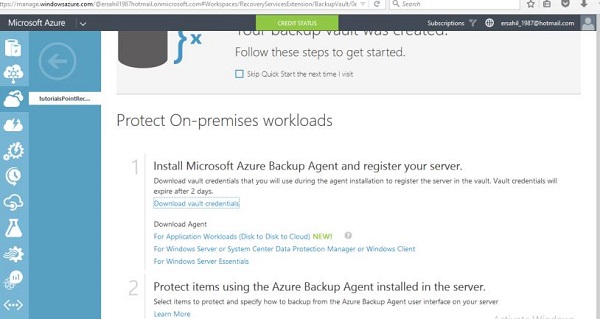
Step 6 − Now scroll down the same page in Azure and you will see three options under ‘Download Agent’. Select a suitable option. Let’s choose the third option in the list in this example.
Step 7 − Agent’s setup will be saved on your computer. You will have to install it by following the wizard. There is nothing very specific in the installation process.
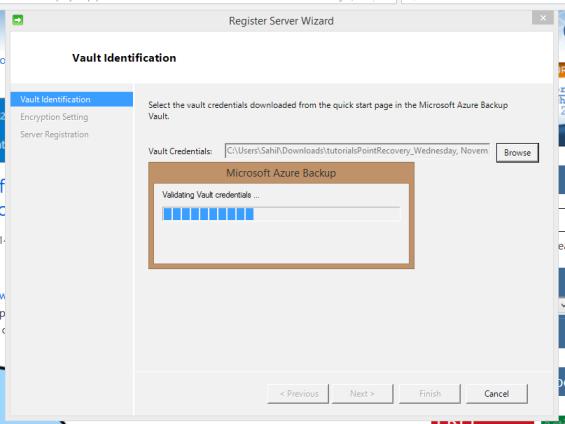
Step 8 − At the end of the installation, you will see a button at the bottom of pop-up window ‘Proceed to Registration’. Click that button and the following screen will appear.
Step 9 − First step is vault identification. Browse the credentials file on your computer which was saved in the last step.
Step 10 − Next step in the registration wizard is choosing the encryption setting. You can enter your own passphrase or let the wizard generate it by itself. Here let’s choose ‘Generate Passphrase’.
Step 11 − Browse for the location where you want to save the passphrase. Keeping this passphrase file safe is very important as you won’t be able to restore backups without it.
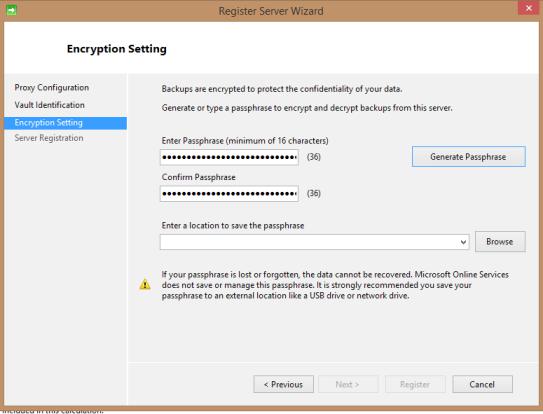
Step 12 − Click on Next and the file will be saved on your selected location.
Schedule a Backup
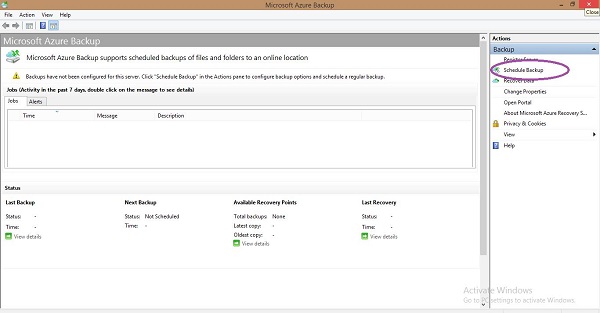
After the wizard in the above section is finished, you will see the following program that was installed in the previous step, running on your computer. You will come across selecting the data folder from your computer you want to back up on Azure and the frequency of backup in this wizard.
Step 1 − Click ‘Schedule Backup’ from the right panel.
In this example, let’s select the data folder named ‘QServicesManagementSystem’.

Follow the steps as pop up on the screen and are quite understandable. You are allowed to back up 3 times maximum and you can choose from daily and weekly frequency.
Step 2 − In the following step, select how long you want to keep the backup in your online storage. Set it according to your need.

Step 3 − You can choose the ‘Backup Now’ in the left panel of backup agent. It will save a copy of your data that very moment. Then you can see it in your management portal by selecting the backup vault and going to its dashboard.
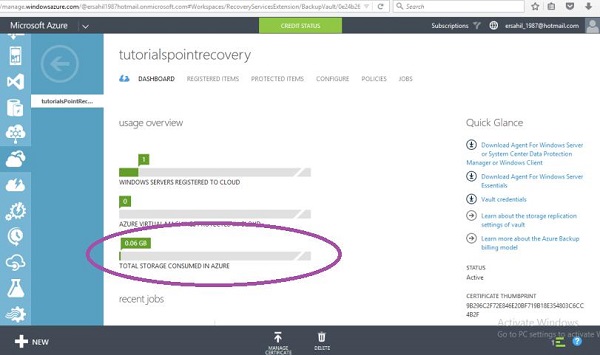
You can see in the following image that there is one item listed under ‘Jobs’ section as data has been backed up by selecting ‘backup now’. This section will display all the activities in backup task. Details of the backup schedule is displayed under ‘Status’ section.
Step 4 − You can recover the data by selecting ‘Recover Data’ in backup agent and following the wizard.
