- Microsoft Azure Tutorial
- Microsoft Azure - Home
- Cloud Computing - Overview
- Microsoft Azure - Windows
- Microsoft Azure - Components
- Microsoft Azure - Compute Module
- Microsoft Azure - Fabric Controller
- Microsoft Azure - Storage
- Microsoft Azure - Blobs
- Microsoft Azure - Queues
- Microsoft Azure - Tables
- Microsoft Azure - CDN
- Microsoft Azure - Applications
- Microsoft Azure - Security
- Microsoft Azure - Datacenters
- Microsoft Azure - Scenarios
- Microsoft Azure Advanced
- Microsoft Azure - Management Portal
- Azure - Create Virtual Network
- Azure - Deploying Virtual Machines
- Azure - Endpoint Configuration
- Azure - Point-to-Site Connectivity
- Azure - Site-to-Site Connectivity
- Microsoft Azure - Traffic Manager
- Microsoft Azure - PowerShell
- Azure - Monitoring Virtual Machines
- Azure - Setting Up Alert Rules
- Azure - Application Deployment
- Microsoft Azure - Backup & Recovery
- Azure - Self-Service Capabilities
- Azure - Multi-Factor Authentication
- Azure - Forefront Identity Manager
- Azure - Data Import & Export Job
- Microsoft Azure - Websites
- Microsoft Azure - Scalability
- Microsoft Azure - Disk Configuration
- Microsoft Azure - Disk Caching
- Microsoft Azure - Personalize Access
- Azure - Personalize Company Brand
- Azure - Self-Service Password Reset
- Microsoft Azure - Self-Service Group
- Microsoft Azure - Create a Group
- Azure - Security Reports & Alerts
- Azure - Orchestrated Recovery
- Microsoft Azure - Health Monitoring
- Microsoft Azure - Upgrades
- Microsoft Azure Useful Resources
- Microsoft Azure - Quick Guide
- Microsoft Azure - Useful Resources
- Microsoft Azure - Discussion
Microsoft Azure - Traffic Manager
Let us first understand what is the service provided by Azure traffic manager. Basically, this service balances the traffic load of services hosted in Azure. The routing policy is defined by the client and traffic to the services hosted in Azure is redirected according to set policies. Traffic manager is a DNS-based service. Thus, it will improve the availability and performance applications.
Let’s see how to create and configure traffic manager in Azure.
Create Traffic Manager
Step 1 − Login to Azure management portal and click ‘New’ at the bottom left corner.
Step 2 − Select Network Services → Traffic Manager → Quick Create.
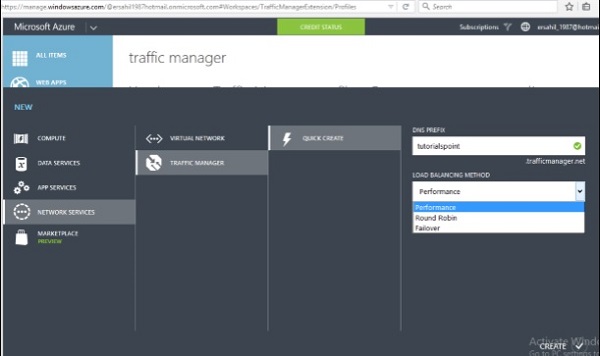
Step 3 − Enter the DNS prefix and select the Load Balancing Method.
There are three options in this dropdown.
Performance − This option is ideal when you have endpoints in two different locations. When a DNS is requested, it is redirected to the region closest to the user.
Round Robin − This option is ideal when you want to distribute the traffic among multiple endpoints. Traffic is distributed in round robin fashion by selecting a healthy endpoint.
Failover − In this option, a primary access point is set up, but in case of failure alternate endpoints are made available as backup.
Step 4 − Based on your needs you can choose a load balancing method. Let’s choose performance here.
Step 5 − Click create.
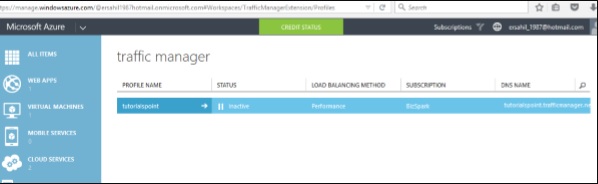
You will see the traffic manager created and displayed in your management portal. Its status will be inactive until it is configured.
Create Endpoints to be Monitored via Traffic Manager
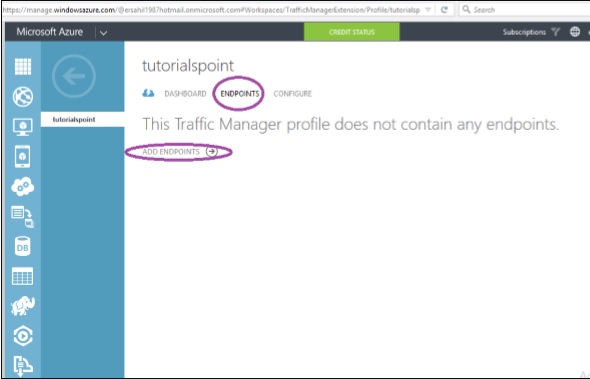
Step 1 − Select the ‘Traffic Manager’ from the left panel in the management portal that you want to work on.
Step 2 − Select ‘Endpoints’ from the top horizontal menu as shown in the following image. Then select ‘Add Endpoints’.
Step 3 − The screen shown in the following image will appear. Choose the service type and items under that service will be listed.
Step 4 − Select the service endpoints and proceed.
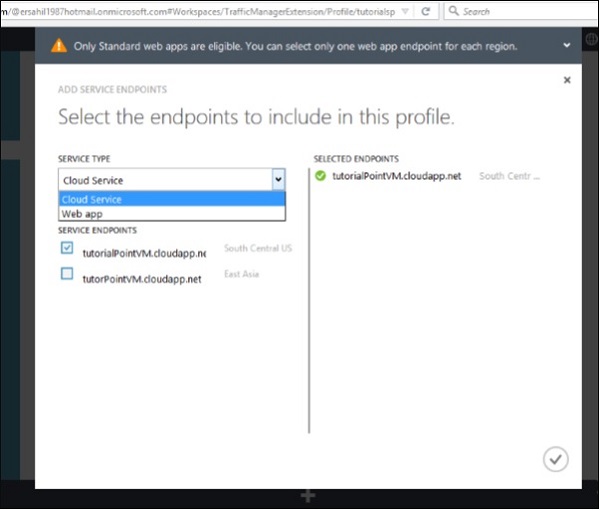
Step 5 − The service endpoints will be provisioned.
You can see that in this case, the service ‘tutorialsPointVM’ created in Azure will now be monitored by the traffic manager and its traffic will be redirected according to the specified policy.
Configure the Policy
Step 1 − Click on ‘Configure’ in the top menu bar as shown in the following image.
Step 2 − Enter the DNS Time to Live (TIL). It is the amount of time for which a client/user will continue to use a particular endpoint. For example, if you enter 40 seconds the traffic manager will be queried after every 40 seconds for the changes in the traffic management system.
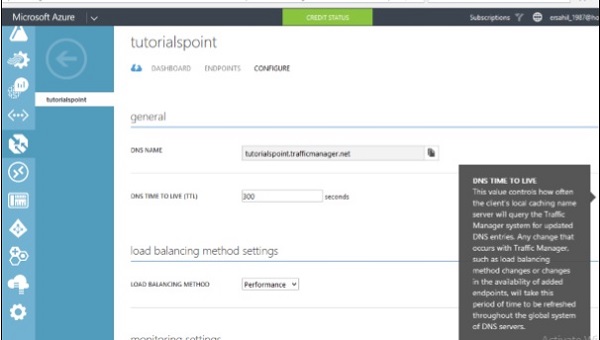
Step 3 − You can change the load balancing method here by choosing a desired method from the dropdown. Here, let’s choose ‘Performance’ as chosen earlier.
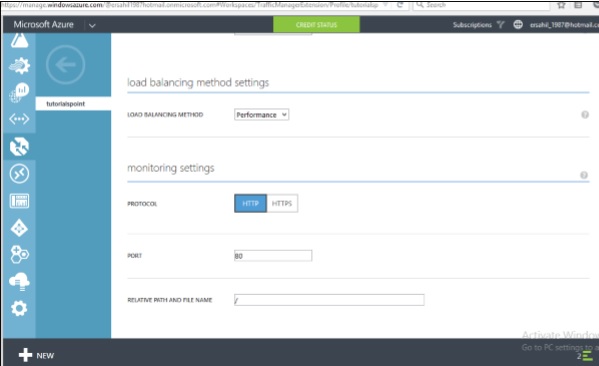
Step 4 − If you scroll down, you will see heading ‘Monitoring Setting’. You can choose the protocol; enter port number and relative path for a service to be monitored.