- SAP C4C - Home
- SAP C4C - Introduction
- SAP C4C - Architecture
- SAP C4C - Public vs Private
- SAP C4C - User Interface
- SAP C4C - Work Centers
- Project Implementation & Scoping
- SAP C4C - Fine-Tuning
- Organizational Management
- SAP C4C - Personalization
- SAP C4C - Adaptation
- SAP C4C - Reporting
- SAP C4C - Creating a Custom Report
- SAP C4C - Data Sources
- SAP C4C - Service Level
- SAP C4C - Service Category
- SAP C4C - User Management
- SAP C4C - Business Roles
- SAP C4C - Work Distribution
- SAP C4C - Social
- Data Migration & Workflow
- SAP C4C - Pricing
- SAP C4C - Sales Cycle
- SAP C4C - Retail
- Integration with CRM & ERP
- SAP C4C - Integration with Outlook
- SAP C4C - Mobile
- SAP C4C - Mashups
- SAP C4C - Questions and Answers
- SAP C4C - Quick Guide
- SAP C4C - Useful Resources
- SAP C4C - Discussion
SAP C4C - Personalization
Personalization involves changing screen layouts, fields and output forms for a single user or group of users. SAP C4C provides several features that enable you to customize fields, screen layouts, and output forms.
Personalization
Personalization enables individual users to modify their own view of the UI screen. Using Personalization, impacts the user making a change to the screen. This allows the users to tailor the system in a way they want to use it on a daily (or regular) basis.
In C4C, an administrator can disable this feature by going to Adapt → Company Setting → Disable user Personalization features.

Step 1
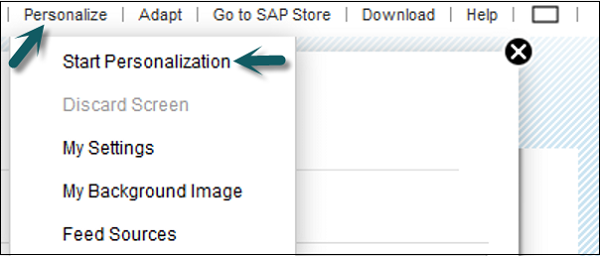
To start personalization, click the Personalize tab at the top.

The following options are available under the Personalization tab −
- Start Personalization
- My Settings
- My Background image
- Feed Sources.
Step 2
Select Start personalization.
You can see the personalization screen.
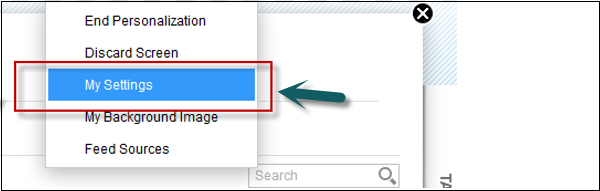
Step 3
Go to My Settings; you can perform various personalization settings as per requirement.
Step 4
Go to Regional Settings. You can personalize date formats, different decimal notation, different time zone, different time format, different languages as per your requirement.
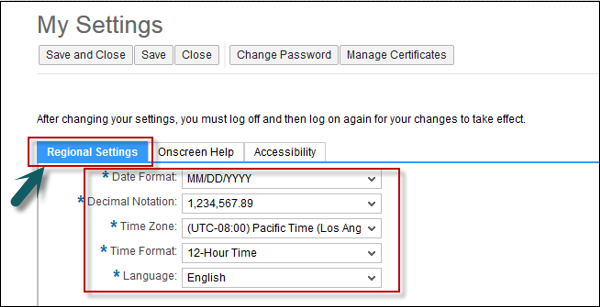
Step 5
Under the Onscreen Help tab, you can select Country. Country specific help will be activated and the help content can be seen in Help Center. A user can view these additional country specific help, if he has any issues.

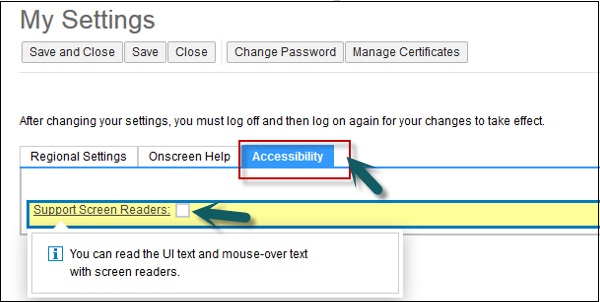
Step 6
Under the Accessibility tab, check the support screen readers checkbox. It allows a user to read the User Interface (UI) text and mouse over text with screen readers.
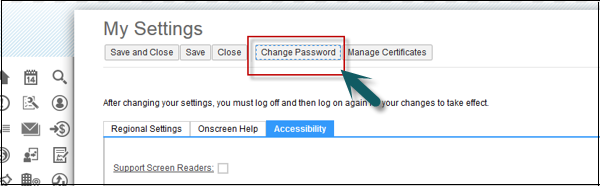
Step 7
You can change the password by clicking the Change Password command button under My Settings.
Note − All the personalization performed above, is usually done by the end-user on their HTML 5 screen. These personalization changes are on their screens only and do not reflect on any other user screen.
