- Google Plus - Business Page Setting
- Creating a New Account
- Navigating Through Google Plus
- Adding Business Details
- Uploading Profile Picture
- Google Plus - Adding a Cover Picture
- Google Plus - Networking
- Google Plus - Circles
- Google Plus - Communities
- Google Plus - Hangouts
- Google Plus - Events
- Google Plus - Posting Content
- Google Plus - Uploading a Post
- Google Plus - Editing a Post
- Google Plus - Deleting a Post
- Google Plus - Resharing a Post
- Google Plus - Reporting a Post
- Foster User Engagement
- Google Plus - Checking Notifications
- Google Plus - Adding Managers
- Google Plus - Setting Settings
- Google Plus - Notification Settings
- Google Plus - Circle Settings
- Google Plus - Photo & Video Settings
- Google Plus - Profile Settings
- Google Plus - Deleting an Account
- Google Plus - Insights
- Google Plus - Optimization Process
- Google Plus - Optimizing a Page
- Google Plus - Claiming Vanity URL
- Google Plus - +Post Ads
- Google Plus - Integration Process
- Google Plus - Badges
- Google Plus - Creating a Badge
- Connecting With YouTube
- Google Plus - Social Linking
- Google Plus Useful Resources
- Google Plus - Quick Guide
- Google Plus - Useful Resources
- Google Plus - Discussion
Selected Reading
Google Plus - Adding a Cover Picture
In this chapter, we will discuss how you can add a cover picture in your Google+ account.
Step 1 − Open Google+ account.
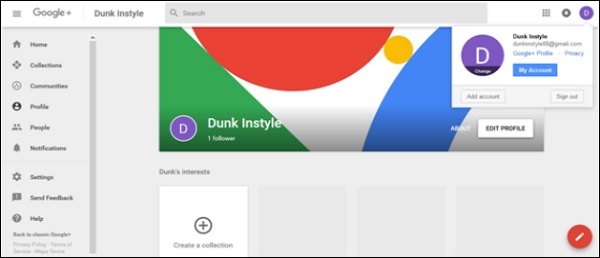
Step 2 − Click the drop-down menu (hamburger icon) situated on the left corner of Google+ page.
Step 3 − Click Profile from the options.
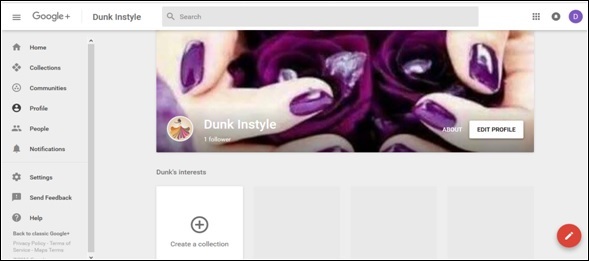
Step 4 − Click the option Edit profile'.
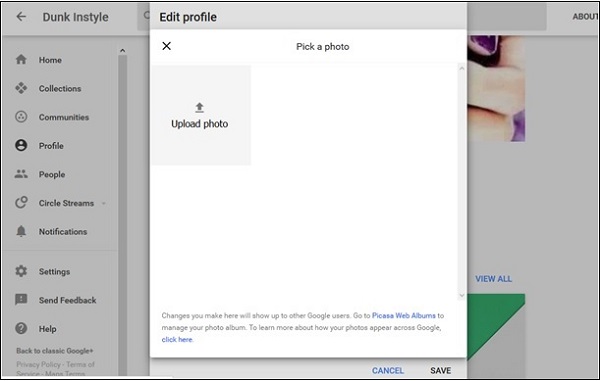
Step 5 − Choose from the following options.
Upload photos (drag photo from computer drives)
photos/albums (select the photos from the existing ones)
Web camera (take a new click with web camera)
Step 6 − Crop and rotate the photo if desired.
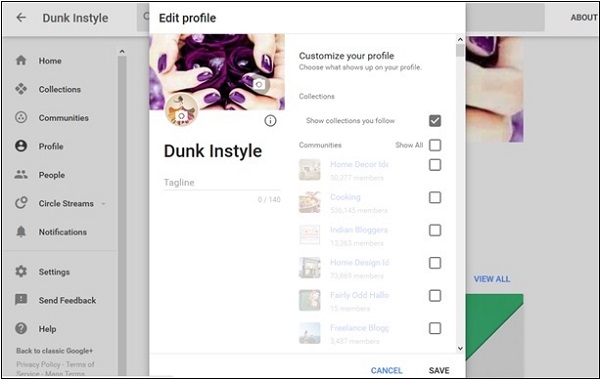
Step 7 − Finally, click the option Save.

Advertisements