
- Node.js Tutorial
- Node.js - Home
- Node.js - Introduction
- Node.js - Environment Setup
- Node.js - First Application
- Node.js - REPL Terminal
- Node.js - Command Line Options
- Node.js - Package Manager (NPM)
- Node.js - Callbacks Concept
- Node.js - Upload Files
- Node.js - Send an Email
- Node.js - Events
- Node.js - Event Loop
- Node.js - Event Emitter
- Node.js - Debugger
- Node.js - Global Objects
- Node.js - Console
- Node.js - Process
- Node.js - Scaling Application
- Node.js - Packaging
- Node.js - Express Framework
- Node.js - RESTFul API
- Node.js - Buffers
- Node.js - Streams
- Node.js - File System
- Node.js MySQL
- Node.js - MySQL Get Started
- Node.js - MySQL Create Database
- Node.js - MySQL Create Table
- Node.js - MySQL Insert Into
- Node.js - MySQL Select From
- Node.js - MySQL Where
- Node.js - MySQL Order By
- Node.js - MySQL Delete
- Node.js - MySQL Update
- Node.js - MySQL Join
- Node.js MongoDB
- Node.js - MongoDB Get Started
- Node.js - MongoDB Create Database
- Node.js - MongoDB Create Collection
- Node.js - MongoDB Insert
- Node.js - MongoDB Find
- Node.js - MongoDB Query
- Node.js - MongoDB Sort
- Node.js - MongoDB Delete
- Node.js - MongoDB Update
- Node.js - MongoDB Limit
- Node.js - MongoDB Join
- Node.js Modules
- Node.js - Modules
- Node.js - Built-in Modules
- Node.js - Utility Modules
- Node.js - Web Module
- Node.js Useful Resources
- Node.js - Quick Guide
- Node.js - Useful Resources
- Node.js - Dicussion
Node.js - MySQL Get Started
Any server-side programming language like Node.js needs to interface with a backend database for persistent data storage and retrieval, based on its interaction with the client-side application. MySQL is widely used RDBMS software. In this chapter, we shall learn how to connect a Node.js application with a MySQL database.
MySQL is an open-source and cross-platform relational database management system, and uses SQL (Structured Query Language) to create, modify and extract data from the tables in e relational database, as well as control user access to the database. MySQL also works with an operating system to implement the management features of a relational database such as allocation of storage, manage users, grant network access and creation of backups.
MySQL Installation
To use MySQL as a backend with a Node.js application, you must install MySQL on your computer. Let us learn how to install MySQL on Linux and Windows.
On Ubuntu Linux
Update package information from the MySQL APT repository with this command −
$ sudo apt-get update
Install MySQL by the following command −
$ sudo apt-get install mysql-server
This installs the package for the MySQL server, as well as the packages for the client and for the database common files.
During the installation, you are asked to supply a password for the root user for your MySQL installation.
The MySQL server is started automatically after installation. You can check the status of the MySQL server with the following command −
$ systemctl status mysql
Then install the MySQL Workbench −
$ sudo apt-get install mysql-workbench-community
On Windows
Download the latest community edition of MySQL installer for Windows from the link https://dev.mysql.com/downloads/mysql/
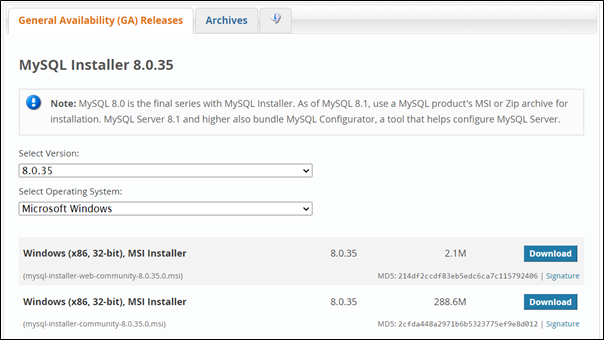
The MSI installer (mysql-installer-community-8.0.35.0.msi) will be downloaded. Start the installation wizard by double-clicking it.
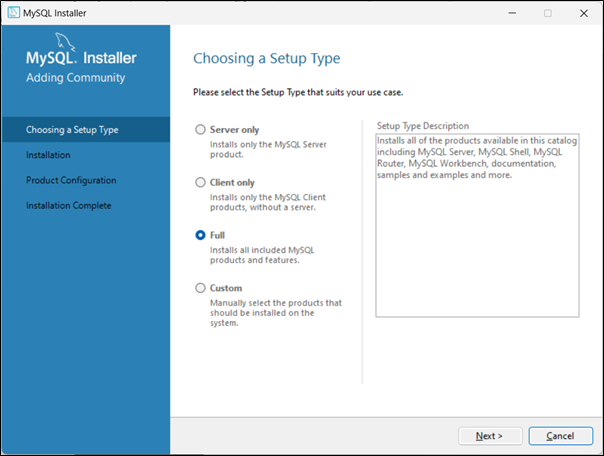
Choose "Full" setup type from the screen below −
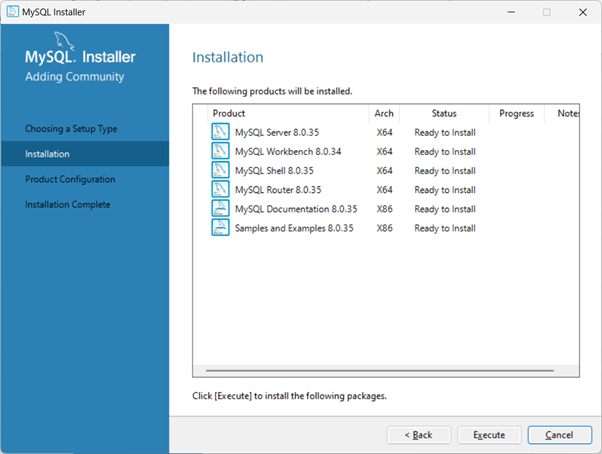
Installer shows a list of products to be installed:
During the installation, choose an appropriate root password that is both strong and one you can remember.
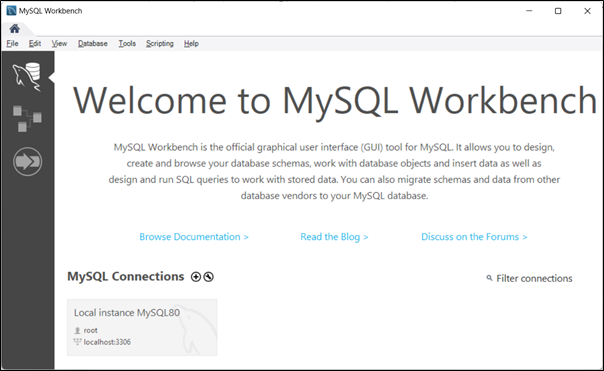
Here is the final step in the installation wizard −

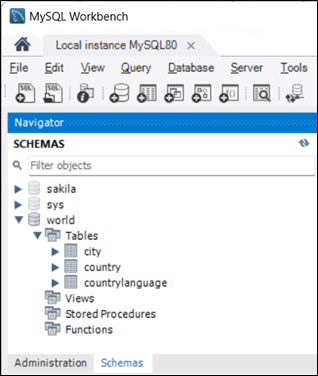
The MySQL Workbench will now start. It is an integrated environment for MySQL. It enables users to graphically administer MySQL databases and visually design database structures.
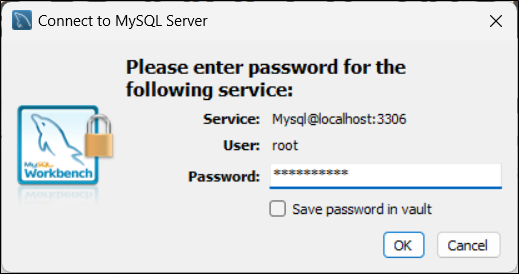
Connect to the MySQL server running on your machine by entering the password −
The Schema tab shows the databases that are currently available on the server.
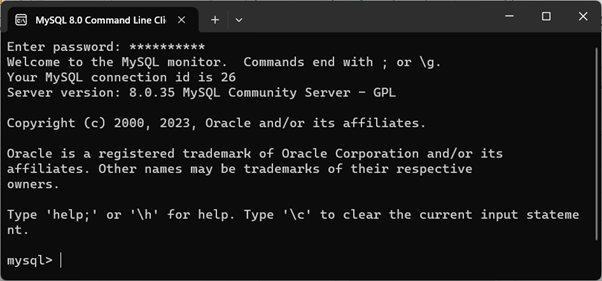
The MySQL command line client is also installed during the installation. When you start it, you'll be required to input the root password. The mysql prompt appears. Now you can enter any MySQL command in front of it.
To list all the databases, use the command show databases;
mysql> show databases;
+--------------------+
| Database           |
+--------------------+
| information_schema |
| mysql              |
| performance_schema |
| sakila             |
| sys                |
| world              |
+--------------------+
6 rows in set (0.00 sec)

mysql>
You can create a new database with create database command −
mysql> create database mydb;
Query OK, 1 row affected (0.01 sec)
MySQL Driver for Node.js
To use MySQL database as a backend, you need to install and include a MySQL driver from Node Package Manager (NPM).
The NPM repository hosts mysql module, it is a node.js driver for mysql. It is written in JavaScript, does not require compiling, and is 100% MIT licensed.
If you have installed the latest version of Node.js runtime (V10 or newer), npm is already available. To install the mysql module, use the following command in the command terminal −
npm install mysql
Note − that the official website of MySQL also provides a Connector/Node.js X DevAPI driver. From the version 8.0 onwards, MySQL supports NoSQL Document Store. The Connector/Node.js driver is especially needed if you intend to use the NoSQL features of MySQL. In this tutorial, we are using the mysql module, installed from NPM.
Establishing Connection
First step is to import the mysql module in your code by the following require() statement −
var mysql = require('mysql');
The createConnection() function in this module uses the credentials provided as arguments and returns the connection object.
createConnection(connectionUri: string | mysql.ConnectionConfig): mysql.Connection
The most common usage of createConnection() function is as follows −
var con = mysql.createConnection({
   host: "localhost",
   user: "root",
   password: "mypassword"
});
You have to use the connect() method of the connection object.
con.connect(function (err) {
   if (err) throw err;
   console.log("Connected!");
});
If the connection is successful, you’ll get "Connected!" message in the console.