- SAP PI - Home
- SAP PI - Introduction
- SAP PI - Installation Options
- SAP PI - Netweaver PI Architecture
- SAP PI - UI Tools
- SAP PI - Home Page
- SAP PI - System Landscape Directory
- SAP PI - Communication
- SAP PI - Securing Objects
- SAP PI - Creating Objects
- SAP PI - Modeling Scenarios
- SAP PI - Design Objects
- SAP PI - Display Design Objects
- SAP PI - Integration Scenarios
- SAP PI - File to File Scenario
- SAP PI - Creating Service Interface
- SAP PI - Creating Message Mapping
- Creating Operation Mapping
- Creating a Communication Channel
- Creating Integrated Configuration
- SAP PI - Connectivity
- SAP PI - ccBPM Overview
- SAP PI - ccBPM Configuration
- Monitoring Integration Processes
- SAP PI - Web Services
SAP PI - File to File Scenario
In SAP PI file to file scenario, we transfer a file from source system to target system. Once the components are built in SAP PI, you can transfer a file in SAP PI system by creating objects in the Enterprise Service Builder.
SAP PI File to File Scenario Execution
Step 1 − Go to SAP PI Tools Page → Enterprise Service Builder under ESR.

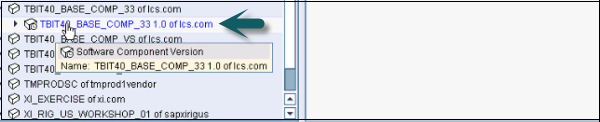
Step 2 − To find the name of component under which objects have to be created, expand the component to find out the software component version.
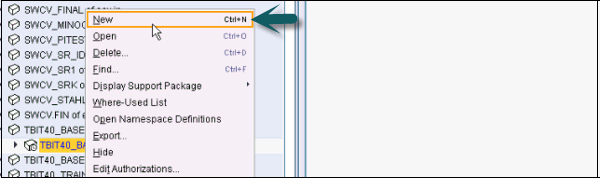
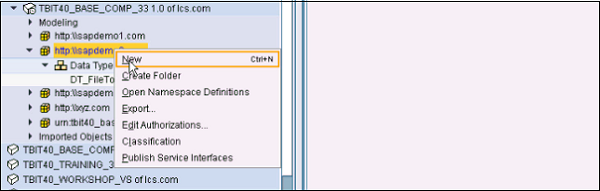
Step 3 − Select the component → Right click, click New to create an object under this component.
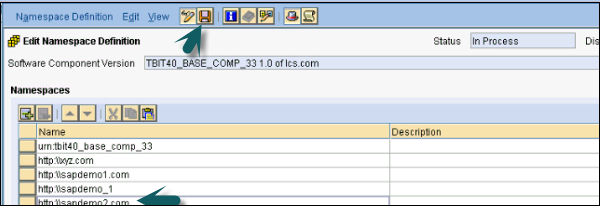
Step 4 − The first object that we create is a namespace. Enter the namespace in the form of URL and click Create button at the bottom.

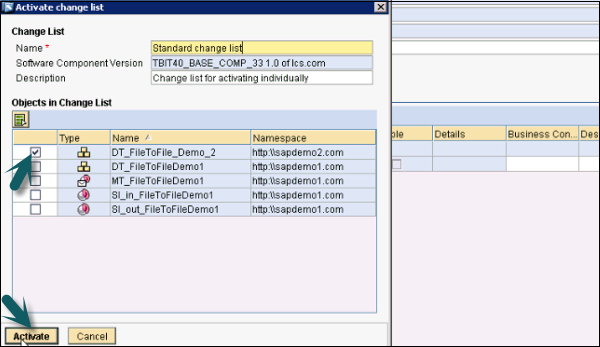
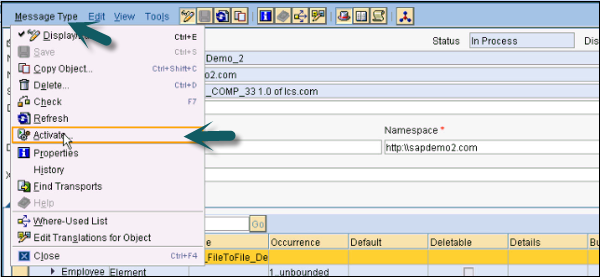
Step 5 − Once the object is created under software component, save and activate the object.
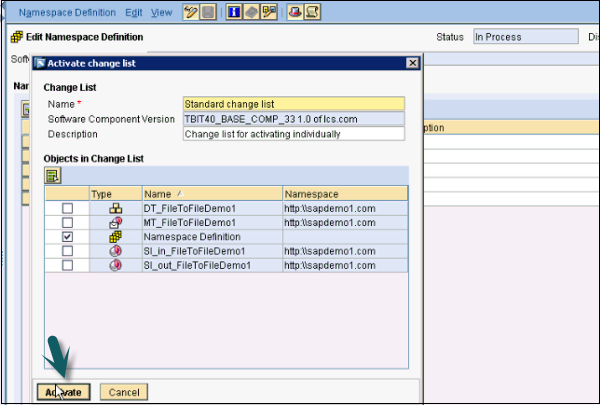
Step 6 − To Activate, click Activate as shown in the following screenshot −
Step 7 − Once the Namespace is saved and activated, create a data type. Go to software component → Right click → New. In the next window, select interface objects → data type.
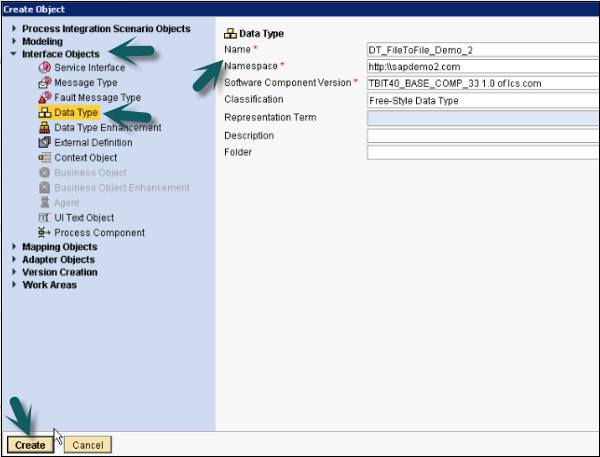
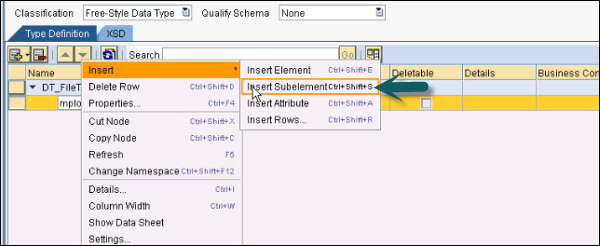
Step 8 − Enter the name of Data Type and Namespace and click Create as above. Next is to insert sub element into the Data Type.

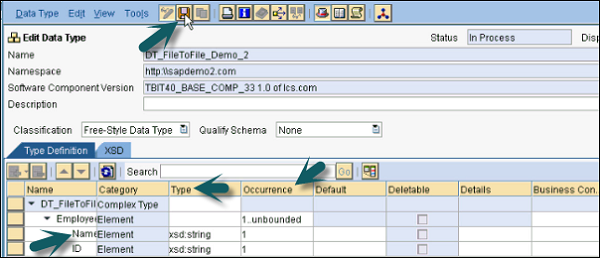
Step 9 − Enter the name of the element.

Step 10 − Insert sub element to add child employee id and name.
Step 11 − Define the type and occurrence. Occurrence defines how many times that element will appear in the file. You can select minimum occurrence and maximum occurrence value.
Step 12 − Click the Save button.
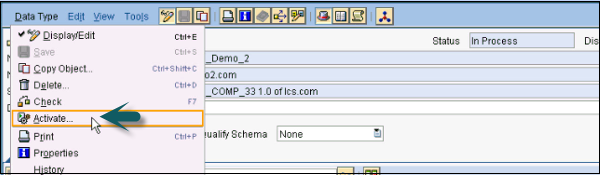
Step 13 − Activate the data type. Go to Data type → Activate.
Creating a Message Type
Step 1 − Right click Namespace → New
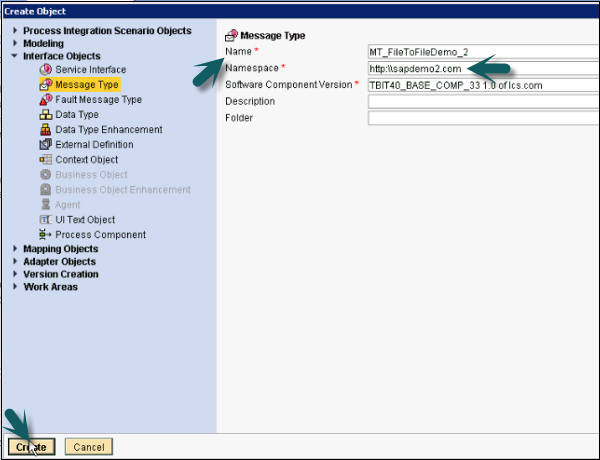
Step 2 − Under Interface Objects, select Message Type. Enter the fields.
Step 3 − Enter the name of Message Type.
Step 4 − By default, it takes the name of Namespace and Software components. If it doesnt, you can select manually. Then, click Create.
Step 5 − Now, define the Data Type that you will be using for Message Type. Drag the Data Type from the left bar to the Data Type option under Message Type ( ). Click Save button.
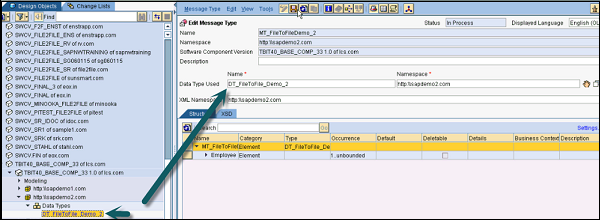
Step 6 − Activate Message Type → Activate.
Note − If the structure of your input file and output file is the same, you can use one Data Type and one Message Type only. If the structure is different, you have to create two data types and message types for inbound and outbound. In this example we are using the same structure for both input and output file.
