- SAP SRM Tutorial
- SAP SRM - Home
- SAP SRM - Overview
- SAP SRM - Navigation
- SAP SRM - Functions
- SAP SRM - Software Components
- SAP SRM - Deployment Options
- SAP SRM - Contract Management
- SAP SRM - Creating Central Contract
- SAP SRM - Bid Invitation
- Quotation & Live Auction Cockpit
- SAP SRM - Procurement
- Invoicing And Purchase Order
- SAP SRM - Shopping Cart
- SAP SRM - Supplier Self-Service
- SAP SRM - Post Installation For LAC
- Configuring Single Sign-on
- SAP SRM - Supplier Evaluation
- SAP SRM - MDM Catalog Upgrade
- SAP SRM - Security
- SAP SRM - System Landscape
- Network & Communication Security
- SAP SRM - Auditing & Logging
- SAP SRM Useful Resources
- SAP SRM - Questions Answers
- SAP SRM - Quick Guide
- SAP SRM - Useful Resources
- SAP SRM - Discussion
SAP SRM - Configuring Single Sign-on
To configure single sign-on, you need to have access to these T-codes −
- RZ10
- STRUST
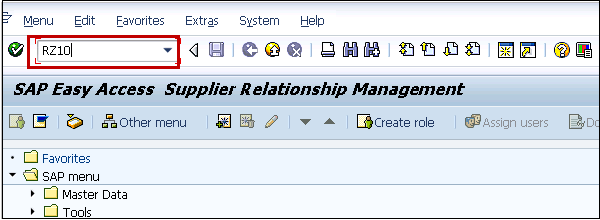
Step 1 − Login to the SAP SRM system using SAP GUI, go to T-code RZ10.
Step 2 − Select the Default profile and Extended Maintenance after that.
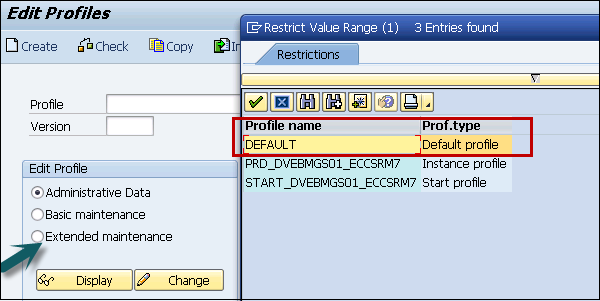
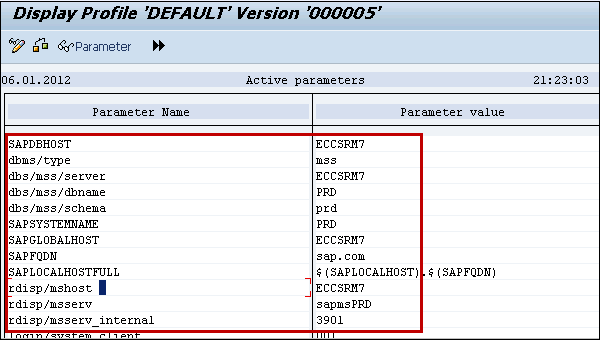
Step 3 − Click on Change and you will see the list of parameters for the profile.
Step 4 − Change the following profile parameters −
- login/create_sso2_ticket = 1
- login/accept_sso2_ticket = 1
Step 5 − Save and Activate the profile. It will generate a new profile.
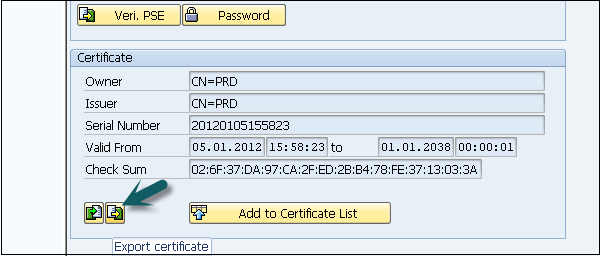
Step 6 − Export the R3SSO certificate from the Trust Manager, go to transaction STRUST.
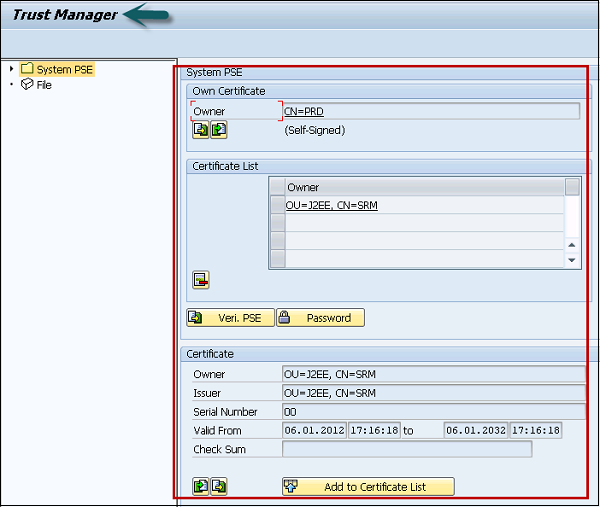
Step 7 − Double-click the text box to the right of Own Certificate. The certificate information is displayed. Note down the values of certificate as you need to enter the values.
Step 8 − Click on icon Export Certificate.
Step 9 − Save the file as <R3_Name>-<Client>.crt.
Example
EBS-300.crt
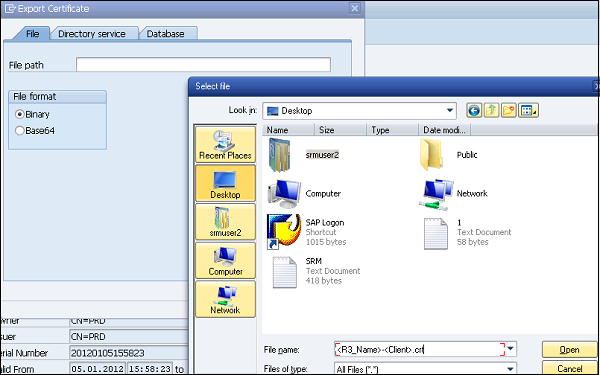
Step 10 − Click on the tick mark to create the file in parent directory.
Step 11 − Import R3 SSO certificate to the Java engine using the administrator tool.
NOTE − Make sure the Java engine is started.
Step 12 − Open the Java Administration tool.
Step 13 − Enter the Java Engine Administrator password and click on Connect.
Step 14 − Choose Server → Services Key → Storage
Step 15 − Click on Ticket Key Store in the View panel.
Step 16 − Click on Load in the Entry group box. Select the .crt file you exported in the previous step.
Step 17 − Configure the Security Provider service in the SAP Java engine using the Administrator tool.
Step 18 − Choose Server Services Security Provider.
Step 19 − Choose ticket in the Component panel and go to the Authentication tab.
Step 20 − Modify the options of Evaluate Ticket Login Module and add the following properties to each backend system on which you want to configure SSO.