- Yii Tutorial
- Yii - Home
- Yii - Overview
- Yii - Installation
- Yii - Create Page
- Yii - Application Structure
- Yii - Entry Scripts
- Yii - Controllers
- Yii - Using Controllers
- Yii - Using Actions
- Yii - Models
- Yii - Widgets
- Yii - Modules
- Yii - Views
- Yii - Layouts
- Yii - Assets
- Yii - Asset Conversion
- Yii - Extensions
- Yii - Creating Extensions
- Yii - HTTP Requests
- Yii - Responses
- Yii - URL Formats
- Yii - URL Routing
- Yii - Rules of URL
- Yii - HTML Forms
- Yii - Validation
- Yii - Ad Hoc Validation
- Yii - AJAX Validation
- Yii - Sessions
- Yii - Using Flash Data
- Yii - Cookies
- Yii - Using Cookies
- Yii - Files Upload
- Yii - Formatting
- Yii - Pagination
- Yii - Sorting
- Yii - Properties
- Yii - Data Providers
- Yii - Data Widgets
- Yii - ListView Widget
- Yii - GridView Widget
- Yii - Events
- Yii - Creating Event
- Yii - Behaviors
- Yii - Creating a Behavior
- Yii - Configurations
- Yii - Dependency Injection
- Yii - Database Access
- Yii - Data Access Objects
- Yii - Query Builder
- Yii - Active Record
- Yii - Database Migration
- Yii - Theming
- Yii - RESTful APIs
- Yii - RESTful APIs in Action
- Yii - Fields
- Yii - Testing
- Yii - Caching
- Yii - Fragment Caching
- Yii - Aliases
- Yii - Logging
- Yii - Error Handling
- Yii - Authentication
- Yii - Authorization
- Yii - Localization
- Yii - Gii
- Gii – Creating a Model
- Gii – Generating Controller
- Gii – Generating Module
- Yii Useful Resources
- Yii - Quick Guide
- Yii - Useful Resources
- Yii - Discussion
Yii - Views
Views are responsible for presenting the data to end users. In web applications, Views are just PHP script files containing HTML and PHP code.
Creating Views
Step 1 − Let us have a look at the ‘About’ view of the basic application template.
<?php
   /* @var $this yii\web\View */
   use yii\helpers\Html;
   $this->title = 'About';
   $this->params['breadcrumbs'][] = $this->title;
?>
<div class="site-about">
   <h1><?= Html::encode($this->title) ?></h1>
   <p>
      This is the About page. You may modify the following file to customize its content:
   </p>
   <code><?= __FILE__ ?></code>
</div>
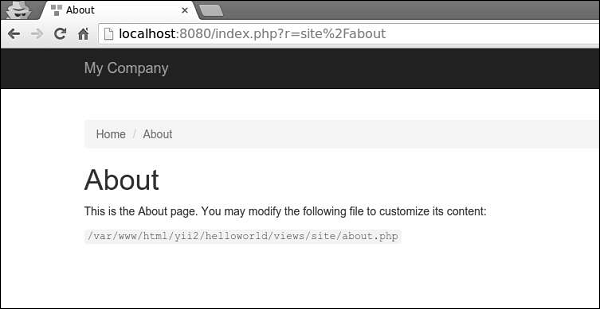
The $this variable refers to the view component that manages and renders this view template.
This is how the ‘About’ page looks like −
It is important to encode and/or filter the data coming from the end user in order to avoid the XSS attacks. You should always encode a plain text by calling yii\helpers\Html::encode() and HTML content by calling yii\helpers\HtmlPurifier.
Step 2 − Modify the ‘About’ View in the following way.
<?php
   /* @var $this yii\web\View */
   use yii\helpers\Html;
   use yii\helpers\HtmlPurifier;
   $this->title = 'About';
   $this->params['breadcrumbs'][] = $this->title;
?>
<div class="site-about">
   <h1><?= Html::encode($this->title) ?></h1>
   <p>
      This is the About page. You may modify the following file to customize its content:
   </p>
   <p>
      <?= Html::encode("<script>alert('alert!');</script><h1>ENCODE EXAMPLE</h1>>") ?>
   </p>
   <p>
      <?= HtmlPurifier::process("<script>alert('alert!');</script><h1> HtmlPurifier EXAMPLE</h1>") ?>
   </p>
   <code><?= __FILE__ ?></code>
</div>
Step 3 − Now type http://localhost:8080/index.php?r=site/about. You will see the following screen.
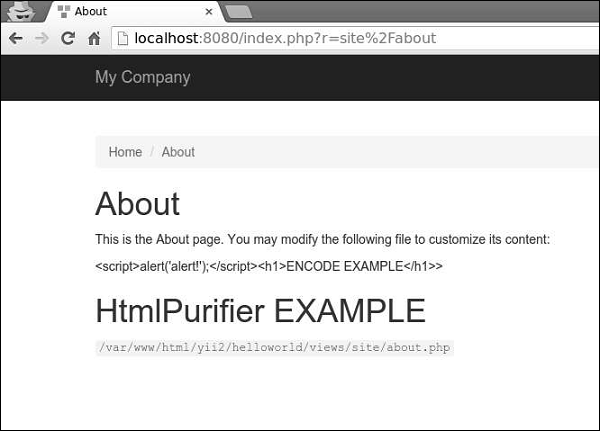
Notice, that the javascript code inside the Html::encode() function is displayed as plain text. The same thing is for HtmlPurifier::process() call. Only h1 tag is being displayed.
Views follow these conventions −
Views, which are rendered by a controller, should be put into the @app/views/controllerID folder.
Views, which are rendered in a widget, should be put into the widgetPath/views folder.
To render a view within a controller, you may use the following methods −
render() − Renders a view and applies a layout.
renderPartial() − Renders a view without a layout.
renderAjax() − Renders a view without a layout, but injects all registered js and css files.
renderFile() − Renders a view in a given file path or alias.
renderContent() − Renders a static string and applies a layout.
To render a view within another view, you may use the following methods −
render() − Renders a view.
renderAjax() − Renders a view without a layout, but injects all registered js and css files.
renderFile() − Renders a view in a given file path or alias.
Step 4 − Inside the views/site folder, create two view files: _part1.php and _part2.php.
_part1.php −
<h1>PART 1</h1>
_part2.php −
<h1>PART 2</h1>
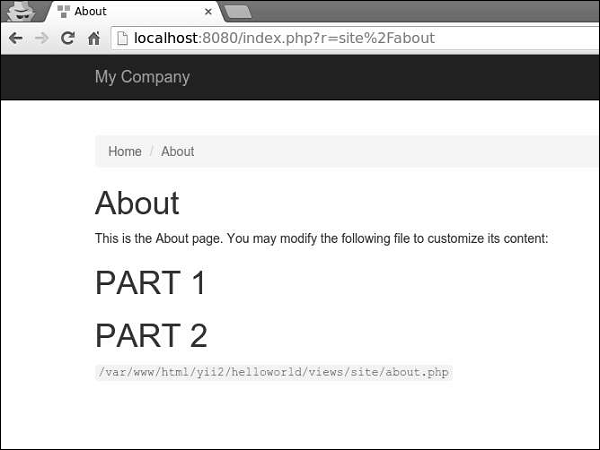
Step 5 − Finally, render these two newly created views inside the ‘About’ View.
<?php
   /* @var $this yii\web\View */
   use yii\helpers\Html;
   $this->title = 'About';
   $this->params['breadcrumbs'][] = $this->title;
?>
<div class="site-about">
   <h1><?= Html::encode($this->title) ?></h1>
   <p>
      This is the About page. You may modify the following file to customize its content:
   </p>
   <?= $this->render("_part1") ?>
   <?= $this->render("_part2") ?>
   <code><?= __FILE__ ?></code>
</div>
You will see the following output −
When rendering a view, you can define the view using as a view name or a view file path/alias. A view name is resolved in the following way −
A view name can omit the extension. For example, the about view corresponds to the about.php file.
If the view name starts with “/”, then if currently active module is forum, and the view name is comment/post, the path would be @app/modules/forum/views/comment/post. If there is no active module, the path would be @app/views/comment/post.
If the view name starts with “//”, the corresponding path would be @app/views/ViewName. For example, //site/contact corresponds to @app/views/site/contact.php.
If the view name is contact, and the context controller is SiteController, then the path would be @app/views/site/contact.php.
If the price view is rendered within the goods view, then price would be resolved as @app/views/invoice/price.php if it is being rendered in the @app/views/invoice/goods.php.
Accessing Data in Views
To access data within a view, you should pass the data as the second parameter to the view rendering method.
Step 1 − Modify the actionAbout of the SiteController.
public function actionAbout() {
   $email = "admin@support.com";
   $phone = "+78007898100";
   return $this->render('about',[
      'email' => $email,
      'phone' => $phone
   ]);
}
In the code given above, we pass two variables $email and $phone to render in the About view.
Step 2 − Change the about view code.
<?php
   /* @var $this yii\web\View */
   use yii\helpers\Html;
   $this->title = 'About';
   $this->params['breadcrumbs'][] = $this->title;
?>
<div class = "site-about">
   <h1><?= Html::encode($this->title) ?></h1>
   <p>
      This is the About page. You may modify the following file to customize its content:
   </p>
   <p>
      <b>email:</b> <?= $email ?>
   </p>
   <p>
      <b>phone:</b> <?= $phone ?>
   </p>
   <code><?= __FILE__ ?></code>
</div>
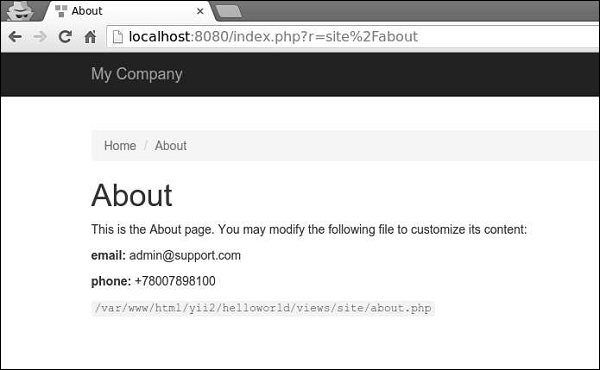
We have just added two variables that we received from the SiteController.
Step 3 − Type the URL http://localhost:8080/index.php?r=site/about in the web browser, you will see the following.