- Home
- Introduction
- Tools
- Databases
- Servers
- Client Applications
- Central Management Console
- Upgrade Management Tool
- Managing Licenses
- Managing Users
- Managing Groups
- Creating Guest Account
- BI Launchpad Configuration
- BI Authentication Types
- Backup
- Promotion Management
- Managing Universe and Connections
- Monitoring
- Auditing
- Roles
- SAP BO Administration Resources
- Quick Guide
- Useful Resources
- Discussion
Promotion Management
Promotion Management tool is available in CMC Management area to migrate BI objects from one environment to another environment. You can also manage dependencies and roll back the promoted objects from destination system.
You can migrate BI objects from one environment to other, if source and target systems are running with same version of BI. With Promotion Management tool, you can perform the below mentioned tasks −
- Create a Promotion job to move objects.
- Copy an existing job from Promotion Management.
- Edit an existing Promotion job.
- Schedule a Promotion job.
- View details of Promotion job.
- Export as LCMBIAR.
- Import both BIAR /LCMBIAR.
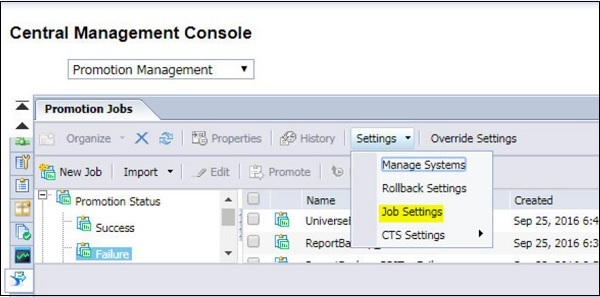
To access Promotion Management, navigate to CMC Console Management area and select Promotion Management from drop down.
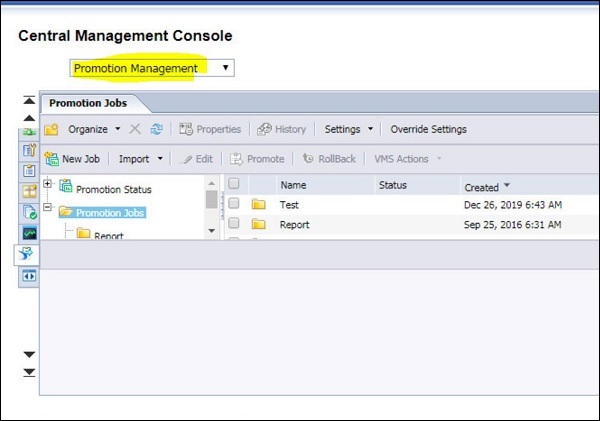
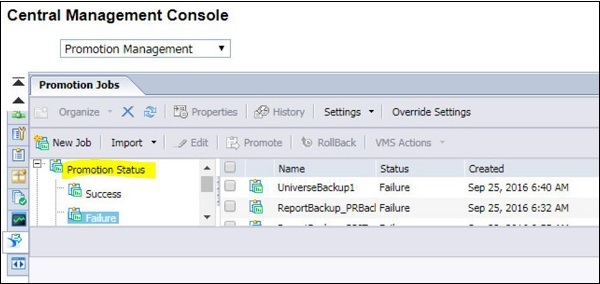
You can also check Promotion status under Promotion Management. You have three options, which are listed below −
- Success
- Failure
- Partial Success
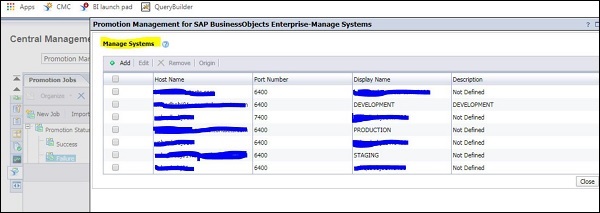
You can also add/delete host system using Manage System option → Settings → Manage Systems. The Manage Systems window is displayed → it shows you list of host names, port numbers, display names, and descriptions.
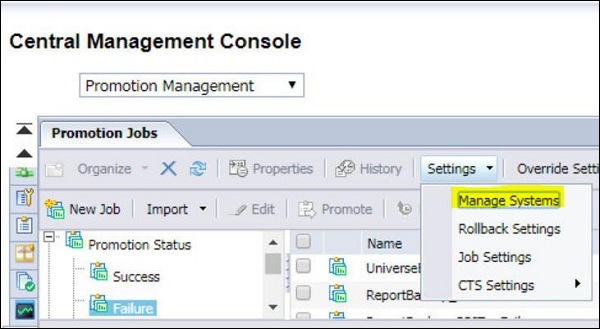
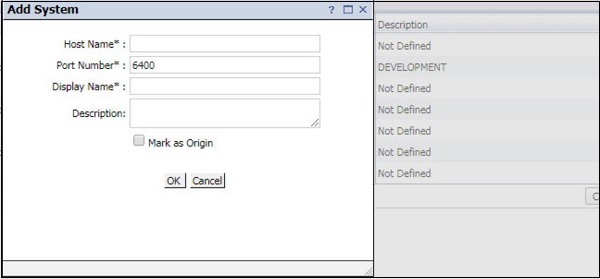
To add a new host system, click on Add button and it will open a new dialog box. You have to provide Host name details to add new system under Promotion Management.
Rollback Settings
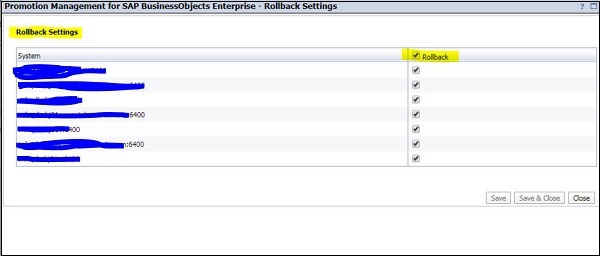
You can also manage roll back setting under Promotion Management. By default, rollback process is enabled at the system level, however you can also disable the rollback process at the system level.
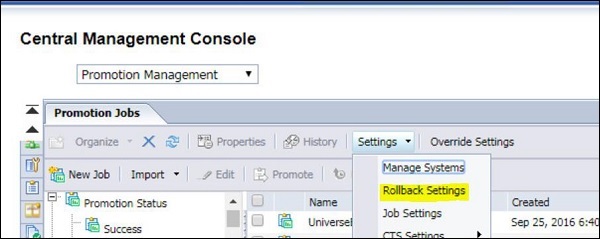
To disable the rollback process at the system level, perform the below mentioned steps −
Select the host system to disable the rollback process and uncheck the checkbox in front of system name − Save and Close to save the changes.
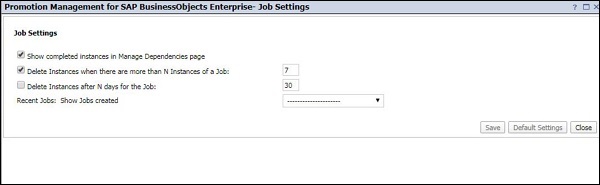
Job Setting Options
With use of Job Settings option, you can specify whether you want to show completed instances on the Manage Dependencies page and limit the number of job instances in the system. To access Job setting, navigate to Promotion Management → Job Settings.
You can set value against any of field under Job setting and click on Save button to save the changes. To restore the default value, use Default Settings at the bottom.
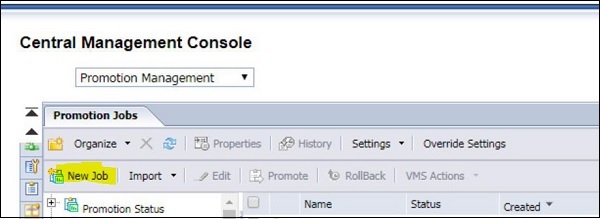
Creating a Job
You can create new jobs to migrate objects in Promotion Management tool. Navigate to Promotion management page in CMC console → New Job
Enter the job name, description, and keywords for the job in fields and click on Save Job in field to save the job in required folder.
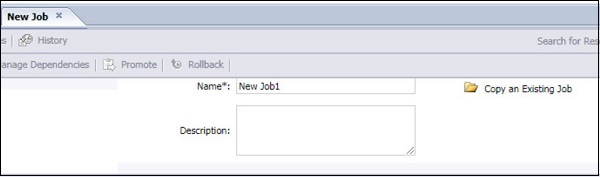
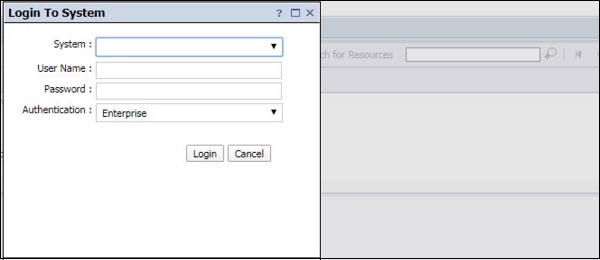
Next is to select Source and target system from the drop-down lists. You can also add a new system by clicking on Login to a new CMS option and provide system name and password → Click on Create → Add objects from Source system and select Add and Close to save the job.