
Article Categories
- All Categories
-
 Data Structure
-
 Networking
-
 RDBMS
RDBMS
-
 Operating System
-
 Java
Java
-
 MS Excel
-
 iOS
iOS
-
 HTML
HTML
-
 CSS
CSS
-
 Android
-
 Python
-
 C Programming
-
 C++
C++
-
 C#
C#
-
 MongoDB
-
 MySQL
MySQL
-
 Javascript
-
 PHP
PHP
-
 Economics & Finance
How to use YouTube Video Editor
You need to perform at least some basic editing if you want your video to stand out amid the approximately 300 hours of new video content that are published to YouTube every minute.
Moreover, your YouTube videos can look much more polished and professional by editing. You can even utilize the built-in editing features on YouTube for free, and using them doesn't require extensive knowledge of sophisticated editing software.
However, you can make extremely simple edits to YouTube videos using the YouTube Studio video editor, such as trimming the beginning and finish of a video or removing a segment from the middle and to make faces or other things in a video, you can use utilize the YouTube editor to blur them.
Here is a simple guide on how to edit your videos on YouTube?
Steps
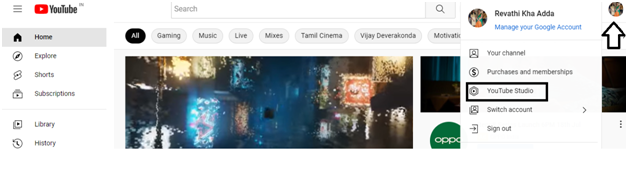
- Step 1 ? Go to Youtube.com website. Sign in to your account. Click on your channel?s profile icon and select the YouTube studio and click on the YouTube studio.
- Step 2 ? It will take you to the Channel dashboard page. On the left side menu, you will find the Content option and click on the Content.

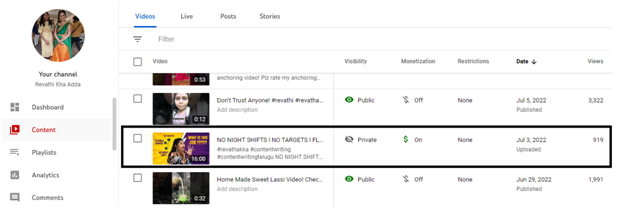
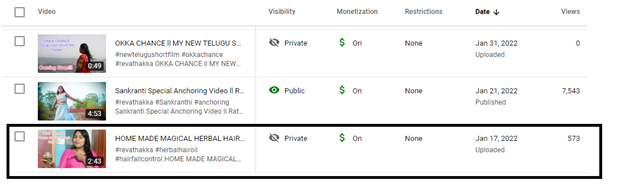
- Step 3 ? When you click on the Content, it will take you to the Channel Content page. Select the video for which you want to edit. Here I?m selecting one of my published videos. Remember, you can use YouTube video editor feature only after uploading your video on YouTube.
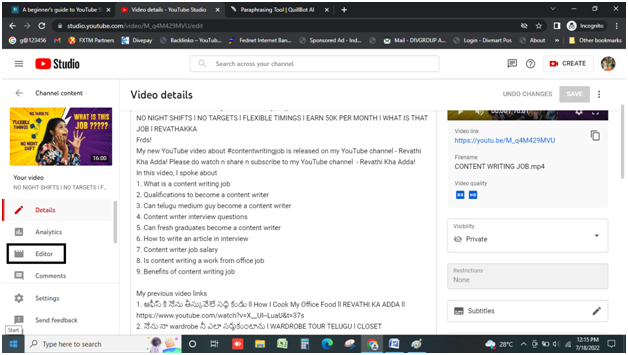
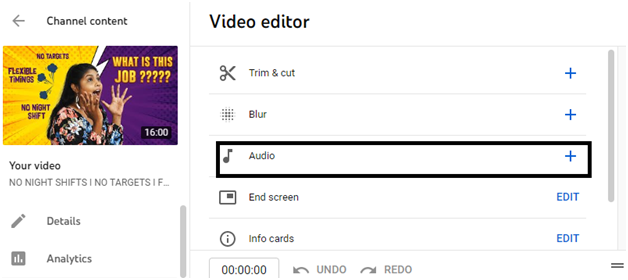
- Step 4 ? Click on the selected video, you will be taken to Video details page. On the left side menu, click on the Editor tab.
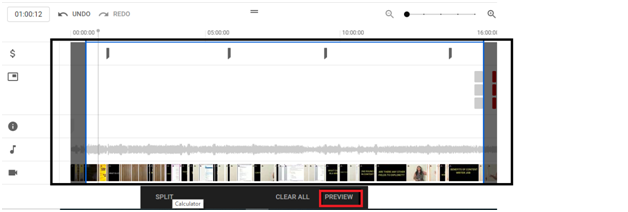
- Step 5 ? When you click on the Editor tab, you will be taken to the Video editor page. Under the video editor, you will find "Trim and Cut" option and click on it.
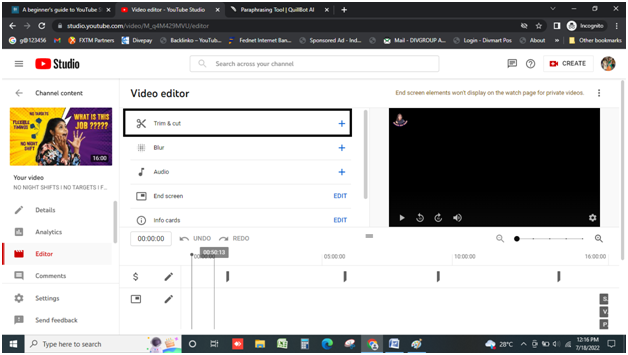
- Step 6 ? In order to set the beginning and finish points of the video, drag the blue bars on the timeline's left and right edges.
To view the change, select "Preview" from the menu at the bottom of the screen.
Additionally, you can utilize the YouTube video editor to make objects in the video, such as making faces or license plates, blurry. For that?
- Step 1 ? Select the video in which you want to make the objects in the video blur. Here I?m selecting one video.
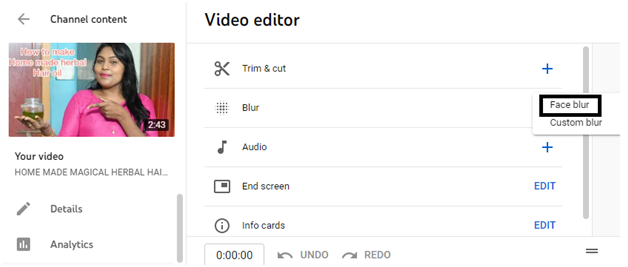
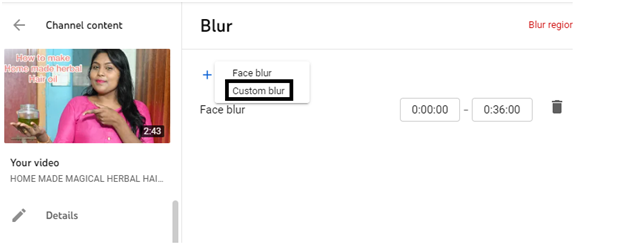
- Step 2 ? Click on the selected video and in the video editor page, click on the Blur tab. When you will click on the Blur tab, you will find two options - Face blur and Custom blur.

- Step 3 ? At first, let?s focus on the Face blur. Click on the Face blur.
- Step 4 ? A separate window will be opened up and in this window you will be displayed with two images. You can select any one of the image or two images. Here I?m selecting two images and click on Apply.
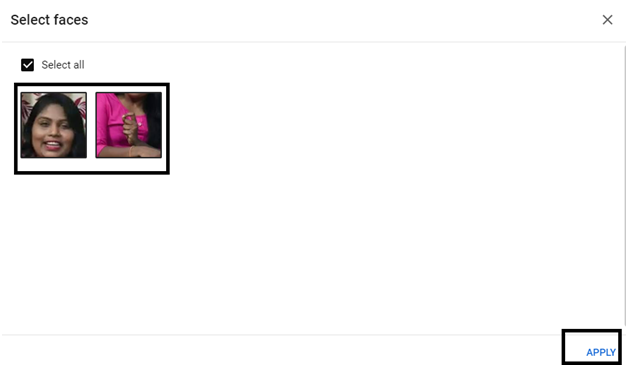
- Step 5 ? Once you click on the Apply button, Face blur is applied to the selected images in the video.
- Step 6 ? This time, let?s go with Custom blur. Click on the Blur, you will be displayed with - face blur and custom blur. Click on the Custom blur.
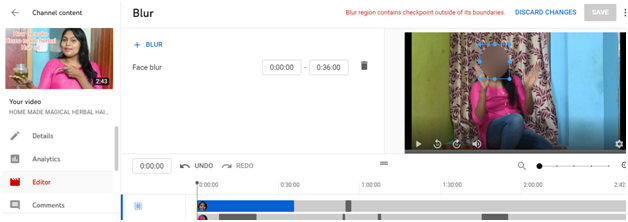
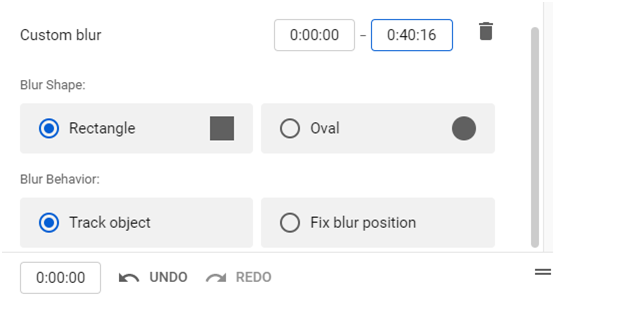
- Step 7 ? In the Custom blur, you can select the blur shape - Rectangle or Oval and blur behavior - track object and fix blur position and duration of the blur.
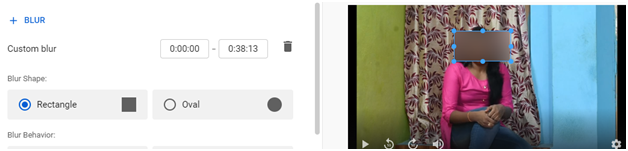
- Step 8 ? Once the Custom blur is selected for the respective time period, and clicked on Save button. While playing the video, the Custom blur appears in the video (as shown below).
- Step 9 ? You can even add audio to your uploaded video content. In the video editor page, click on + button in the Audio section.
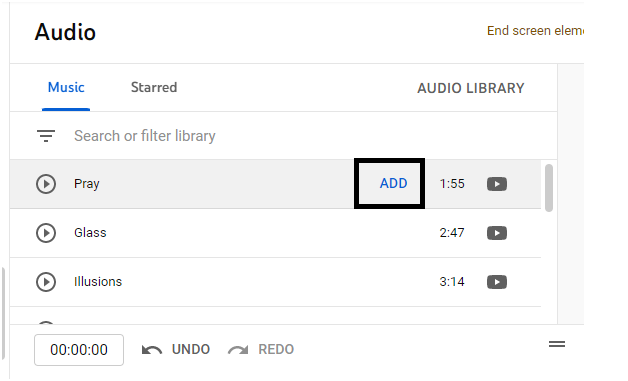
- Step 10 ? Click on the Audio button. You will find the Audio Library. From the Audio Library, select the Audio for which you want to add in the video and click on the ADD button.
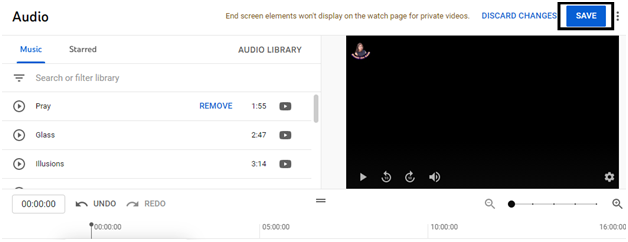
- Step 11 ? The Audio will be added at your selected place in the video and click on the Save button to save the audio.
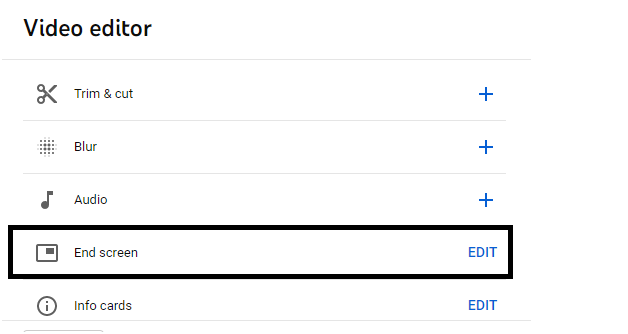
End Screen
- Step 1 ? Under the Video editor section, click on the End screen button.
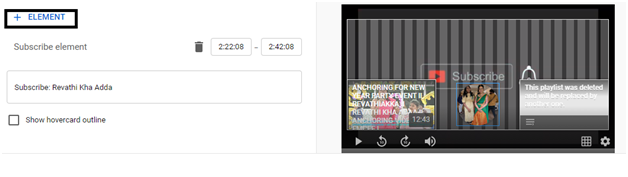
- Step 2 ? When you click on the End screen button, the page appears(as shown below) and click on the ELEMENT.
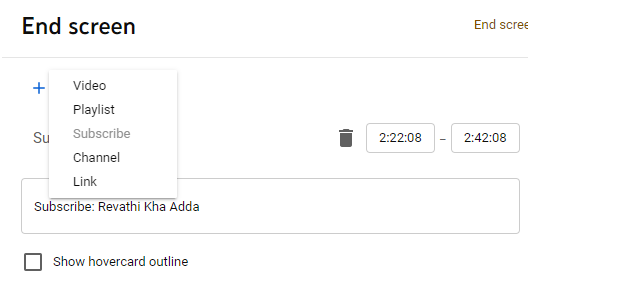
- Step 3 ? A drop-down menu appears (as shown below). In the End-Screen template, you can add- video, playlist, Channel and Link.
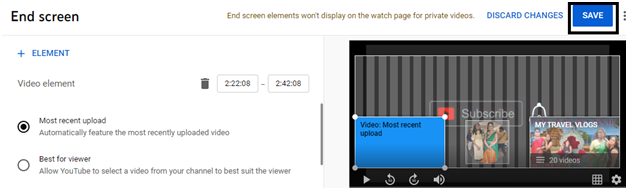
- Step 4 ? In the left template, you can add Video element as the most recent upload or Best for viewer (as shown below).

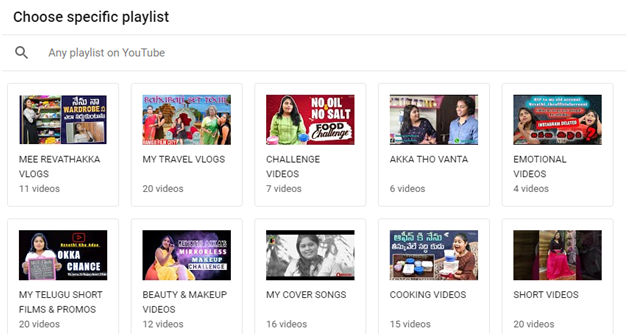
- Step 5 ? In the right template, you can add a playlist by selecting a specific playlist from the pop-up window (as shown below).
- Step 6 ? Once the End Screen is added, click on the SAVE button (as shown below).
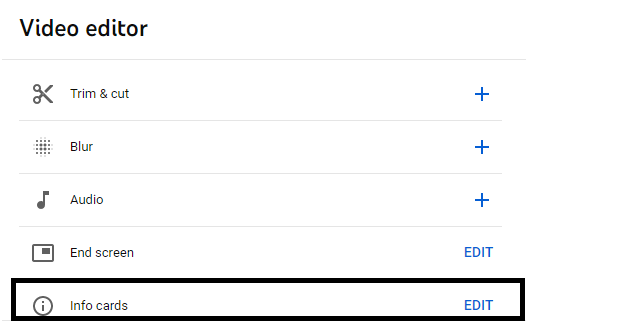
Info Cards
- Step 1 ? Under the Video editor section, click on the info cards (as shown below). You can add up to 5 info-cards in the video.
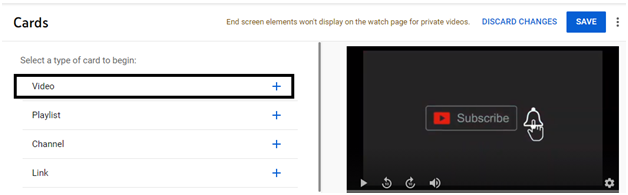
- Step 2 ? In order to add Cards, you need to select the type of the card - Video, Playlist, Channel and Link. Here I?m clicking on Video.
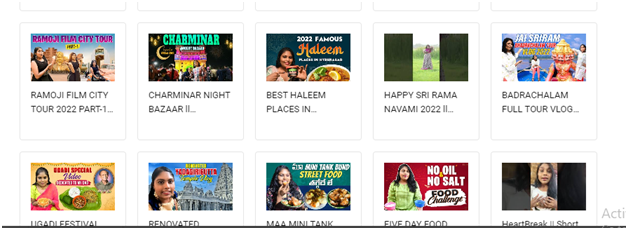
- Step 3 ? When you click on Video, a pop-up window appears (as shown below). Click on the selected video which you would like to add as a Card.
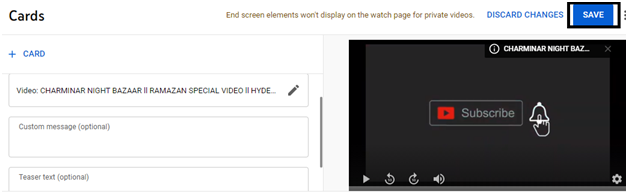
- Step 4 ? The title of the video appears (as shown below). You can provide the custom message and Teaser text but it?s optional and click on the SAVE button.
Conclusion
Unfortunately, YouTube no longer offers various video upgrades including the ability to rotate films, change their colours, adjust their lighting, and more.
In case if you require more advanced features, use a standalone video editor and upload the exported videos on YouTube platform.

559 Views
