
Article Categories
- All Categories
-
 Data Structure
-
 Networking
-
 RDBMS
RDBMS
-
 Operating System
-
 Java
Java
-
 MS Excel
-
 iOS
iOS
-
 HTML
HTML
-
 CSS
CSS
-
 Android
-
 Python
-
 C Programming
-
 C++
C++
-
 C#
C#
-
 MongoDB
-
 MySQL
MySQL
-
 Javascript
-
 PHP
PHP
-
 Economics & Finance
How to Add Custom Thumbnails to a YouTube Video?
Are you annoyed by the subpar thumbnail choices that YouTube automatically generated for you?
Do you wish to alter (or establish) unique thumbnails for your YouTube videos?
This article explains how to add a custom thumbnail while publishing a video to YouTube in simple, step-by-step fashion.
Moreover, YouTube makes it easy to set a unique thumbnail for a video while publishing it.
Steps
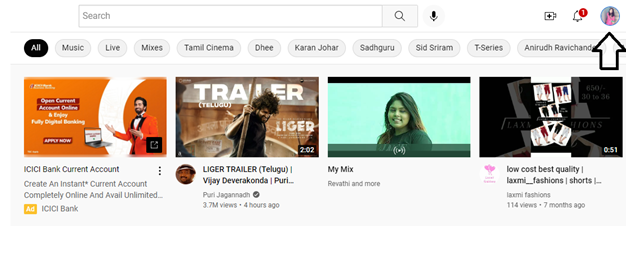
- Step 1 ? Go to the YouTube.com website. Sign in to your YouTube account with your email address and password. Click on the Profile Icon.
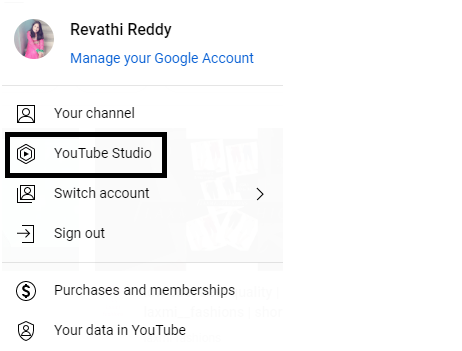
- Step 2 ? A drop-down menu appears. From the drop-down menu, click on the YouTube studio.
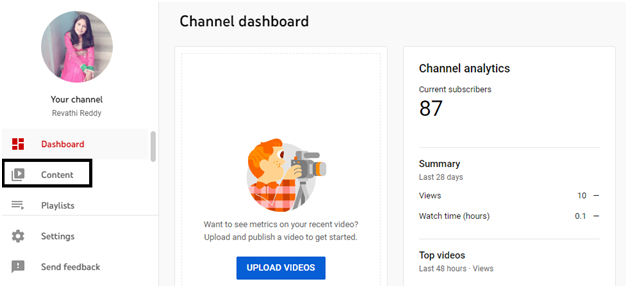
- Step 3 ? You will be taken to the Channel dashboard page. On the left side menu, you will find Content tab. Click on the Content.
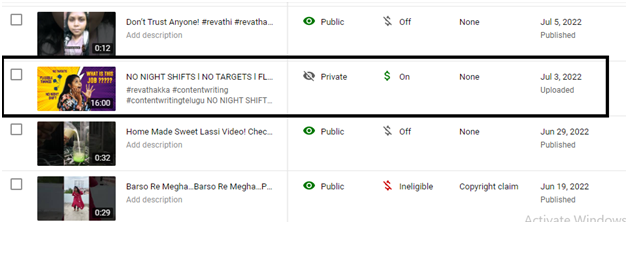
- Step 4 ? You will be taken to the Channel?s Content page. You can add thumbnail to the previously published video in your channel or for currently uploading video. Select one video and click on that video.
- Step 5 ? You will be taken to the Video details page (as shown below), scroll down and you will find the Thumbnail section.
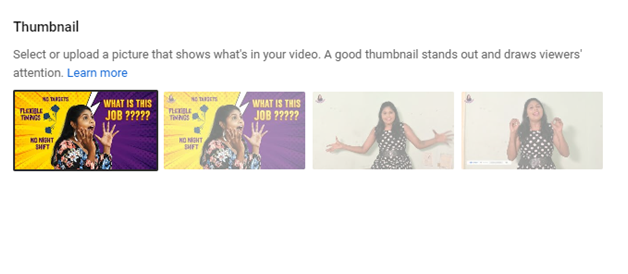
- Step 6 ? Automatically, YouTube generates the three Auto-generated thumbnails and select any one of them and click on the SAVE button (as shown below).

However, YouTube allows you to upload the custom thumbnails but you must have a verified account. Once your account gets verified, you can upload your own thumbnails.
Custom thumbnails can be uploaded to the previously published videos or for the new videos which are uploading on YouTube.
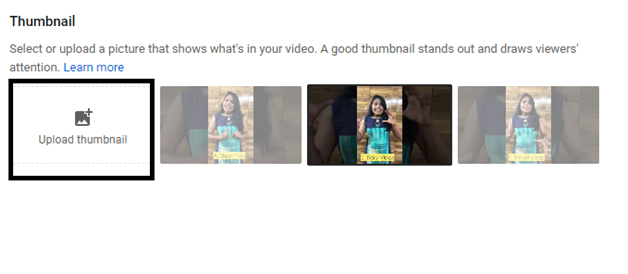
- Step 7 ? In order to upload a custom thumbnail, you must go to the selected video, scroll down and at the bottom; you will find the Thumbnail section.

- Step 8 ? In the Thumbnail section, you will find an empty section to Upload Thumbnail. Click on the Upload Thumbnail.
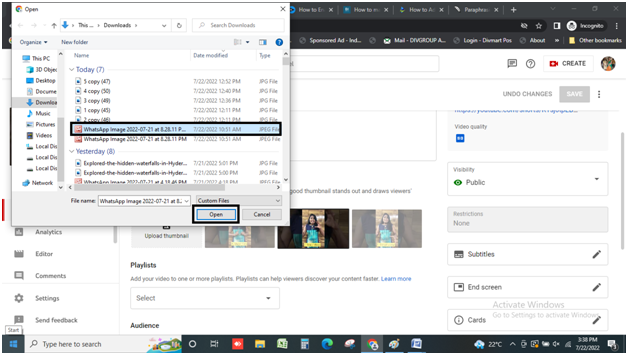
- Step 9 ? When you click on the Upload Thumbnail, Downloads folder will be opened up (as shown below). Select the Thumbnail which you have created for the video and click on Open.
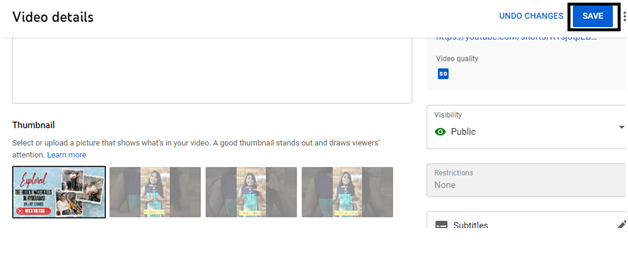
- Step 10 ? The Thumbnail gets uploaded on the Upload Thumbnail folder and click on the SAVE button.
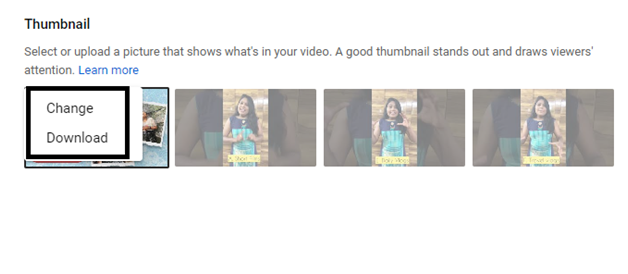
If you don?t like the current thumbnail, you can change the thumbnail or you can download the uploaded thumbnail.
Remember, YouTube doesn?t allow you to create the Thumbnail on YouTube platform. But, however, you can upload your own thumbnail once your account gets verified or you can select the auto-generated thumbnails.
But, while uploading the Custom Thumbnails, you must keep these points in mind.
- Custom Thumbnails must have a resolution of 1280*720 pixels
- Must be uploaded in JPEG, PNG, GIF Image formats only.
- It must be remain under 2 MB limit.
- Try to use 16:9 aspect ratios as it is mostly being used by the majority of YouTube channels.
Conclusion
The YouTube website automatically extracts three screenshots from your video when you upload it and suggests them as thumbnails.
The likelihood is that at least one of the suggested thumbnails will be perfect depending on the genre of video. The issue is that screenshots may wind up fuzzy and unprofessional if your video has a lot of movement. Even if you have recorded yourself speaking directly to the camera, it's possible that YouTube has captured you making awkward or humorous facial expressions that you probably don't want to be the focus of your video.
Hence you can utilize the custom thumbnails feature on YouTube to create your own appealing thumbnails which can boost the engagement and increase the video views.

335 Views
