- Ionic - Colors
- Ionic - Content
- Ionic - Header
- Ionic - Footer
- Ionic - Buttons
- Ionic - Lists
- Ionic - Cards
- Ionic - Forms
- Ionic - Toggle
- Ionic - Checkbox
- Ionic - Radio Button
- Ionic - Range
- Ionic - Select
- Ionic - Tabs
- Ionic - Grid
- Ionic - Icons
- Ionic - Padding
- Ionic Javascript Components
- Ionic - JS Action Sheet
- Ionic - JS Backdrop
- Ionic - JS Content
- Ionic - JS Forms
- Ionic - JS Events
- Ionic - JS Header
- Ionic - JS Footer
- Ionic - JS Keyboard
- Ionic - JS List
- Ionic - JS Loading
- Ionic - JS Modal
- Ionic - JS Navigation
- Ionic - JS Popover
- Ionic - JS Popup
- Ionic - JS Scroll
- Ionic - JS Side Menu
- Ionic - JS Slide Box
- Ionic - JS Tabs
- Ionic Advanced Concepts
- Ionic - Cordova Integration
- Ionic - AdMob
- Ionic - Camera
- Ionic - Facebook
- Ionic - In App Browser
- Ionic - Native Audio
- Ionic - Geolocation
- Ionic - Media
- Ionic - Splash Screen
- Ionic Useful Resources
- Ionic - Quick Guide
- Ionic - Useful Resources
- Ionic - Discussion
Ionic - Javascript List
We already discussed Ionic CSS list elements in the previous chapters. In this chapter, we will show you JavaScript lists. They allow us to use some new features like swipe, drag and remove.
Using List
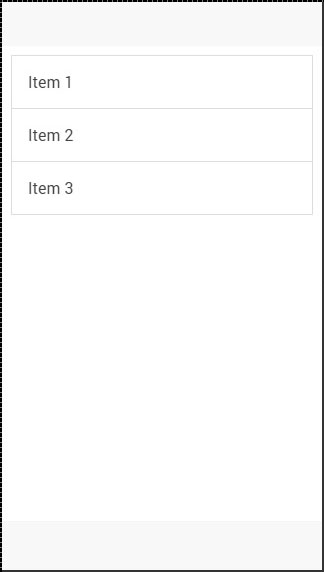
The directives used for displaying lists and items are ion-list and ion-item as shown below.
<ion-list>
   <ion-item>
      Item 1
   </ion-item>

   <ion-item>
      Item 2
   </ion-item>

   <ion-item>
      Item 3
   </ion-item>
</ion-list>
The above code will produce the following screen −
Delete Button
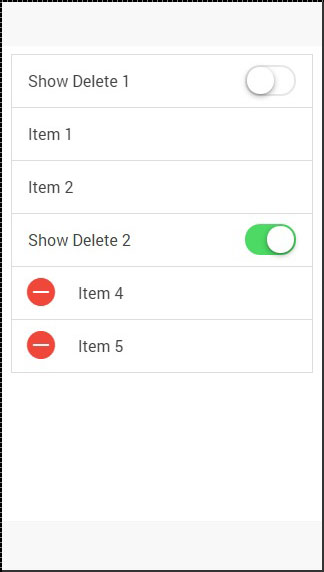
This button can be added by using the ion-delete-button directive. You can use any icon class you want. Since we do not always want to show the delete buttons, because users might accidentally tap it and trigger the delete process, we can add the show-delete attribute to the ion-list and connect it with the ng-model.
In the following example, we will use the ion-toggle as a model. When the toggle is on delete, the buttons will appear on our list items.
<ion-list show-delete = "showDelete1">
   <ion-item>
      <ion-delete-button class = "ion-minus-circled"></ion-delete-button>
      Item 1
   </ion-item>

   <ion-item>
      <ion-delete-button class = "ion-minus-circled"></ion-delete-button>
      Item 2
   </ion-item>
</ion-list>

<ion-toggle ng-model = "showDelete2">
   Show Delete 2
</ion-toggle>
The above code will produce the following screen −
Reorder Button
The Ionic directive for the reorder button is ion-reorder-button. The element we created has an on-reorder attribute that will trigger the function from our controller whenever the user is dragging this element.
<ion-list show-reorder = "true">
   <ion-item ng-repeat = "item in items">
      Item {{item.id}}
      <ion-reorder-button class = "ion-navicon"
         on-reorder = "moveItem(item, $fromIndex, $toIndex)"></ion-reorder-button>
   </ion-item>
</ion-list>

$scope.items = [
   {id: 1},
   {id: 2},
   {id: 3},
   {id: 4}
];

$scope.moveItem = function(item, fromIndex, toIndex) {
   $scope.items.splice(fromIndex, 1);
   $scope.items.splice(toIndex, 0, item);
};
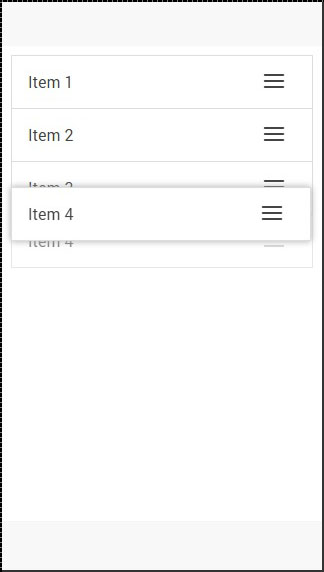
The above code will produce the following screen −
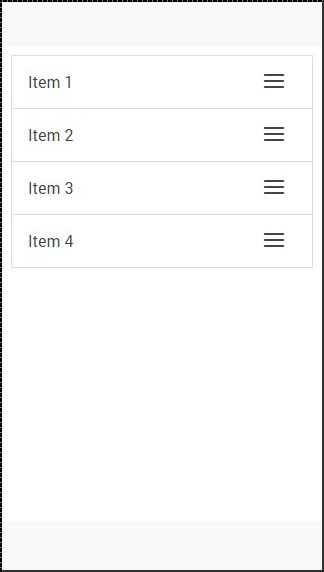
When we click the icon on the right, we can drag the element and move it to some other place in the list.
Option Button
The Option button is created using an ion-option-button directive. These buttons are showed when the list item is swiped to the left and we can hide it again by swiping the item element to the right.
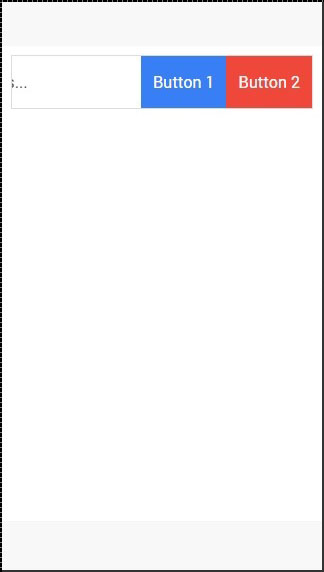
You can see in the following example that there are two buttons, which are hidden.
<ion-list>
   <ion-item>
      Item with two buttons...
      <ion-option-button class = "button-positive">Button 1</ion-option-button>
      <ion-option-button class = "button-assertive">Button 2</ion-option-button>
   </ion-item>
</ion-list>
The above code will produce the following screen −
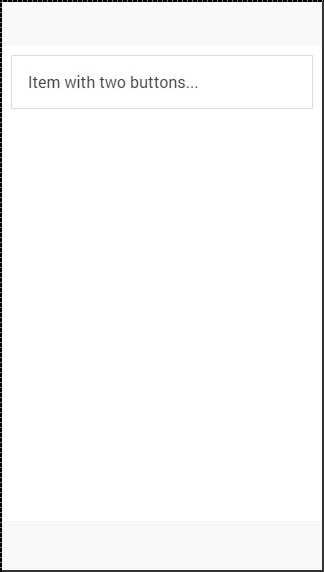
When we swipe the item element to the left, the text will be moved left and buttons will appear on the right side.
Other Functions
The collection-repeat function is an updated version of the AngularJS ng-repeat directive. It will only render visible elements on the screen and the rest will be updated as you scroll. This is an important performance improvement when you are working with large lists. This directive can be combined with item-width and item-height attributes for further optimization of the list items.
There are some other useful attributes for working with images inside your list. The item-render-buffer function represents number of items that are loaded after visible items. The higher this value, the more items will be preloaded. The force-refresh-images function will fix an issue with source of the images while scrolling. Both of these classes will influence the performance in a negative way.
