- Ionic - Colors
- Ionic - Content
- Ionic - Header
- Ionic - Footer
- Ionic - Buttons
- Ionic - Lists
- Ionic - Cards
- Ionic - Forms
- Ionic - Toggle
- Ionic - Checkbox
- Ionic - Radio Button
- Ionic - Range
- Ionic - Select
- Ionic - Tabs
- Ionic - Grid
- Ionic - Icons
- Ionic - Padding
- Ionic Javascript Components
- Ionic - JS Action Sheet
- Ionic - JS Backdrop
- Ionic - JS Content
- Ionic - JS Forms
- Ionic - JS Events
- Ionic - JS Header
- Ionic - JS Footer
- Ionic - JS Keyboard
- Ionic - JS List
- Ionic - JS Loading
- Ionic - JS Modal
- Ionic - JS Navigation
- Ionic - JS Popover
- Ionic - JS Popup
- Ionic - JS Scroll
- Ionic - JS Side Menu
- Ionic - JS Slide Box
- Ionic - JS Tabs
- Ionic Advanced Concepts
- Ionic - Cordova Integration
- Ionic - AdMob
- Ionic - Camera
- Ionic - Facebook
- Ionic - In App Browser
- Ionic - Native Audio
- Ionic - Geolocation
- Ionic - Media
- Ionic - Splash Screen
- Ionic Useful Resources
- Ionic - Quick Guide
- Ionic - Useful Resources
- Ionic - Discussion
Ionic - Javascript Forms
In this chapter, we will understand what JavaScript forms are and will learn what a JavaScript checkbox, radio buttons and toggle are.
Using ion-checkbox
Let us see how to use the Ionic JavaScript checkbox. Firstly, we need to create an ion-checkbox element in the HTML file. Inside this, we will assign an ng-model attribute that will be connected to the angular $scope. You will notice that we are using a dot when defining the value of a model even though it would work without it. This will allow us to keep the link between the child and the parent scopes at all times.
This is very important as it helps to avoid some issues that could happen in the future. After we create the element, we will bind its value using angular expressions.
<ion-checkbox ng-model = "checkboxModel.value1">Checkbox 1</ion-checkbox>
<ion-checkbox ng-model = "checkboxModel.value2">Checkbox 2</ion-checkbox>

<p>Checkbox 1 value is: <b>{{checkboxModel.value1}}</b></p>
<p>Checkbox 2 value is: <b>{{checkboxModel.value2}}</b></p>
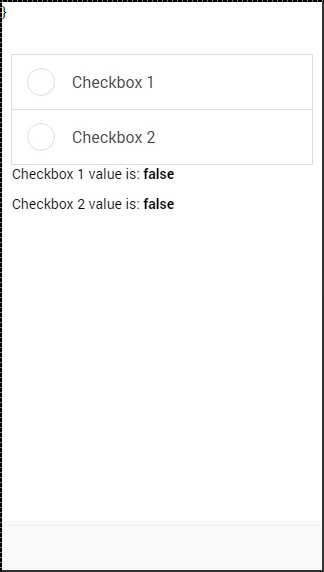
Next, we need to assign values to our model inside the controller. The values we will use are false, since we want to start with unchecked checkboxes.
$scope.checkboxModel = {
   value1 : false,
   value2 : false
};
The above code will produce the following screen −
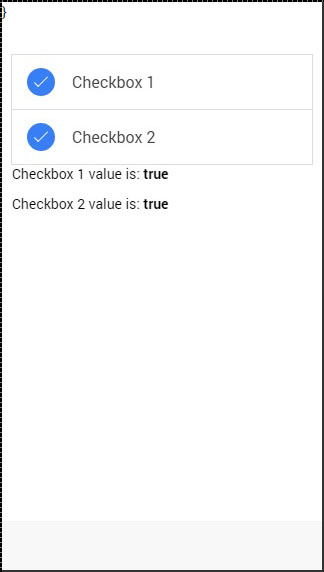
Now, when we tap the checkbox elements, it will automatically change their model value to true as shown in the following screenshot.
Using ion-radio
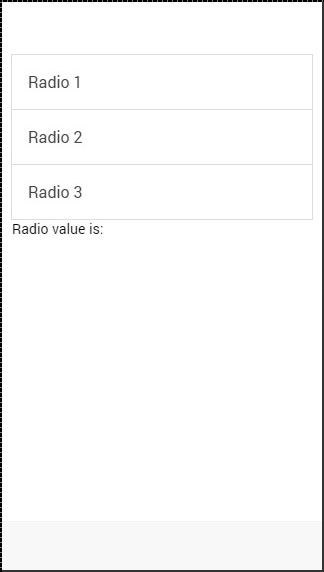
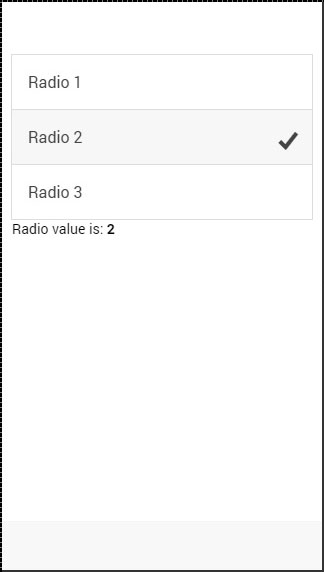
To start with, we should create three ion-radio elements in our HTML and assign the ng-model and the ng-value to it. After that, we will display the chosen value with angular expression. We will start by unchecking all the three radioelements, so the value will not be assigned to our screen.
<ion-radio ng-model = "radioModel.value" ng-value = "1">Radio 1</ion-radio>
<ion-radio ng-model = "radioModel.value" ng-value = "2">Radio 2</ion-radio>
<ion-radio ng-model = "radioModel.value" ng-value = "3">Radio 3</ion-radio>

<p>Radio value is: <b>{{radioModel.value}}</b></p>
The above code will produce the following screen −
When we tap on the second checkbox element, the value will change accordingly.
Using ion-toggle
You will notice that toggle is similar to checkbox. We will follow the same steps as we did with our checkbox. In the HTML file, first we will create ion-toggle elements, then assign the ng-model value and then bind expression values of to our view.
<ion-toggle ng-model = "toggleModel.value1">Toggle 1</ion-toggle>
<ion-toggle ng-model = "toggleModel.value2">Toggle 2</ion-toggle>
<ion-toggle ng-model = "toggleModel.value3">Toggle 3</ion-toggle>

<p>Toggle value 1 is: <b>{{toggleModel.value1}}</b></p>
<p>Toggle value 2 is: <b>{{toggleModel.value2}}</b></p>
<p>Toggle value 3 is: <b>{{toggleModel.value3}}</b></p>
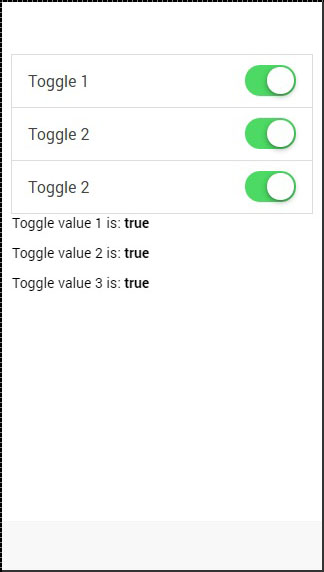
Next, we will assign values to $scope.toggleModel in our controller. Since, toggle uses Boolean values, we will assign true to the first element and false to the other two.
$scope.toggleModel = {
   value1 : true,
   value2 : false,
   value3 : false
};
The above code will produce the following screen −
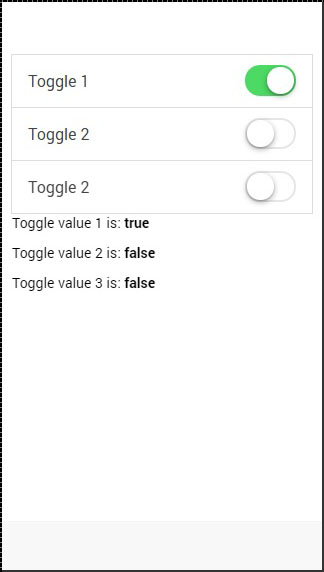
Now we will tap on second and third toggle to show you how the values change from false to true.