
- Windows 10 - Home
- Windows 10 - Overview
- Windows 10 - Installation
- Windows 10 - Getting Started
- Windows 10 - GUI Basics
- Windows 10 - Navigation
- Windows 10 - Start Menu
- Windows 10 - Taskbar
- Windows 10 - Tablet Mode
- Windows 10 - File Explorer
- Windows 10 - Cortana
- Windows 10 - Notifications
- Windows 10 - Quick Actions
- Windows 10 - Cloud
- Windows 10 - Universal Apps
- Windows 10 - Multiple Desktops
- Windows 10 - Users Management
- Windows 10 - Security
- Windows 10 - Parental Control
- Windows 10 - Applications
- Windows 10 - Web Browsing
- Windows 10 - Networking
- Windows 10 - Virtualization
- Windows 10 - Remote Access
- Windows 10 - Backup and Recovery
- Windows 10 - Project Spartan
- Windows 10 - Apps Management
- Windows 10 - Email Management
- Windows 10 - Keyboard Shortcuts
- Windows 10 - System Tray
- Windows 10 - Media Management
- Windows 10 - Favorite Settings
- Windows 10 - Shortcuts
- Windows 10 - Phones
Windows 10 - Remote Access
Remote Desktop is a feature that allows you to access another computer on a remote location from your computer.
Allowing Remote Access to your Computer
To use Remote Access, the remote computer must be configured first to accept remote connections. This setting is turned off by default to avoid unwanted connections, but to turn it on, follow these steps −
Step 1 − Open the Control Panel by searching for it in the Search bar.
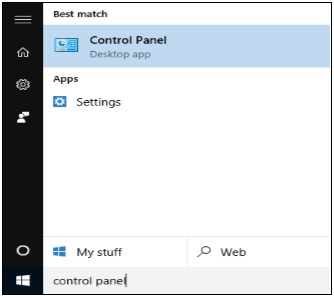
Step 2 − After the Control Panel is open, choose System.
Step 3 − In the System window, note the Computer Name; youll need it later.
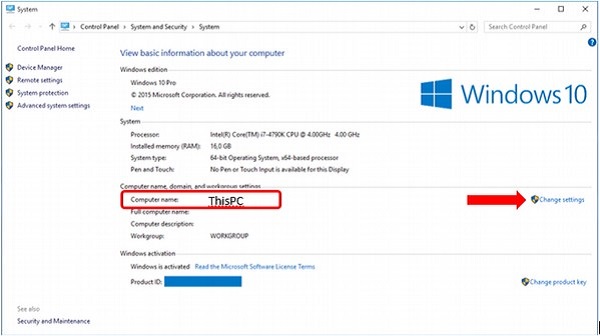
Step 4 − After that, click the Change settings link to open the System Properties window.
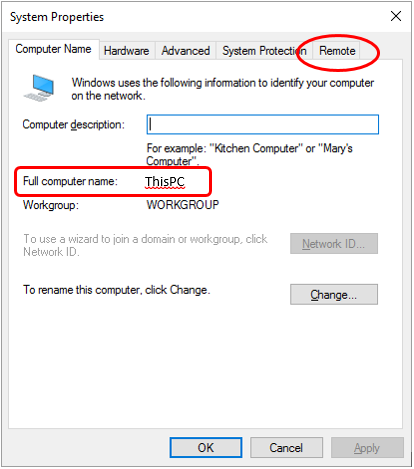
Step 5 − In the System Properties window, you can review the Computer Name again, and then click on the Remote tab.
Step 6 − In the Remote tab, select the option that reads Allow Remote connection to this computer.
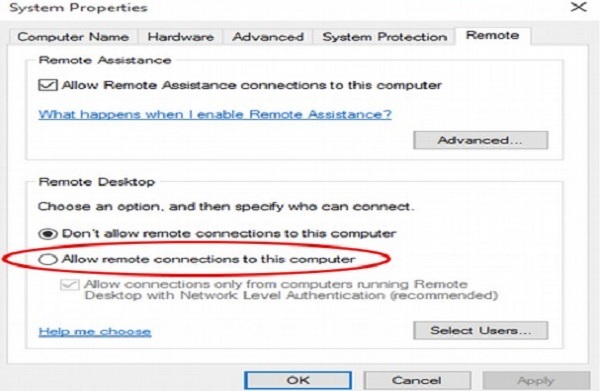
Step 7 − After selecting the appropriate option, make sure you click Apply or OK to save your changes. This will allow other users to access your computer remotely.
Use Remote Desktop to access another Computer
Now that youve ensured that the remote computer will allow your connection, follow these steps to access it remotely.
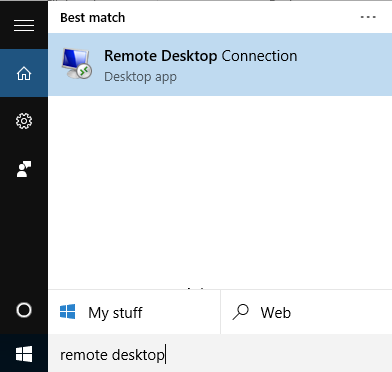
Step 1 − Open the Remote Desktop Connection window by searching for it in the Taskbar.
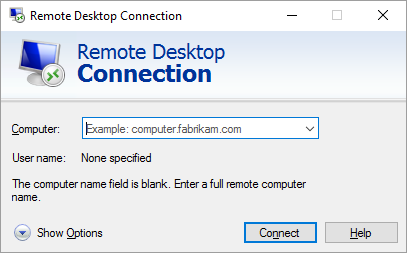
Step 2 − On the Remote Desktop Connection window, type the name of the computer you want to access and click Connect.
Step 3 − After this, you will see the Desktop of the remote computer appear, allowing you to work in it.
