
- Windows 10 - Home
- Windows 10 - Overview
- Windows 10 - Installation
- Windows 10 - Getting Started
- Windows 10 - GUI Basics
- Windows 10 - Navigation
- Windows 10 - Start Menu
- Windows 10 - Taskbar
- Windows 10 - Tablet Mode
- Windows 10 - File Explorer
- Windows 10 - Cortana
- Windows 10 - Notifications
- Windows 10 - Quick Actions
- Windows 10 - Cloud
- Windows 10 - Universal Apps
- Windows 10 - Multiple Desktops
- Windows 10 - Users Management
- Windows 10 - Security
- Windows 10 - Parental Control
- Windows 10 - Applications
- Windows 10 - Web Browsing
- Windows 10 - Networking
- Windows 10 - Virtualization
- Windows 10 - Remote Access
- Windows 10 - Backup and Recovery
- Windows 10 - Project Spartan
- Windows 10 - Apps Management
- Windows 10 - Email Management
- Windows 10 - Keyboard Shortcuts
- Windows 10 - System Tray
- Windows 10 - Media Management
- Windows 10 - Favorite Settings
- Windows 10 - Shortcuts
- Windows 10 - Phones
Windows 10 - Backup & Recovery
Windows 10 features several tools to help you perform backups of your documents. Here are some of these tools.
File History
File History will perform a back-up of the files located in your libraries (Documents, Pictures, Music, etc.) It allows you to choose a drive, where you can back-up your files and then asks you when to do it.
To configure the File History backup, follow these steps −
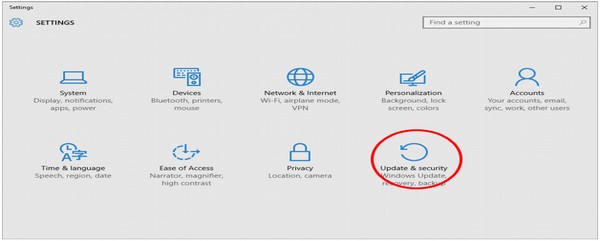
Step 1 − Go to SETTINGS and select Update & security.
Step 2 − In the UPDATE & SECURITY window, select Backup.
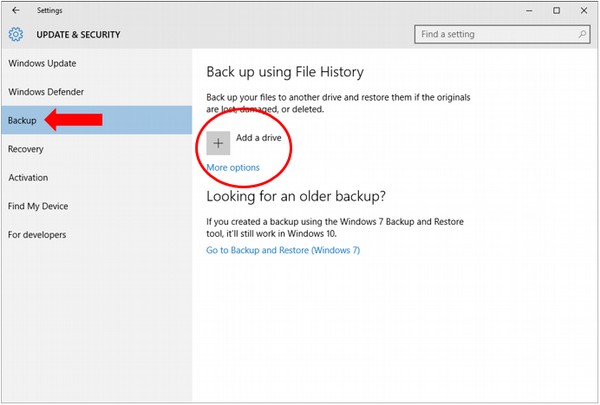
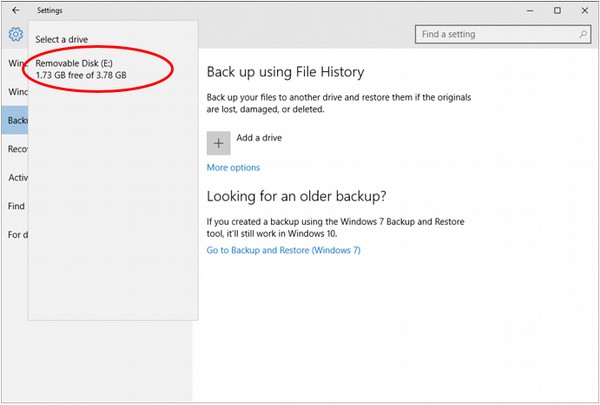
Step 3 − Click Add a drive to choose where to store your backup.
Backup & Restore (Windows 7)
This tool, which was removed in Windows 8 and 8.1, was brought back allowing you to perform back-ups and restore data from old Windows 7 backups. However, it also lets to back-up your regular documents on Windows 10.
To open the Back-up & Restore, follow these steps −
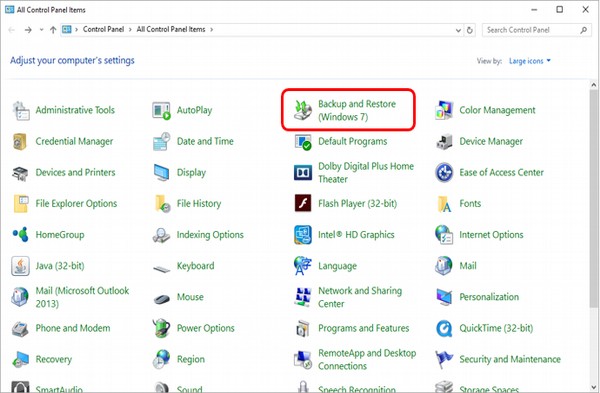
Step 1 − Open the Control Panel by searching for it in the Search bar.
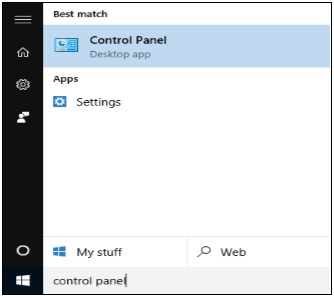
Step 2 − After the Control Panel is open, choose Backup and Restore (Windows 7).
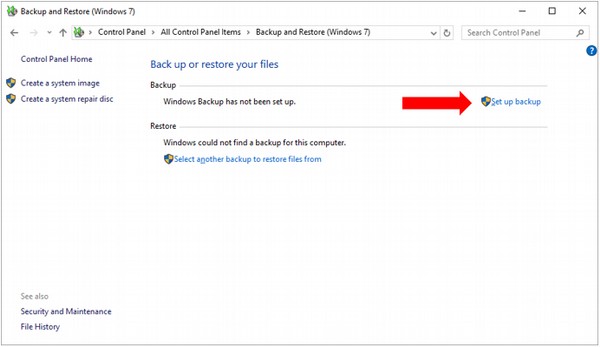
Step 3 − In the Backup and Restore window, you can choose to Set up backup.
Step 4 − In the Set up backup window, choose where you want to store your backup.
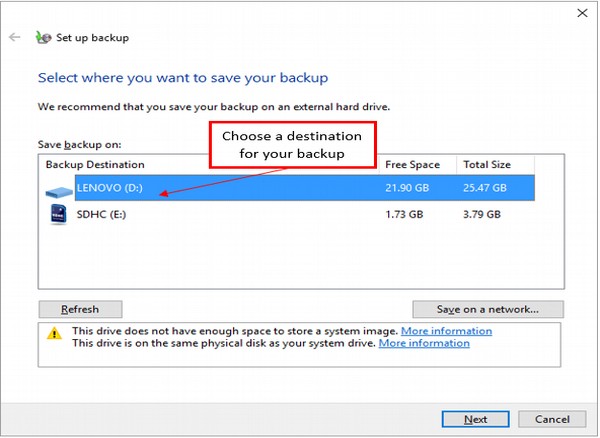
When choosing any of the listed storage devices, Windows 10 will give you information about that specific device. After choosing the desired destination, click Next.
Step 5 − In the next window, you can choose what files you want to backup.
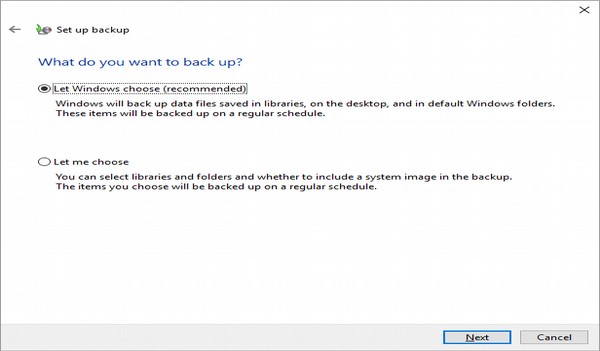
Windows default is to store everything in your libraries (Documents, Pictures, etc.) and in your Desktop, but you can also choose specific files and folders to backup. After making your selection, click Next.
Step 6 − In the last window, you can review the settings of your backup and establish the schedule in which you want to perform it.
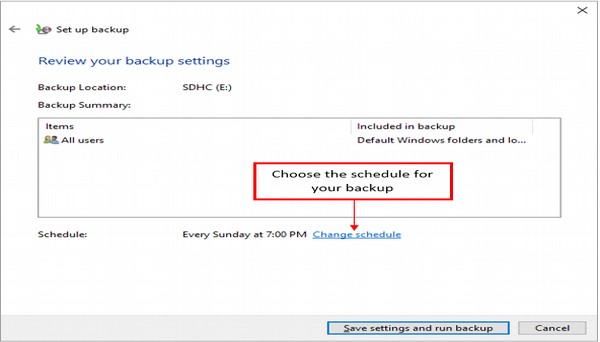
Step 7 − In the end, click Save settings and run backup. The backup will perform at the scheduled time.
Creating a System Image
In case your computer failing, Windows 10 offers you some alternatives to restore it to a specific state. One of these alternatives is creating what is called a system image. A system image is a copy of all your system and program files needed for your computer to run properly.
You can use this option to store an image of your computer at a specific moment, and use it to restore your computer to that state later. The option to create a system image is in the same Backup and Restore window we discussed before.
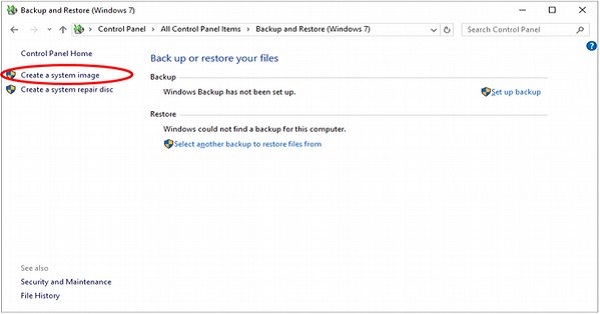
Step 1 − Open the Backup and Restore window from the Control Panel.
Step 2 − On the Backup and Restore window, choose the Create a system image option on the left.
Step 3 − On the Create a system image window, you can choose where to store the backup from among three places: your hard disk, on DVDs, or in the network.
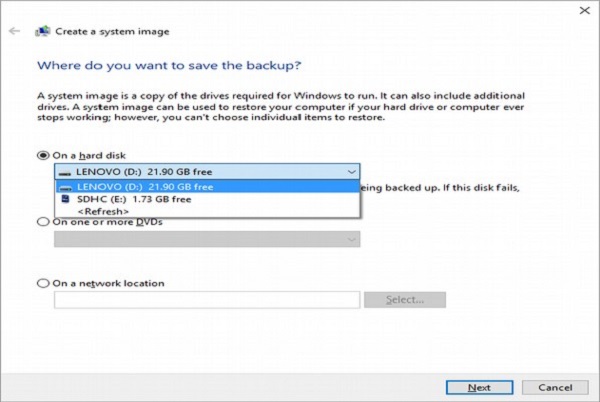
After choosing where to store the backup, click Next.
Step 4 − In the next window, just confirm your image settings and click Start backup.

Resetting the PC
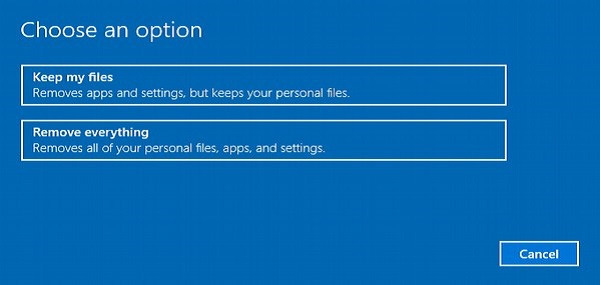
Another alternative Windows 10 offers you for system recovery is simply called Reset this PC. This option will allow you to return your computer to its default factory settings. It will also give you the option of keeping your files or removing everything. To reset your PC, follow these steps −
Step 1 − Go to SETTINGS and select Update & security.
Step 2 − On the UPDATE & SECURITY window, select Recovery.
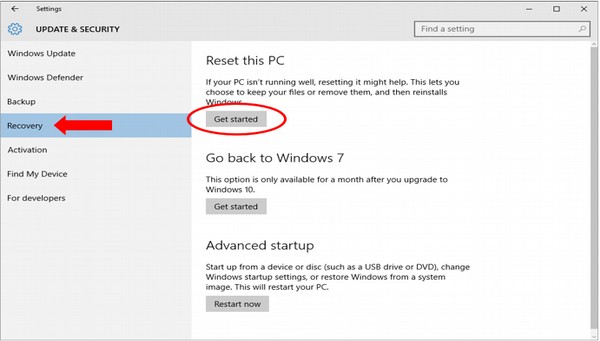
Step 3 − On the Recovery window, you can click the Get started button under Reset this PC.
Step 4 − The next window, will ask you whether you want to reset your settings and applications, but still keep your personal files, or just remove everything and return your computer to its default state.
Advanced Options
Windows 10 features several advanced options to restore your PC. Although these are meant for advanced users, you can access them from the same Update & Security window that we have discussed before.
Step 1 − Open the Settings window and select UPDATE & SECURITY.
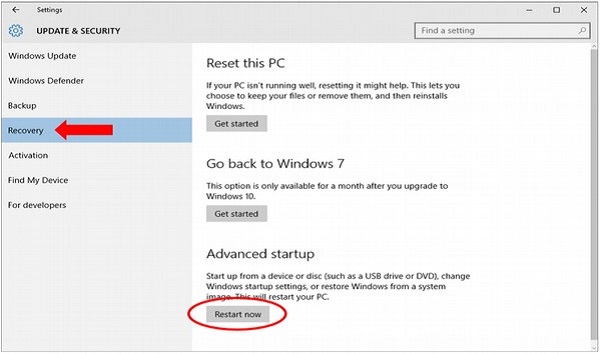
Step 2 − On the UPDATE & SECURITY window, select Recovery. Under Advanced startup, click the Restart now button.
Step 3 − When Windows 10 restarts, it will present you a menu of options to select from.
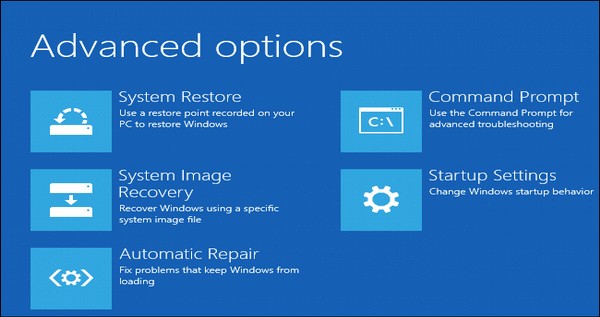
The same menu will appear whenever Windows tries to boot unsuccessfully.
