- Windows 10 - Home
- Windows 10 - Overview
- Windows 10 - Installation
- Windows 10 - Getting Started
- Windows 10 - GUI Basics
- Windows 10 - Navigation
- Windows 10 - Start Menu
- Windows 10 - Taskbar
- Windows 10 - Tablet Mode
- Windows 10 - File Explorer
- Windows 10 - Cortana
- Windows 10 - Notifications
- Windows 10 - Quick Actions
- Windows 10 - Cloud
- Windows 10 - Universal Apps
- Windows 10 - Multiple Desktops
- Windows 10 - Users Management
- Windows 10 - Security
- Windows 10 - Parental Control
- Windows 10 - Applications
- Windows 10 - Web Browsing
- Windows 10 - Networking
- Windows 10 - Virtualization
- Windows 10 - Remote Access
- Windows 10 - Backup and Recovery
- Windows 10 - Project Spartan
- Windows 10 - Apps Management
- Windows 10 - Email Management
- Windows 10 - Keyboard Shortcuts
- Windows 10 - System Tray
- Windows 10 - Media Management
- Windows 10 - Favorite Settings
- Windows 10 - Shortcuts
- Windows 10 - Phones
Windows 10 - Parental Control
Windows 10 allows you to set up a childs account for your children. This account will allow you to establish restrictions on how the account is used and monitor what your child does.
To create a childs account, follow these steps −
Step 1 − Go to SETTINGS and choose Accounts.
Step 2 − In ACCOUNTS, select the Family & other users option.
Step 3 − Click the Add a family member button.
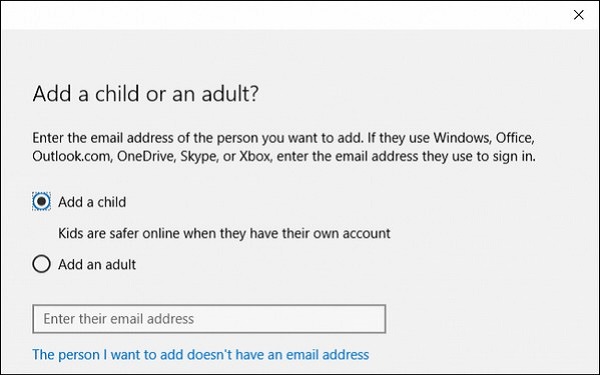
Step 4 − Choose what family member you want to add (child or adult)
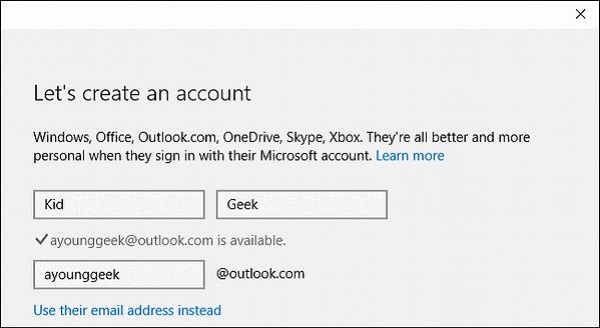
Step 5 − You will then be prompted to create an account for your child. If they dont have an e-mail account, you can create an Outlook account for them.
Step 6 − Provide a phone number for account security. This will be used in case the account is hacked or inaccessible.

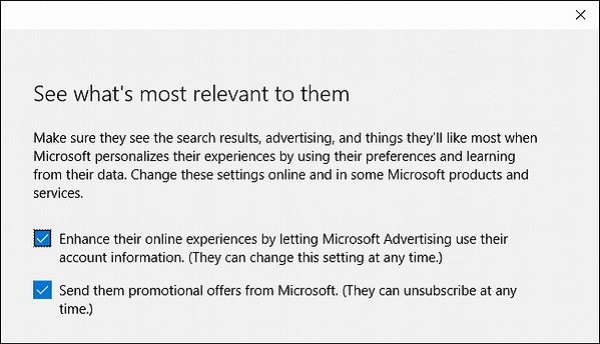
Step 7 − Choose from some notification and experience options, for example, if you want to receive promotional offers from Microsoft.
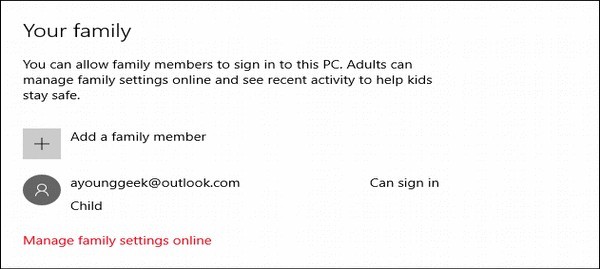
After creation, your child can log in to his own Windows 10 account.
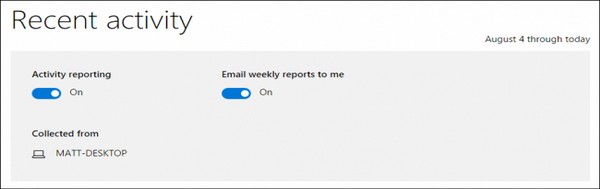
In addition, you can choose to monitor what your child does in his account by turning on reports on his activity −
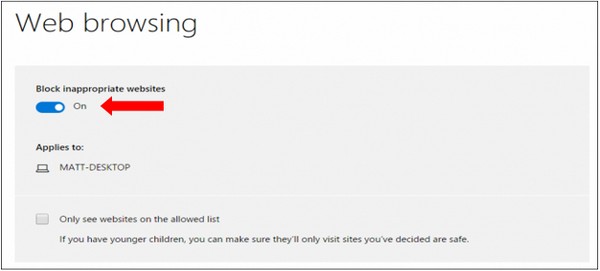
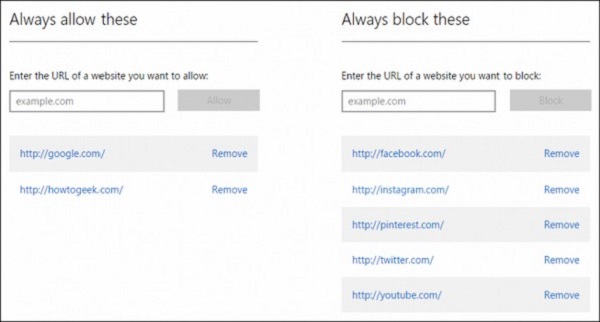
You can also choose to block inappropriate websites to limit your childs browsing only to allowed websites.
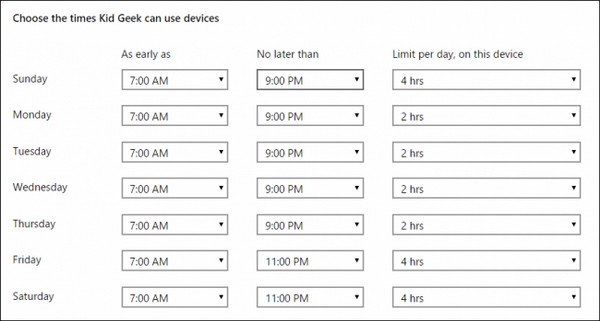
Finally, you can also establish when your child is allowed to log in by establishing a schedule −