- TestLodge - Home
- TestLodge - Introduction
- TestLodge - Features
- TestLodge - Free Trial Access
- TestLodge - Login
- TestLodge - Dashboard
- TestLodge - Add Users
- TestLodge - Add a Project
- TestLodge - Test Plans
- TestLodge - Copy a Test Plan
- TestLodge - Requirements
- TestLodge - Copy Requirements
- TestLodge - Test Suites
- TestLodge - Copy Test Cases
- TestLodge - Import Test Cases
- TestLodge - Add Test Run
- TestLodge - Execute a Test Run
- TestLodge - Test Run Summary
- TestLodge - Reports
- TestLodge - Export Contents
- Issue Tracker Integration
- TestLodge - Search
- TestLodge - Logout
TestLodge - Add a Project
To add a project, the user should be logged in as Admin.
Create a Project
Following are the steps to add a project into TestLodge.
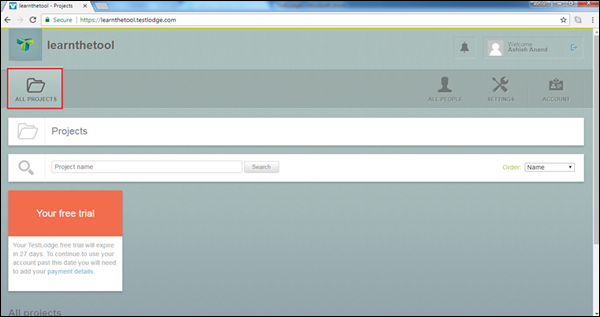
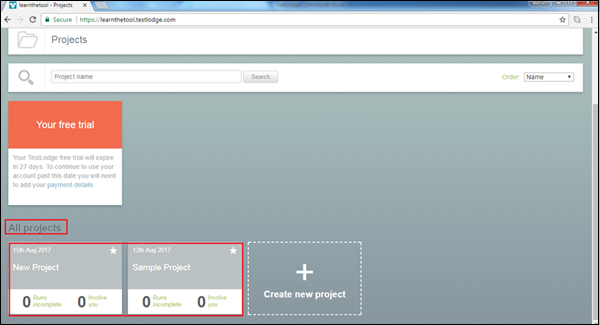
Step 1 − Login to TestLodge account and click the All Projects icon
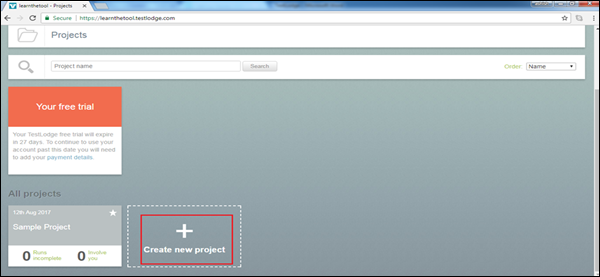
Step 2 − Following screenshot displays showing the Create New Project link. Click the Create New Project as shown in the following screenshot.
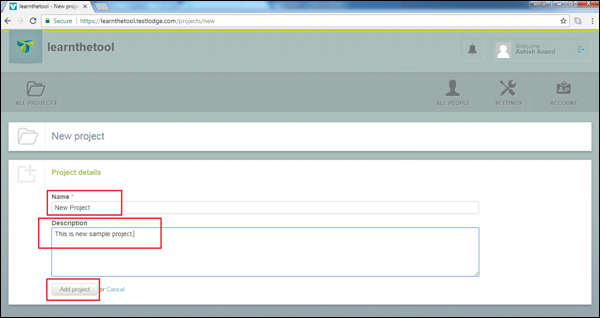
Step 3 − A Project form is displayed. Enter the Project Details Name and Description. Then, click the Add Project button as shown in the following screenshot.
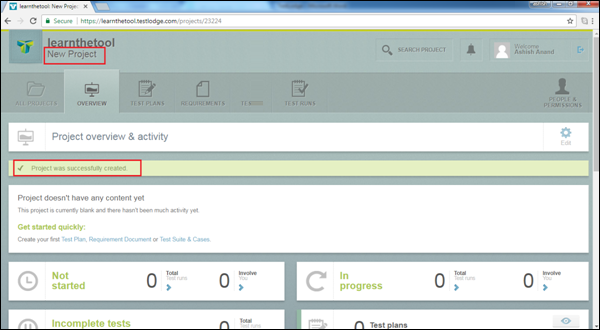
By clicking the Add Project button, Projects get added successfully and the Overview page is displayed along with a successful message as shown in the following screenshot.
Step 4 − You can access all available projects by clicking the All Project tab and selecting the project name from the list below.
Once you click the Project name, the Overview page displays the corresponding project.
