- SAP Web Dynpro - Home
- SAP Web Dynpro - Overview
- Configuration & Integration
- Architecture
- Navigation
- Component
- Mapping & Data Binding
- Event & Actions
- Application
- URL of an Application
- Creating an Application
- Component Interfaces
- Faceless Components
- Assistance Class
- Service Call In an Application
- Using a Service Call
- Debugging an Application
- Version Management
- Messages
- Integration Messages
- Personalization & Configuration
- Portal Integration
- Integrate WDA in Portal
- Interactive Forms
- SAP List Viewer(ALV)
- Administration
- Monitoring an Application
- Web Dynpro - Questions Answers
- SAP Web Dynpro - Quick Guide
- SAP Web Dynpro - Useful Resources
- SAP Web Dynpro - Discussion
SAP Web Dynpro - Creating an Application
To create a Web Dynpro application, we will create a Web Dynpro component that consists of one view. We will create a view context → linked to a table element on the view layout and contains the data from the table.
The table will be shown in the browser at runtime. A Web Dynpro application for this simple Web Dynpro component, which can be run in the browser will be created.
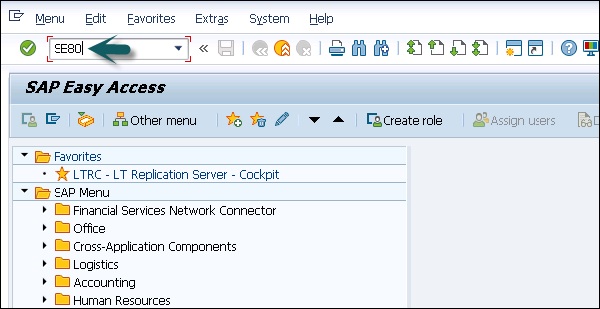
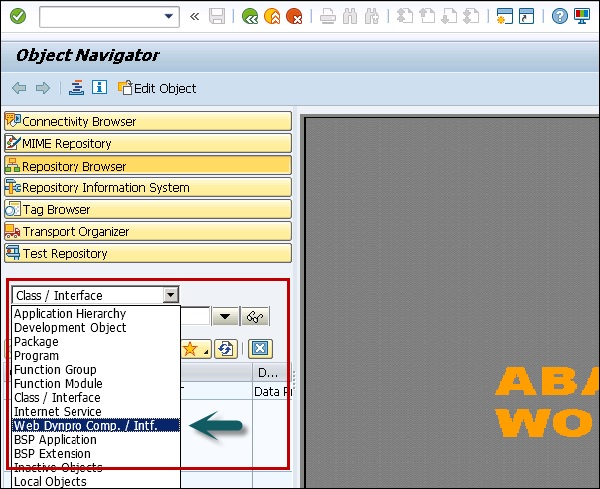
Step 1 − Go to T-Code − SE80 and select Web Dynpro component/intf from the list.
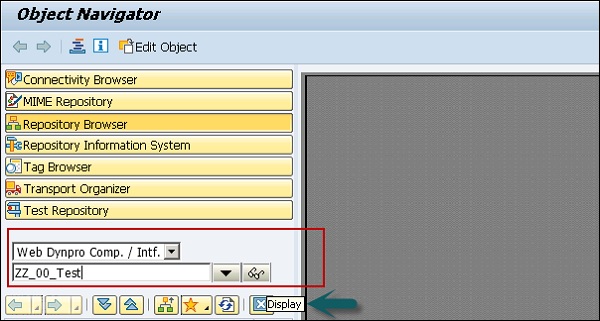
Step 2 − Create a new component as the following.
Step 3 − Enter the name of the new component and click on display.
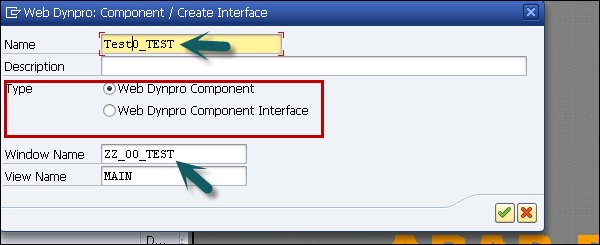
Step 4 − In the next window, enter the following details −
- You can enter a description of this component.
- In type, select a Web Dynpro component.
- You can also maintain the name of the default window.
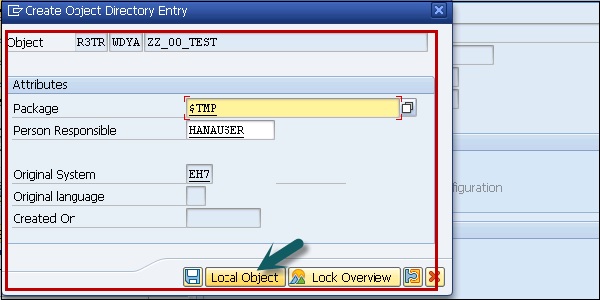
Step 5 − Assign this component to Package $TMP and click the Save button.
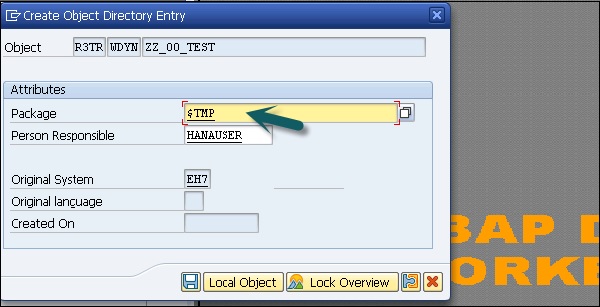
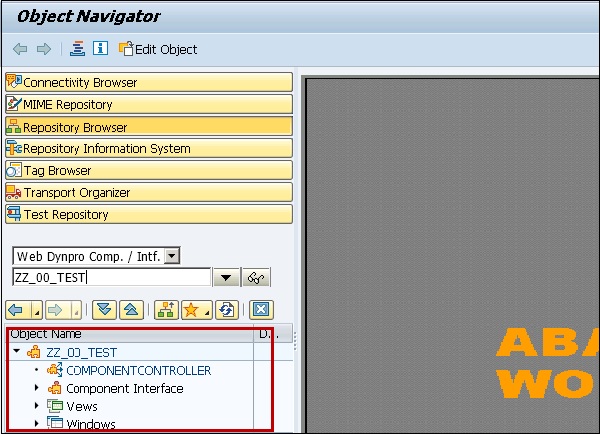
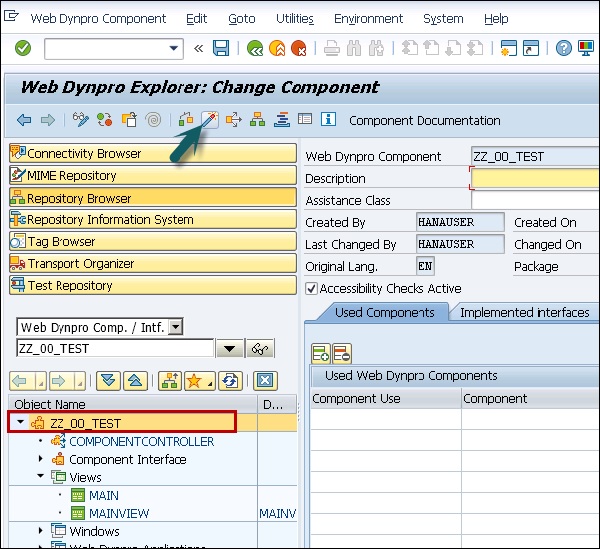
When you click Save, you can see this new component under the object tree and it contains −
- Component Controller
- Component Interface
- View
- Windows
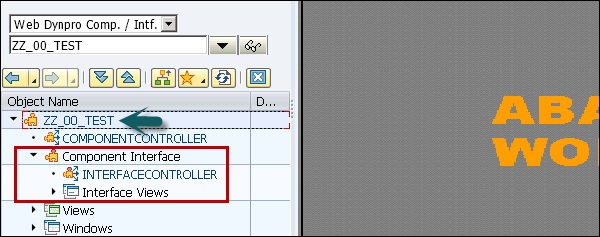
When you expand the component interface, you can see the interface controller and interface views.
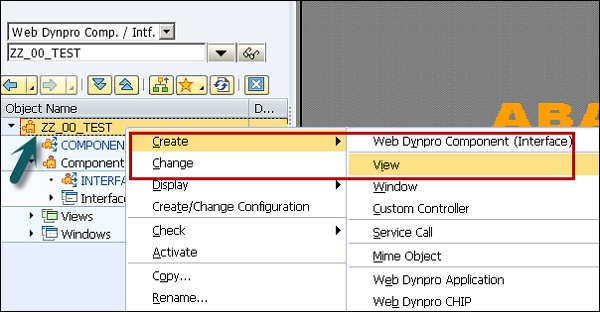
How to Create a View and Assign It to a Window?
Step 1 − Click on the Web Dynpro component and go to the context menu (right click) → Create → View
Step 2 − Create a view MAINVIEW as the following and click on the tick mark.
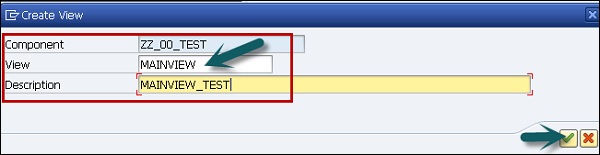
This will open view editor in ABAP workbench under the name − MAINVIEW
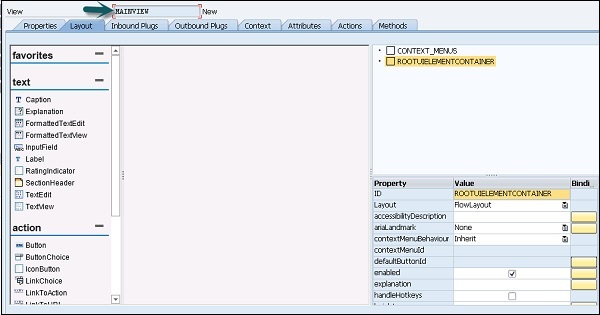
Step 3 − If you want to open the layout tab and view designer, you may need to enter the application server user name and password.
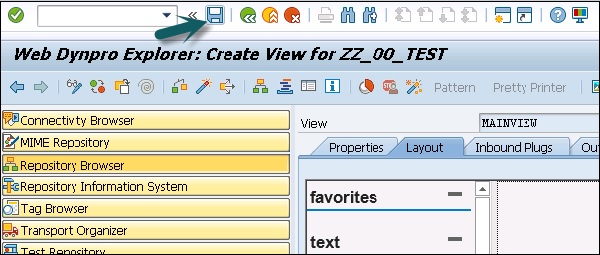
Step 4 − Click the save icon at the top.

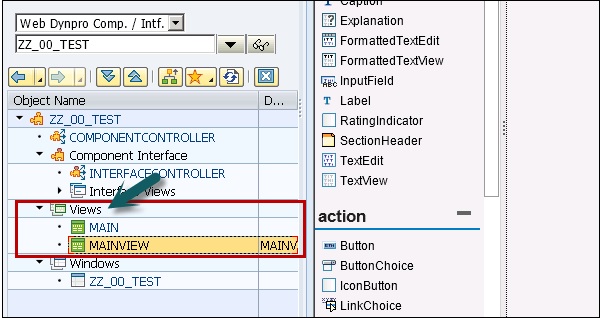
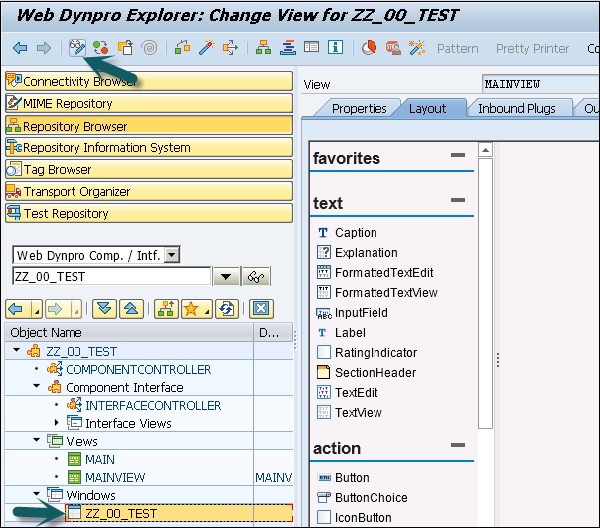
When you save, it comes under the object tree and you can check by expanding the view tab.
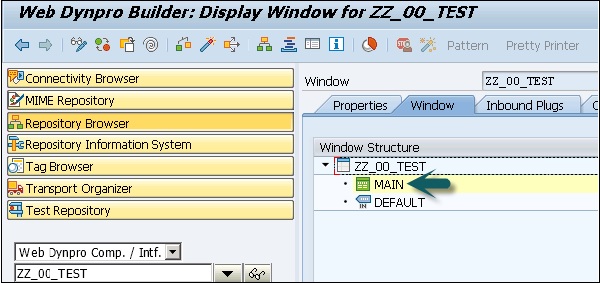
Step 5 − To assign the window to this view, select the window ZZ_00_TEST under the window tab and click on Change mode at the top of the screen.
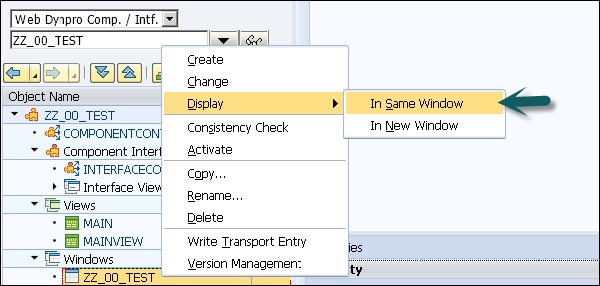
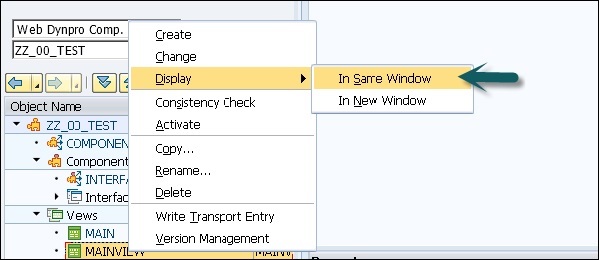
Step 6 − You can right-click → Display → In Same Window.
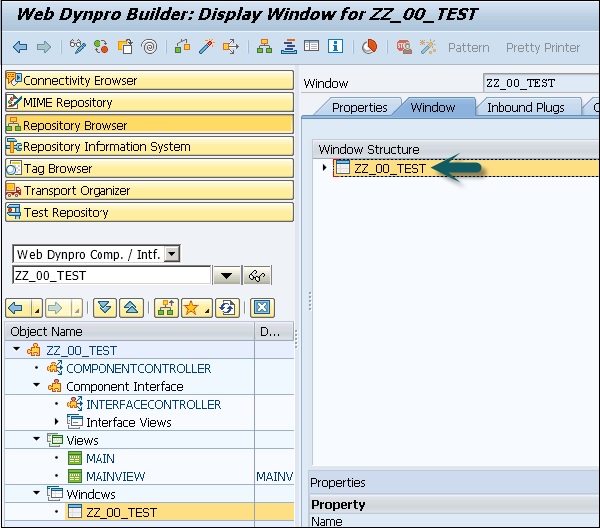
Step 7 − Now open the view structure and move the view MAINVIEW inside the window structure on the right hand side by Drag and Drop.
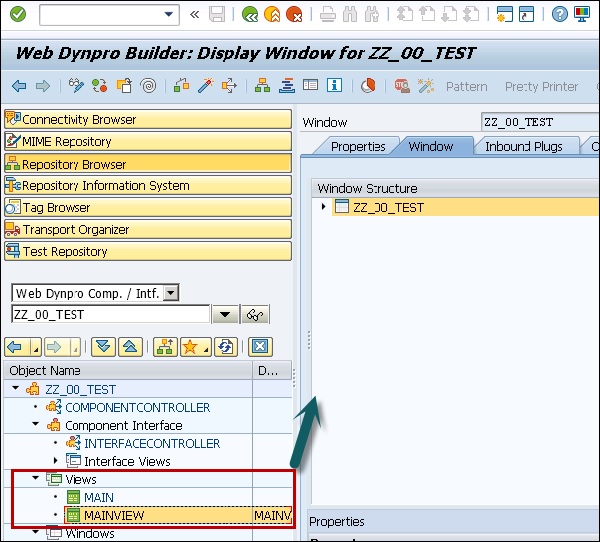
Step 8 − Open the window structure on the right hand side and you will see the embedded MAINVIEW.
Step 9 − Save by clicking the Save icon on top of the screen.
How to Create a View Context for MAINVIEW?
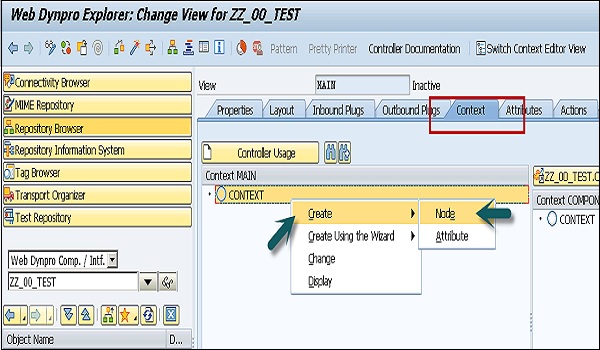
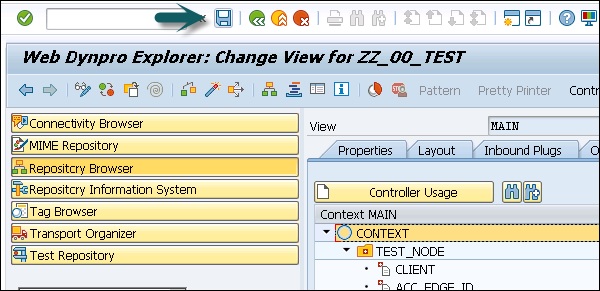
Step 1 − Open the View Editor to view MAINVIEW and switch to tab Context. Create a context node in the View Controller by opening the corresponding context menu.
Step 2 − Select the View in the object tree and click Display.
Step 3 − Maintain the Properties in the next window. Select the cardinality and dictionary structure (table). Select Add Attribute from Structure and select the components of the structure.
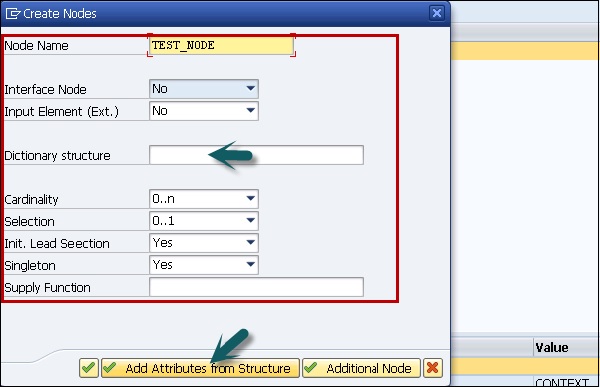
Step 4 − To select all the components, click Select all option at the top and then click the tick mark at the bottom of the screen.
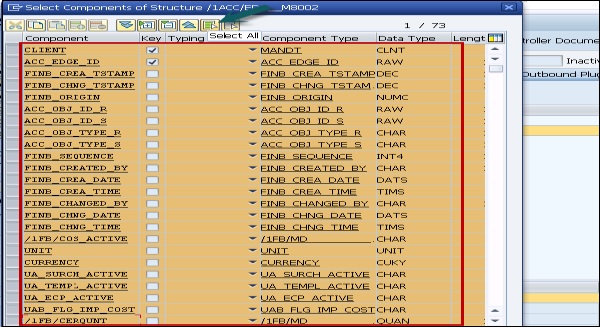

A context node TEST_NODE has been created, which refers to the data structure of the table and which can contain 0 → n entries at runtime. The context node has been created in the view context, since no data exchange with other views is planned hence component controller context usage is not necessary.
Step 5 − Save the changes to MAINVIEW by clicking the Save icon.
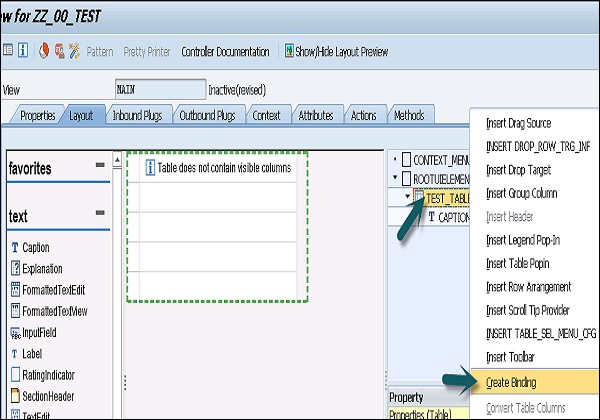
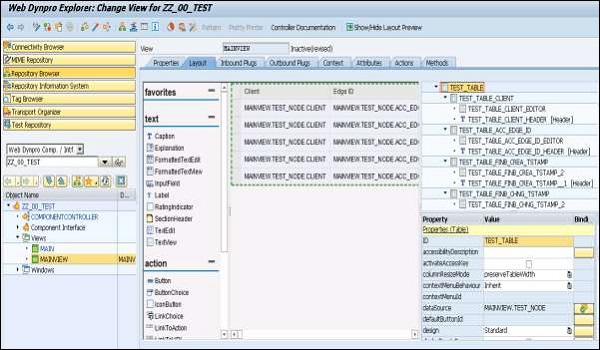
Step 6 − Go to the Layout tab of MAINVIEW. Insert a new UI element of the type table under ROOTUIELEMENT CONTAINER and assign the properties in the given table.
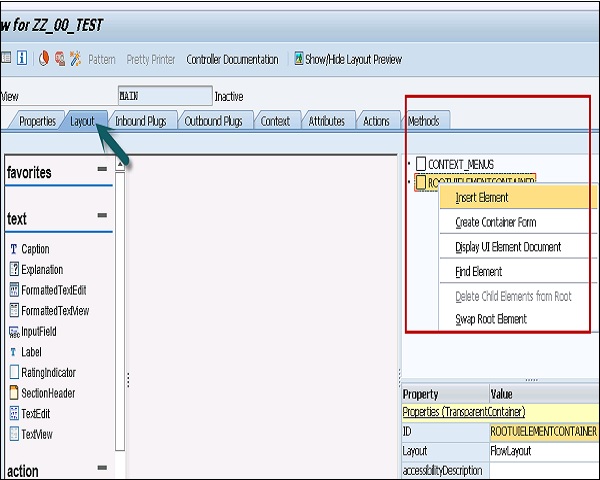
Step 7 − Enter the name of the element and type.
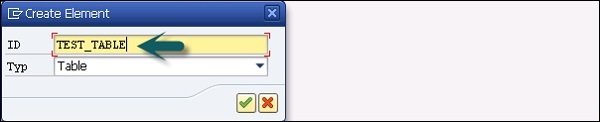
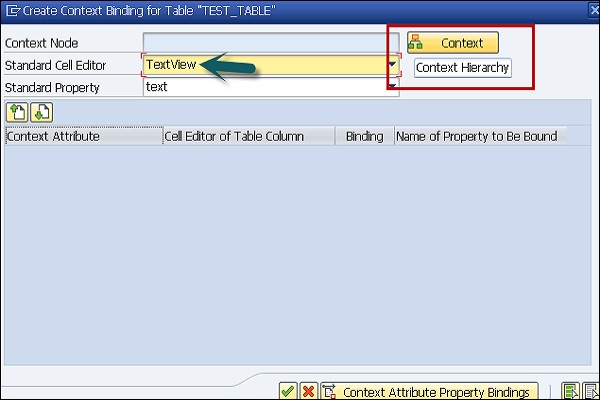
Step 8 − Create the binding of TEST_TABLE with context node TEST_NODE. Select Text View as Standard Cell Editors and activate bindings for all cells.
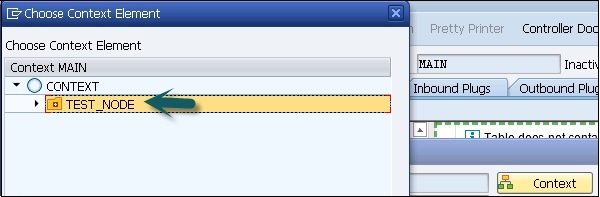
Step 9 − Click the Context button. Select the context node as TEST_NODE from the list.
Step 10 − You can see all the attributes by selecting it.
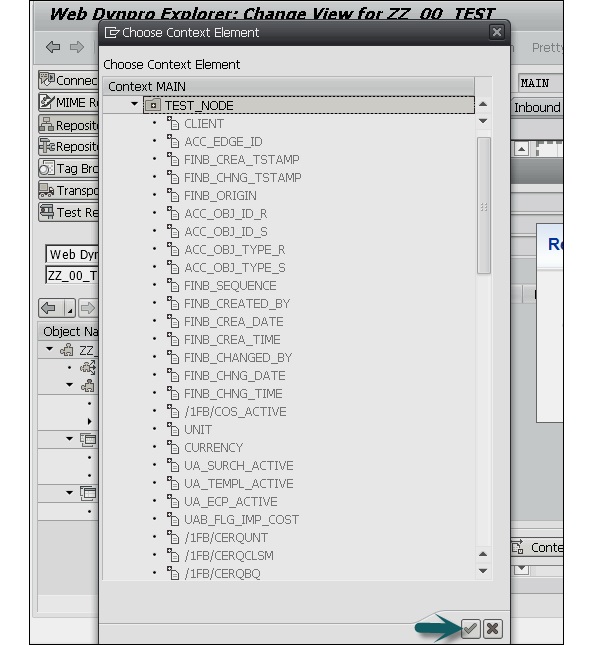
Step 11 − Activate all the checkboxes under Binding for all context attributes by selecting them. Confirm Entry by pressing the Enter key.
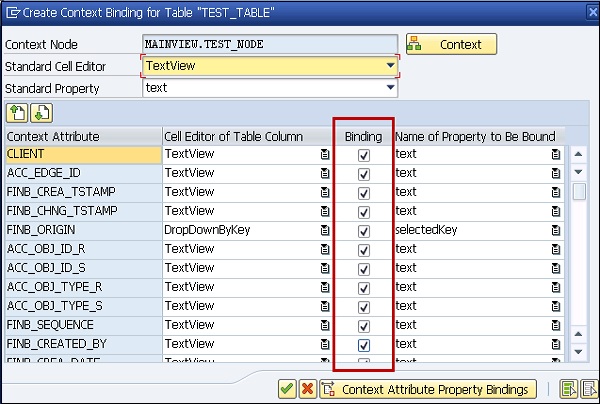
The result should look like this −
Step 12 − Save the changes.
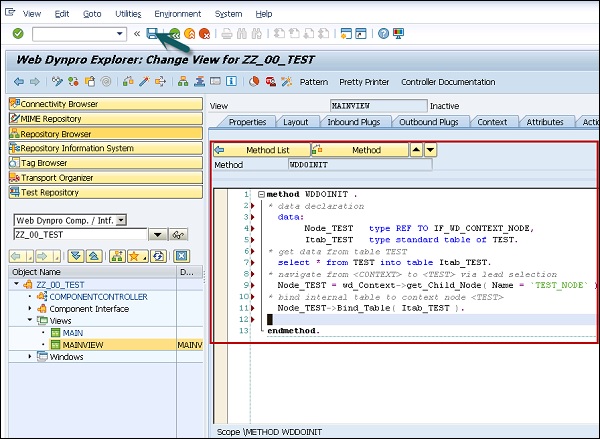
Step 13 − To supply data to TEST table, go to Methods tab and double-click method WDDOINIT. Enter the following code −
method WDDOINIT .
* data declaration
data:
Node_TEST type REF TO IF_WD_CONTEXT_NODE,
Itab_TEST type standard table of TEST.
* get data from table TEST
select * from TEST into table Itab_TEST.
* navigate from <CONTEXT> to <TEST> via lead selection
Node_TEST = wd_Context->get_Child_Node( Name = `TEST_NODE` ).
* bind internal table to context node <TEST>
Node_TEST->Bind_Table( Itab_TEST ).
endmethod.
Web Dynpro applications, you should not access database tables directly from Web Dynpro methods, however, you should use supply functions or BAPI calls for data access.
Step 14 − Save the changes by clicking the save icon on top of the screen.
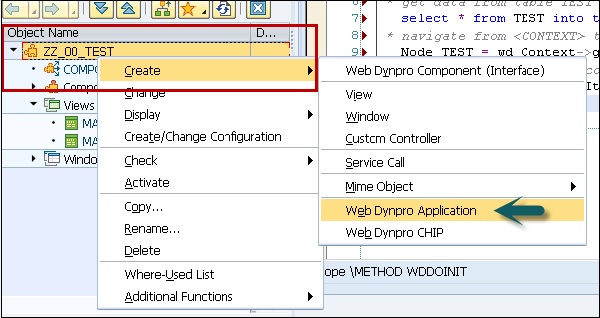
How to Create a Web Dynpro Application?
Step 1 − Select the ZZ_00_TEST component in the object tree → right-click and create a new application.
Step 2 − Enter the application name and click continue.
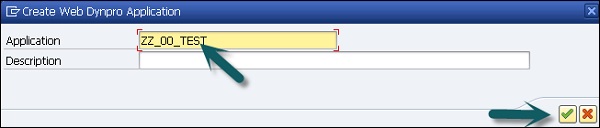
Step 3 − Save the changes. Save as a local object.

Next is activating objects in Web Dynpro component −
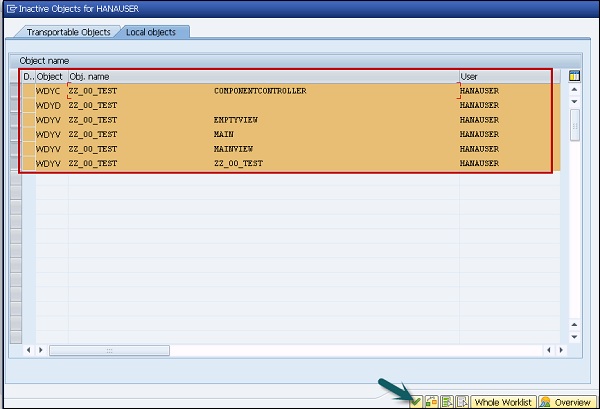
Step 4 − Double-click on the component ZZ_00_TEST and click Activate.
Step 5 − Select all the objects and click continue.
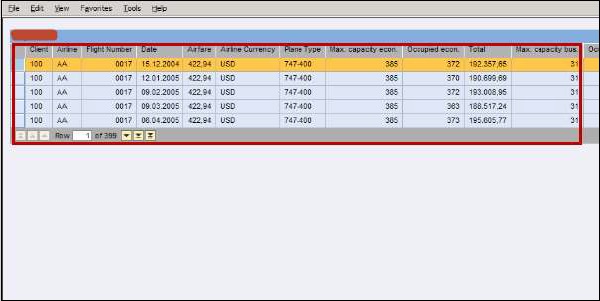
Step 6 − To run the application, select Web Dynpro application → Right-click and Test.
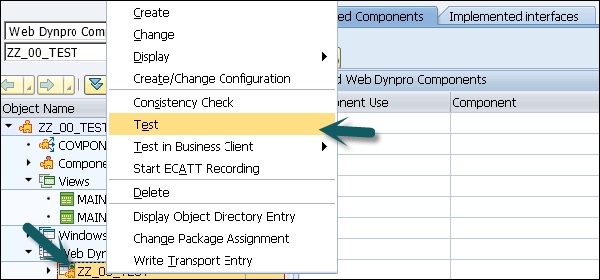
A browser will be started and Web Dypro application will be run.
Calling a Web Dynpro Application
In a Web Dynpro application, the component window has an inbound plug. This inbound plug can have parameters, which have to be specified as URL parameters.
Default values that are overwritten by the URL parameters can be set in the application for these parameters. If neither a default value nor a URL parameter is specified, a runtime error is triggered.
To create a new inbound plug, specify plug as a startup and data type should be a string. Activate the component.
Next is to specify the component to be called, parameters, window, and start-up plug.
Call the application and URL parameters overwrite application parameters.
