- Next.js - Home
- Next.js - Overview
- Next.js - Project Setup
- Next.js - Folder Structure
- Next.js - App Router
- Next.js - Page Router
- Next.js Features
- Next.js - Pages
- Next.js - Data Fetching
- Next.js - ISR
- Next.js - Static File Serving
- Next.js - Pre-Rendering
- Next.js - Partial Pre Rendering
- Next.js - Server Side Rendering
- Next.js - Client Side Rendering
- Next.js Routing
- Next.js - Routing
- Next.js - Nested Routing
- Next.js - Dynamic Routing
- Next.js - Parallel Routing
- Next.js - Imperative Routing
- Next.js - Shallow Routing
- Next.js - Intercepting Routes
- Next.js - Redirecting Routes
- Next.js - Navigation and Linking
- Next.js Configuration
- Next.js - TypeScript
- Next.js - Environment Variables
- Next.js - File Conventions
- Next.js - ESLint
- Next.js API & Backend
- Next.js - API Routes
- Next.js - Dynamic API Routes
- Next.js - Route Handlers
- Next.js - API MiddleWares
- Next.js - Response Helpers
- Next.js API Reference
- Next.js - CLI Commands
- Next.js - Functions
- Next.js - Directives
- Next.js - Components
- Next.js - Image Component
- Next.js - Font Component
- Next.js - Head Component
- Next.js - Form Component
- Next.js - Link Component
- Next.js - Script Component
- Next.js Styling & SEO
- Next.js - CSS Support
- Next.js - Global CSS Support
- Next.js - Meta Data
- Next.js Advanced Topics
- Next.js - Error Handling
- Next.js - Server Actions
- Next.js - Fast Refresh
- Next.js - Internationalization
- Next.js - Authentication
- Next.js - Session Management
- Next.js - Authorization
- Next.js - Caching
- Next.js - Data Caching
- Next.js - Router Caching
- Next.js - Full Route Caching
- Next.js - Request Memoization
- Next.js Performance Optimization
- Next.js - Optimizations
- Next.js - Image Optimization
- Next.js - Lazy Loading
- Next.js - Font Optimization
- Next.js - Video Optimization
- Next.js - Script Optimization
- Next.js - Memory Optimization
- Next.js - Using OpenTelemetry
- Next.js - Package Bundling Optimization
- Next.js Testing
- Next.js - Testing
- Next.js - Testing with Jest
- Next.js - Testing with Cypress
- Next.js - Testing with Vitest
- Next.js - Testing with Playwright
- Next.js Debugging & Deployment
- Next.js - Debugging
- Next.js - Deployment
- Next.js Useful Resources
- Next.js - Interview Questions
- Next.js - Quick Guide
- Next.js - Useful Resources
- Next.js - Discussion
Next.js - Deployment
In this chapter, we will learn how to deploy a Next.js application to various platforms.
Creating a Production Build
Before deploying a Next.js application, you need to create a production build. To create a production build, run the following command:
npm run build
Running the above command, generates an optimized version of your application for production. HTML, CSS, and JavaScript files are created based on your pages. JavaScript is compiled and browser bundles are minified using the Next.js Compiler to help achieve the best performance and support all modern browsers.
Deploying to Github Pages
GitHub Pages is a static site hosting service that allows you to host your website directly from a GitHub repository. To deploy a Next.js application to GitHub Pages, follow these steps:
- Create a github repository with name of your project. For example, testing-app.
- In your project, add base path, output, image optimization method to /next.config.ts file.
// next.config.js const nextConfig: NextConfig = { basePath: "/testing-app", // Name of your project output: "export", images: { unoptimized: true }, }; - Now, create a .github/workflows/deploy.yml file in your project root directory with following code. This will automate the deployment process.
# .github/workflows/deploy.yml name: Deploy Next.js to GitHub Pages on: push: branches: ["main"] workflow_dispatch: permissions: contents: read pages: write id-token: write concurrency: group: "pages" cancel-in-progress: true jobs: build: runs-on: ubuntu-latest steps: - name: Checkout uses: actions/checkout@v4 - name: Setup Node uses: actions/setup-node@v4 with: node-version: "18" cache: 'npm' - name: Install dependencies run: npm ci - name: Build with Next.js run: npm run build - name: Upload artifact uses: actions/upload-pages-artifact@v3 with: path: ./out deploy: environment: name: github-pages url: ${{ steps.deployment.outputs.page_url }} runs-on: ubuntu-latest needs: build steps: - name: Deploy to GitHub Pages id: deployment uses: actions/deploy-pages@v4 - In your package.json, ensure you have these scripts:
{ "scripts": { "build": "next build", "export": "next export" } } - In your GitHub repository settings, Go to Settings > Pages, Under "Build and deployment", select "GitHub Actions" as the source. Make sure GitHub Pages is enabled for your repository.
- Now, push your code to the main branch. GitHub Actions will automatically build and deploy your Next.js application to GitHub Pages.
// Add changes to git
git add .

// Commit changes
git commit -m "Configure GitHub Pages deployment"

// Push changes
git push origin main
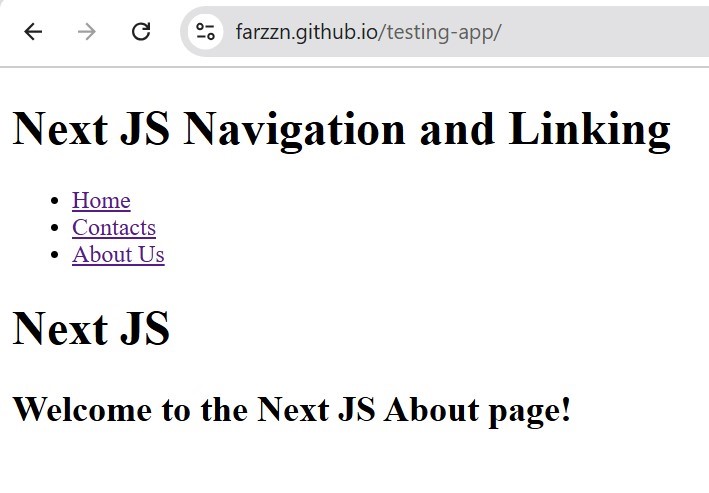
After successfully deploying, you can see that a link to access deployed page in deployment section of your repository. We have deployed navigation and linking page that we created in previous chapter. You can access the live page here: farzzn.github.io/testing-app/
Deploying to Vercel
Next.js is developed and maintained by Vercel, a cloud platform designed for deploying static websites. Deploying Next.js to Vercel requires no configuration and offers enhancements for scalability, availability, and global performance.
If you have already deployed Next.js to Github pages, then you can easily deploy it to Vercel by creating a Vercel account by connecting your GitHub. You can import your repository and deploy it to Vercel in a single click. In you don't have deployed to github, the follow these steps:
Prerequisites
- Create a Github account
- Create a Vercel account ( Sign up using your GitHub account)
Steps
- First, push your Next.js project to GitHub. Run the following commands in your project directory:
// Initialize git
git init

// Add all files to git
git add .

// Commit changes
git commit -m "Initial commit"

// Add remote repository
git remote add origin your-github-repo-url

// Push changes to GitHub
git push -u origin main
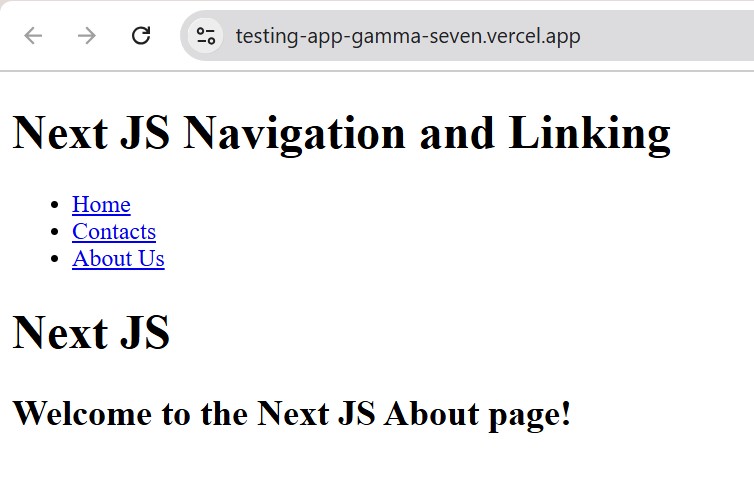
Once deployed, Vercel will provide you a production URL (yourproject-gamma-seven.vercel.app), automatic HTTPS, and automatic deployments on every git push. We have deployed the same navigation and linking page that we discussed above to Vercel. You can access the live page here: https://testing-app-gamma-seven.Vercel.app/
Next JS Self Hosting
Next.js supports self hosting, which means you can host your Next.js application on your own server. With self-hosting, you control the server, environment, and resources used to run your application.
- Node.js server: You can run your Next.js app on a custom Node.js server. This involves installing and configuring a Node.js environment on your server, where you will run your application using next start or a similar command. This option allows for dynamic rendering and API routes, with full control over the server setup.
- Docker container: You can containerize your Next.js app using Docker. This means creating a Docker image for your Next.js app, which can be deployed to any machine running Docker. It allows for consistent and portable environments, as well as easier scaling and management.
- Static export: Next.js can generate a static version of your website using the next export command. This creates a set of HTML files that can be served by any web server, without requiring a Node.js environment. This is the simplest form of self-hosting, suitable for static websites with no server-side logic.
