- Next.js - Home
- Next.js - Overview
- Next.js - Project Setup
- Next.js - Folder Structure
- Next.js - App Router
- Next.js - Page Router
- Next.js Features
- Next.js - Pages
- Next.js - Data Fetching
- Next.js - ISR
- Next.js - Static File Serving
- Next.js - Pre-Rendering
- Next.js - Partial Pre Rendering
- Next.js - Server Side Rendering
- Next.js - Client Side Rendering
- Next.js Routing
- Next.js - Routing
- Next.js - Nested Routing
- Next.js - Dynamic Routing
- Next.js - Parallel Routing
- Next.js - Imperative Routing
- Next.js - Shallow Routing
- Next.js - Intercepting Routes
- Next.js - Redirecting Routes
- Next.js - Navigation and Linking
- Next.js Configuration
- Next.js - TypeScript
- Next.js - Environment Variables
- Next.js - File Conventions
- Next.js - ESLint
- Next.js API & Backend
- Next.js - API Routes
- Next.js - Dynamic API Routes
- Next.js - Route Handlers
- Next.js - API MiddleWares
- Next.js - Response Helpers
- Next.js API Reference
- Next.js - CLI Commands
- Next.js - Functions
- Next.js - Directives
- Next.js - Components
- Next.js - Image Component
- Next.js - Font Component
- Next.js - Head Component
- Next.js - Form Component
- Next.js - Link Component
- Next.js - Script Component
- Next.js Styling & SEO
- Next.js - CSS Support
- Next.js - Global CSS Support
- Next.js - Meta Data
- Next.js Advanced Topics
- Next.js - Error Handling
- Next.js - Server Actions
- Next.js - Fast Refresh
- Next.js - Internationalization
- Next.js - Authentication
- Next.js - Session Management
- Next.js - Authorization
- Next.js - Caching
- Next.js - Data Caching
- Next.js - Router Caching
- Next.js - Full Route Caching
- Next.js - Request Memoization
- Next.js Performance Optimization
- Next.js - Optimizations
- Next.js - Image Optimization
- Next.js - Lazy Loading
- Next.js - Font Optimization
- Next.js - Video Optimization
- Next.js - Script Optimization
- Next.js - Memory Optimization
- Next.js - Using OpenTelemetry
- Next.js - Package Bundling Optimization
- Next.js Testing
- Next.js - Testing
- Next.js - Testing with Jest
- Next.js - Testing with Cypress
- Next.js - Testing with Vitest
- Next.js - Testing with Playwright
- Next.js Debugging & Deployment
- Next.js - Debugging
- Next.js - Deployment
- Next.js Useful Resources
- Next.js - Interview Questions
- Next.js - Quick Guide
- Next.js - Useful Resources
- Next.js - Discussion
Next.js - Components
Next.js have several builtin components such as <Image>, <Link> which extends normal HTML elements to provide advanced data management and customization to the UI. This chapter will give reference to all of those components and some of their examples in Next.js.
Next.js Components Reference
Following table provide reference to all components used in Next.js
| Components | Explanation |
|---|---|
| <Form> | The <Form> component in Next.js extends the HTML <form> element to provide extra features such as prefetching of loading UI, client-side navigation on submission, and progressive enhancement. |
| <Link> | The <Link> is a React component that extends the HTML <a> element to provide prefetching and client-side navigation between routes. |
| <Head> | The <Head> component in Next.js is used to modify the document's head section to include metadata, title, and other tags like scripts or styles. |
| <Font> | The <Font> component in Next.js is used to load and optimize Google Fonts and custom fonts, providing features like sub-setting, lazy loading, and automatic preloading. |
| <Image> | The <Image> component in Next.js extends the HTML <img> element to provide extra features such as custom URL, lazy loading, custom styling and more. |
| <Script> | The <Script> component in Next.js is used to load third-party scripts in an optimized way with options like lazy loading, priority loading, and more control over execution. |
Create a Navigation Bar Using Link Component
The <Link> component is commonly used to create navigation bar and implement navigation at client-side. The example below shows how to create a navigation bar in Next.js
Example
In the code below, we used Nextjs layout component to create navigation bar to the application. This navigation bar will contain links to components we made in earlier chapters.
// app/layout.tsx file

import Link from 'next/link'
import { ReactNode } from 'react';

interface RootLayoutProps {
    children: ReactNode;
}

export default function RootLayout({ children }: RootLayoutProps) {
    return (
    <html lang="en">
        <body>
        {/* Define Header Element of App Layout */}
        <header>
            <h1>Header Element</h1>

            {/* Define Navigation bar inside header */}
            <ul>
                <li><Link href="/">Home</Link></li>
                <li><Link href="/products/">Products</Link></li>
                <li><Link href="/contacts/">Contacts</Link></li>
                <li><Link href="/about">About Us</Link></li>
            </ul>
        </header>

        {/* Section to call rest of components */ }
        <main>{children}</main>
        </body>
    </html>
    );
}
Output
In the output, a navigation bar visible in every routes is created.

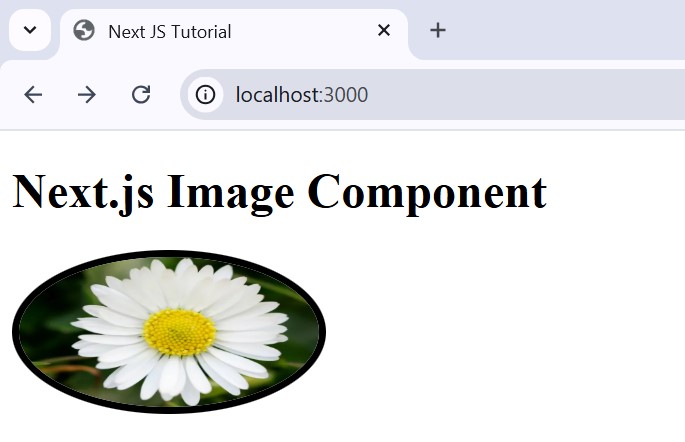
Add Inline Style for Next.js Images
Next.js have predefined <Image> component to customize images in Next.js. Following example shows how to define inline style of a element using <Image> component
Example
To define inline CSS style in Next.js, first you need to define a JavaScript object with all CSS style for the image separated by comma. Then use name of the object as value for style prop in Image component. See the code below.
import Image from 'next/image'

export default function Page() {
    const imageStyle = {
        borderRadius: '50%',
        border: '5px solid black',
    }

    return (
        <Image
            src="/profile.jpg"
            width={200}
            height={100}
            alt="Flower Image"
            style={imageStyle}
        />
    )
}
Output
In the output, CSS style are applied to the image.