
Article Categories
- All Categories
-
 Data Structure
-
 Networking
-
 RDBMS
RDBMS
-
 Operating System
-
 Java
Java
-
 MS Excel
-
 iOS
iOS
-
 HTML
HTML
-
 CSS
CSS
-
 Android
-
 Python
-
 C Programming
-
 C++
C++
-
 C#
C#
-
 MongoDB
-
 MySQL
MySQL
-
 Javascript
-
 PHP
PHP
-
 Economics & Finance
How to quickly change order of tabs to your need in Excel?
In Excel, organizing and rearranging tabs can greatly enhance the workflow and improve the efficiency of user data. While working with a large spreadsheet that contains multiple tabs. It is essential to know that changing the order of tabs quickly changes the order of tabs to suit user-specific needs. Whether users want to prioritize certain sheets, group related tabs together, or simply reorganize the workbook for easier navigation, mastering the art of tab reordering is a valuable skill. In this article, the user will explore different methods and techniques to swiftly rearrange tabs in Excel, empowering the user to customize the order of available worksheets with ease and precision.
Let?s start with a few examples.
Example 1: To change the order of tabs by dragging the sheet order according to user requirement
Step 1
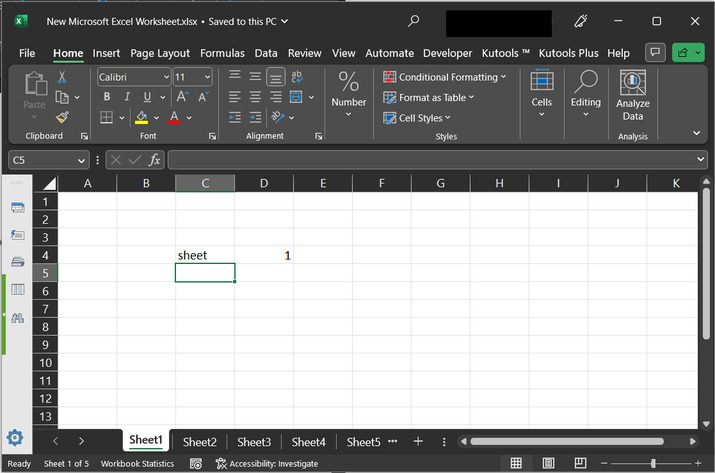
Consider the below-provided snapshot of data. This sheet contains only a few words that show the current sheet number.
Step 2
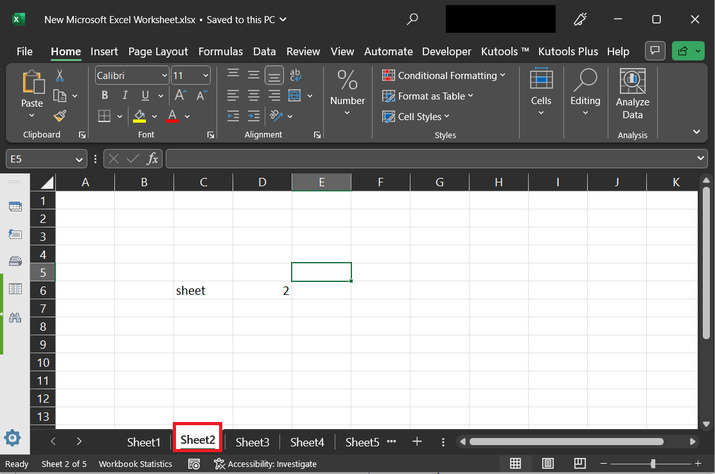
Click on the sheet 2 tab, and then drag the sheet header to the first position by placing the cursor on the "sheet 2" tab, and then dragging it to the sheet 1 position.
Step 3
After dragging the sheet result. Move the sheet to 1 st position. Consider the below given excel sheet ?

Example 2: To change the order of tabs by using the kutools according to the user requirement.
Step 1
Consider the below provided snapshot of data. This sheet contains only a few words that shows the current sheet number.

Step 2
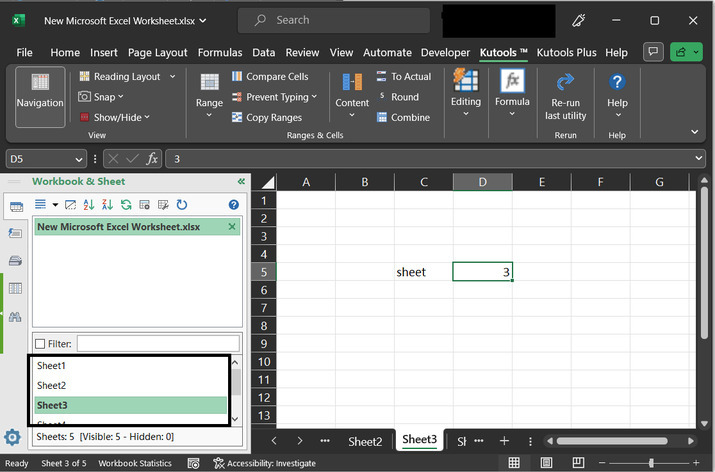
After that click on the "Kutools" tab, and under the view section select the option "Navigation". This will open a separate "Workbook & Sheet" tab. As shown below ?
Step 3
The above step will display a navigation pane, as provided below ?

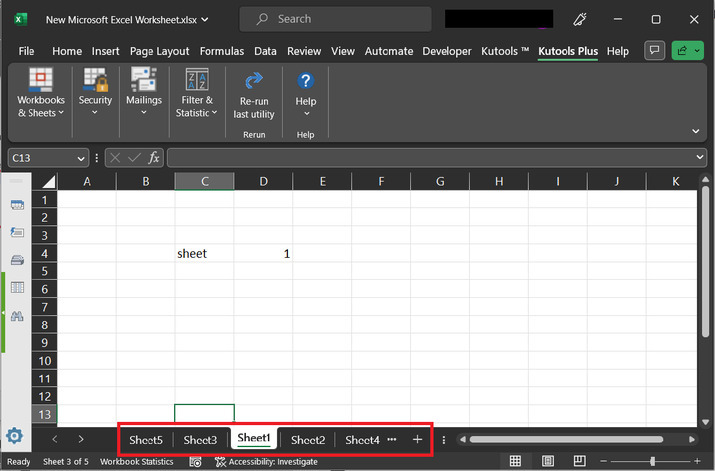
Example 3: To change the order of tabs by using the kutools plus according to the user requirement.
Step 1
Consider the below-provided snapshot of data. This sheet contains only a few words that show the current sheet number.

Step 2
Go to the Kutools Plus tab, and click on the "Workbooks & Sheets" option. After that select the "Worksheet" option and further choose the option for "Sort Sheets?"

Step 3
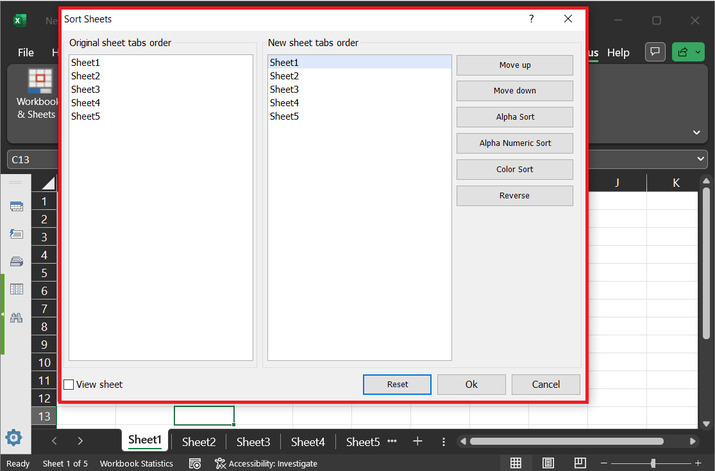
The above step will open a "Sort Sheets" dialog box. This dialog box contains two separate areas. The first area shows the original sheet tabs order, and 2nd tab contains the new modified order. In the second section use the drag and drop feature to move the sheet tabs.
Step 4
In this example will move the sheet 5 and sheet 3 options above to all the sheets. Consider the below-depicted image for reference ?

Step 5
After clicking on the "OK" button. the sheet tab order will be rearranged automatically as shown below ?
Conclusion
This article allows the user to understand the process of changing the order of tabs by using Excel. As excel is a great and valuable tool to enhance productivity and efficiency when working with spreadsheets. By following the techniques and methods discussed in the above article, users can rearrange the tabs to suit their specific needs and preferences. Whether users want to prioritize certain worksheets, group related tabs together, or simply reorganize the workbook for better navigation, the ability to customize the order of tabs gives you greater control over your Excel experience.

2K+ Views
