
Article Categories
- All Categories
-
 Data Structure
-
 Networking
-
 RDBMS
RDBMS
-
 Operating System
-
 Java
Java
-
 MS Excel
-
 iOS
iOS
-
 HTML
HTML
-
 CSS
CSS
-
 Android
-
 Python
-
 C Programming
-
 C++
C++
-
 C#
C#
-
 MongoDB
-
 MySQL
MySQL
-
 Javascript
-
 PHP
PHP
-
 Economics & Finance
How to Quickly Insert Timestamps in Excel?
Excel's timestamp functionality is a game?changer for countless professionals globally. From efficient data organization and improved analysis capabilities to enhancing collaboration?it truly sits at the core of modern productivity. By harnessing the power of timestamps in Excel, we unlock a world of possibilities within our fingertips while managing our valuable asset called 'time.' Among its many features, timestamps stand out as a powerful resource that offers valuable insights while saving precious hours.
Let us dive into the world of timestamps in Excel and uncover their uses and purposes.
Understanding Timestamps
Timestamps represent specific dates and times within an Excel spreadsheet by assigning unique numeric values to each event recorded. By capturing precise information about when certain events occur such as data entries, updates, corrections, or even support requests, timestamps help illuminate patterns over time for further analysis.
Organizing Data Effectively
Timestamps serve as a backbone for streamlining your data organization efforts in Excel. Whether we are working on managing projects or analyzing trends, implementing timestamps ensures efficient record?keeping from start to finish.
Project Management: Timestamping key project milestones enables stakeholders to monitor progress effortlessly without confusion about timelines.
Data Analysis and Visualization: By recording timestamped observations while collecting datasets (like sales figures), one can easily analyze performance trends based on both temporal variations and other relevant variables.
Customer Support Tracking: Applying timestamps helps support teams prioritize customer inquiries accurately based on submission order or response time metrics.
Example 1: Inserting the timestamps using Keyboard shortcuts
Step 1
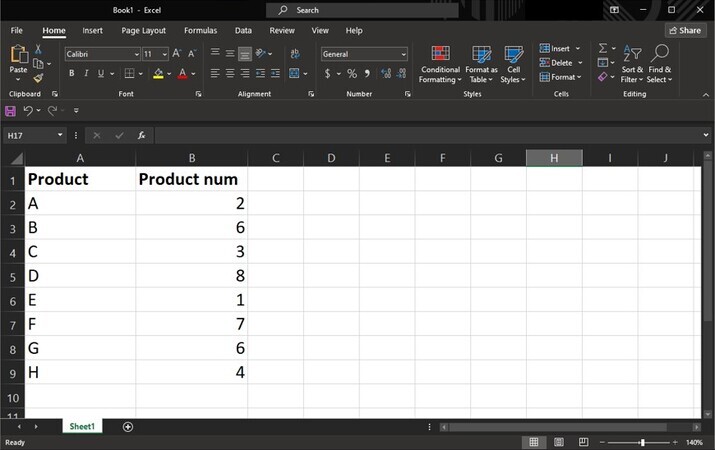
Excel offers several built?in keyboard shortcuts that allow for speedy timestamp insertion. Open the desired worksheet and select the cell where we want the timestamp.
Step 2
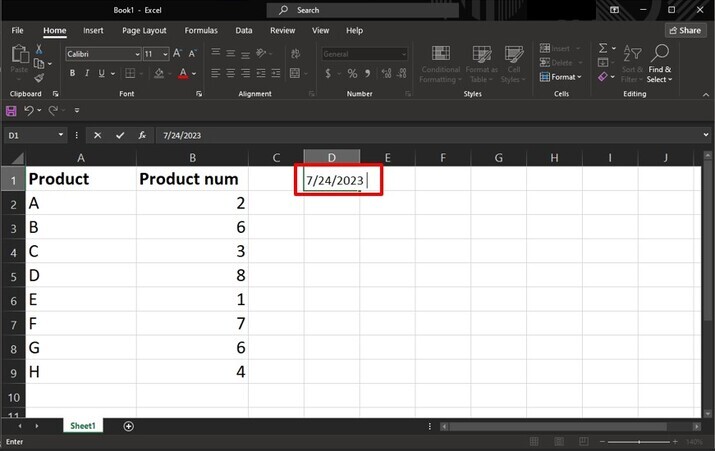
Press "Ctrl" + " ; " followed by pressing the spacebar key once in the D1 cell. This combination will instantly enter the current date into the selected cell.
Step 3
If you also require adding a specific time alongside the date stamp mentioned above, press "Ctrl" + "Shift" + ":" as highlighted in below image:

Example 2: Inserting the timestamps using Formulas
Step 1
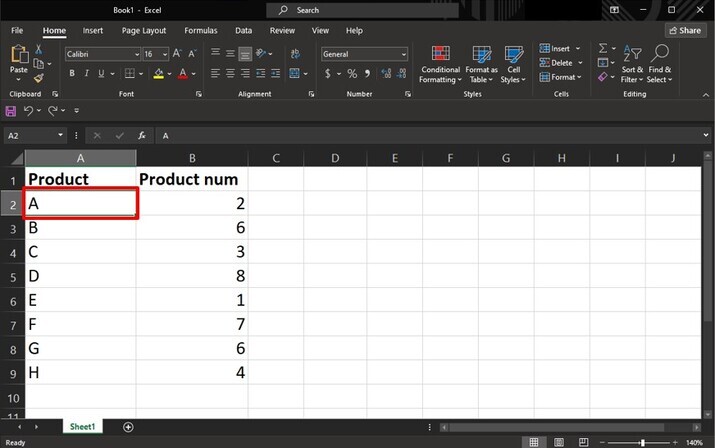
If multiple cells require timestamps or if automation is necessary, formulas can provide an efficient solution. Select the target cells where we want each respective timestamp to appear.
Step 2a (Date Only)
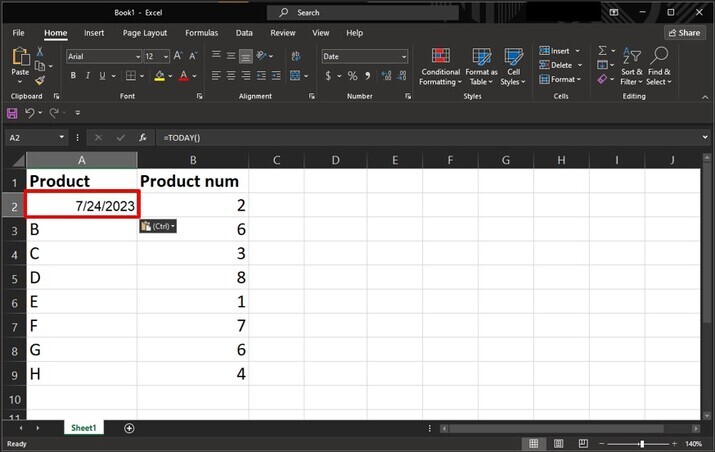
Type "=TODAY()" without quotes into any selected cells and press Enter. The result would be that these cells now contain a static date value that will not change unless manually updated.
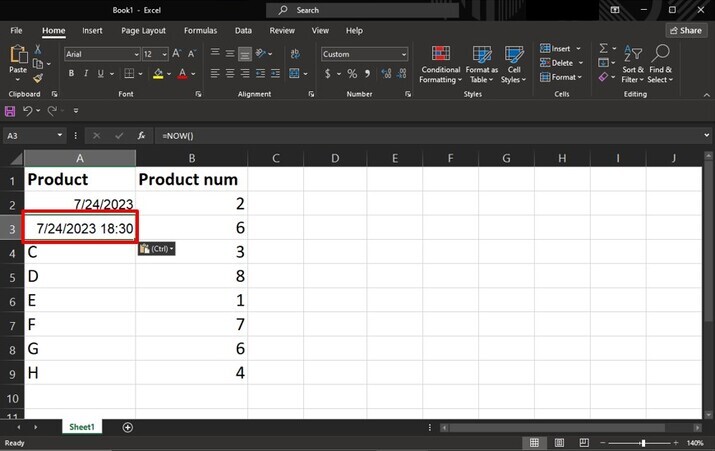
Step 2b (Date and Time)
Type "=NOW()" without quotes instead of "=TODAY()". This formula adds both date and time values directly into each selected cell with ongoing updates whenever recalculating takes place or when new calculations are triggered within the workbook.
Conclusion
Mastering time management is crucial in our daily routines, and being able to quickly insert timestamps in Excel can significantly streamline various tasks. By utilizing keyboard shortcuts, formulas with built?in functions like TODAY() and NOW(), or custom macros tailored to the specific requirements using Visual Basic for Applications (VBA), we can efficiently track events as they occur without losing productivity due to cumbersome data entry processes.

566 Views
