
Article Categories
- All Categories
-
 Data Structure
-
 Networking
-
 RDBMS
RDBMS
-
 Operating System
-
 Java
Java
-
 MS Excel
-
 iOS
iOS
-
 HTML
HTML
-
 CSS
CSS
-
 Android
-
 Python
-
 C Programming
-
 C++
C++
-
 C#
C#
-
 MongoDB
-
 MySQL
MySQL
-
 Javascript
-
 PHP
PHP
-
 Economics & Finance
How to Print Borders Around each Page in Excel ?
Introduction
If you want your Excel documents to seem more professional and be simpler to read, consider printing borders around each page. This will accomplish both of those goals. The borders separate the information from the white space that is all around it, giving the entire item the appearance of having been polished. This post will begin with a brief introduction, then proceed to provide an explanation, and then conclude by providing a summary of how to print borders around each page in Excel.
Why does it Happen?
Borders surrounding each page are printed when the page configuration and print settings have been configured in Excel. If you choose to print borders around your pages, your printed papers will seem more professional
Excel gives you the opportunity to add features like gridlines and borders to your printed output when you specify the print area and modify the page layout. Borders may be produced around each page by choosing the relevant parameters.
Each page has a border printed on it to help differentiate the text from the white space around it. This breaks up helps the printed material stay organized and easy to read. It aids the reader in recognizing the borders of the material and distinguishing it from the white space.
Printing borders may also help your papers seem more polished and professional. The addition of this graphic feature enhances the document's overall appearance, making it seem more organized and pleasing to the eye.
In addition, printing borders let users to more quickly move around printed pages, which is especially useful when dealing with big spreadsheets or tables. The margins serve as visual clues, pointing the reader in the direction of the desired parts or data points.
In conclusion, when certain parameters are enabled in Excel's page layout and print options, borders around each page are printed. The goal is to enhance the printed material in terms of readability, organization, and aesthetics.
Explanation
To print borders around each page in Excel, follow these steps:
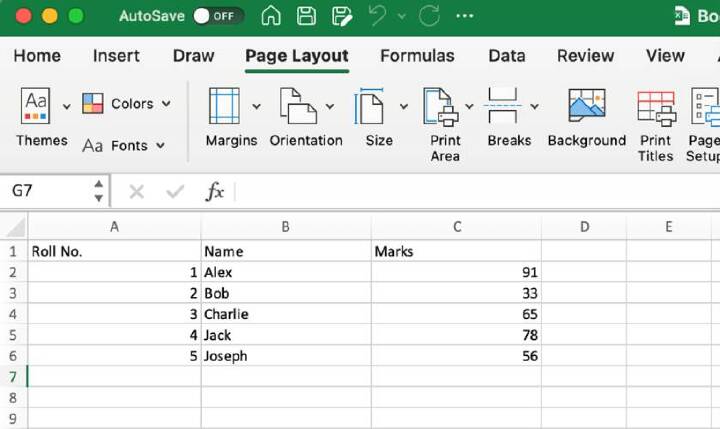
Launch the instance of Excel from which you want the worksheet to be printed.

Proceed to the tab labeled "Page Layout" at the top of the Excel ribbon. Within this tab, you will find the options to change the print settings as well as the page layout.
Navigate to the "Page Setup" menu, and from the "Print Area" drop?down, choose "Set Print Area." This process eliminates the need for printing borders around empty cells and guarantees that just the appropriate material is printed. Next, click on the "Page Setup" button in the "Page Setup" section. This will open the "Page Setup" dialog box.
Select the "Sheet" tab in the "Page Setup" dialogue box. You may alter options just relevant to the current worksheet here.
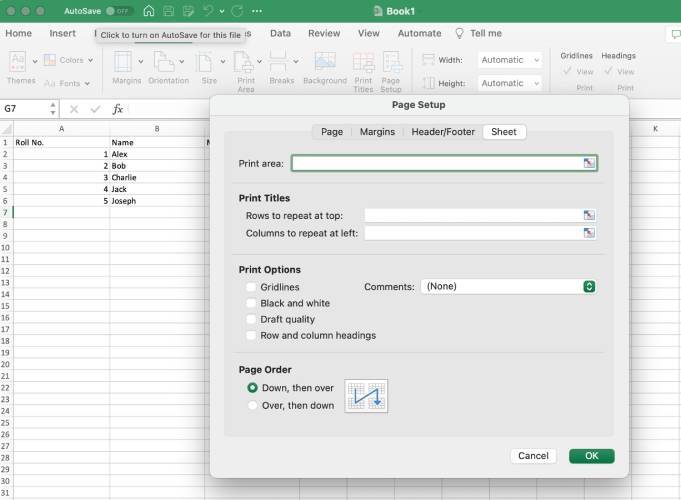
In the "Print" menu, there is a checkbox that you may choose to enable "Gridlines." Select this option for your printed page so that the gridlines may be seen when they are printed. When working with tables or large amounts of data, gridlines may be an effective visual tool to have at your disposal.
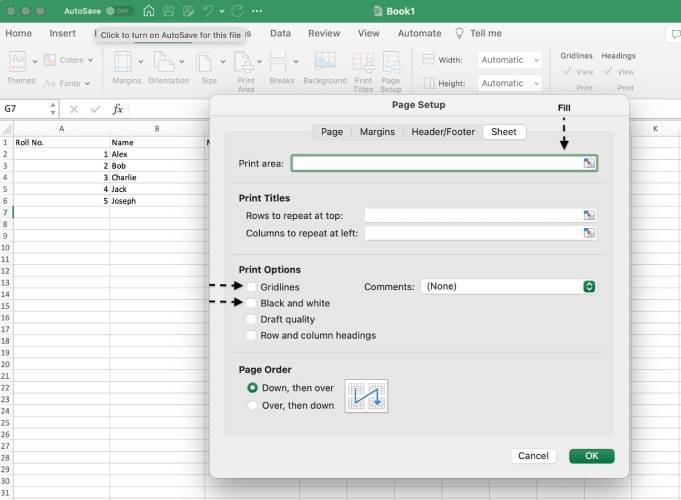
In the same "Page Setup" dialog box, choose the "Print" option to print your pages. This page allows you to configure several aspects of the printing process.
In the "Print" section, there will be a checkbox for you to choose that says "Black and white." By selecting this selection, any background colors will be removed from the printed document, making the borders stand out more dramatically.
When you are finished making the required modifications, click the "OK" button to save your work and dismiss the dialog box. The changes will take effect immediately.
After returning to the worksheet, choose the "File" tab from the Excel ribbon and click on it.
To access the options for printing, pick "Print" from the menu that drops down.
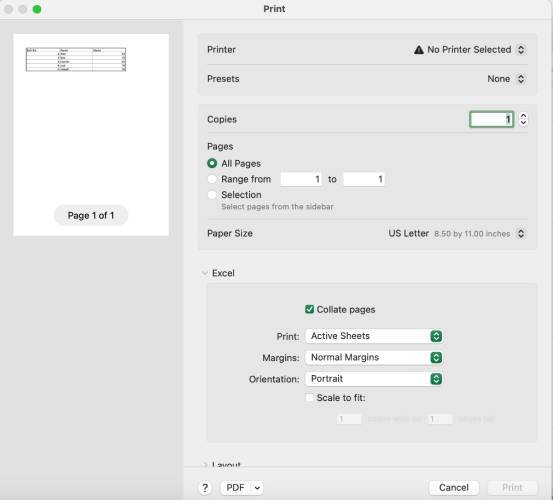
The print choices, including the number of copies, page orientation, and paper size, may be further adjusted under the print settings. Check to see whether you've chosen the right printer.
To finish printing your worksheet with margins, use the "Print" option.
Conclusion
Excel's ability to create borders around each page accomplishes this goal by enhancing the document's visual appeal, readability, and professional appearance when it is printed. Users have the option of configuring the page layout and print settings to include borders that differentiate the content from the white space on the page.
The presence of borders surrounding the content helps readers differentiate between the information and the white space that follows it. Because of this separation, the printed document has a better sense of organization and presents itself in a more streamlined manner.
When working with very large tables or spreadsheets, printing borders may be an extremely helpful way to save time. In a printed text, the borders act as visual cues that guide the reader's attention to certain sections or data points, making it possible for them to locate those sections or points more quickly and efficiently.
Users may ensure that the printed borders appropriately highlight the content on each page by making use of the choices that are accessible to them in Excel. These options include choosing the print area, activating gridlines, and selecting the option to print in black and white. Users can do this to guarantee that the printed borders correctly emphasize the content on each page.
Printing with page margins is a quick and simple approach to create documents in Excel that have a professional appearance. It adds a great bit of visual appeal while also contributing to the general clarity, organization, and presentation of the work. If you use this tool, you may be able to generate results that are not only visually beautiful but also well?organized, making them suitable for printing and sharing.

2K+ Views
