
Article Categories
- All Categories
-
 Data Structure
-
 Networking
-
 RDBMS
RDBMS
-
 Operating System
-
 Java
Java
-
 MS Excel
-
 iOS
iOS
-
 HTML
HTML
-
 CSS
CSS
-
 Android
-
 Python
-
 C Programming
-
 C++
C++
-
 C#
C#
-
 MongoDB
-
 MySQL
MySQL
-
 Javascript
-
 PHP
PHP
-
 Economics & Finance
How to Repeat Header Row Print Each Page in Excel?
The header row appearing at the top of each page, whether you are generating a financial report, an inventory list, or a professional spreadsheet, guarantees that your data remains well-organized and simple to interpret. This feature enables users to rapidly identify column information without continually scrolling back to the first page, which is very helpful when working with huge datasets that cover numerous pages. We will lead you through the basic steps to set up a repeating header row in Excel in this in-depth manual.
The training is set out to suit users of all skill levels, from newcomers just beginning to learn about Excel's features to seasoned experts looking to improve workflow. You'll be able to implement this practical feature, which makes your Excel spreadsheets more polished and user-friendly, in no time with the help of clear instructions and useful screenshots.
Repeat Header Row Print Each Page
Here we can make changes to the page setup to complete the task. So let us see a simple process to know how you can repeat header rows on each page in Excel.
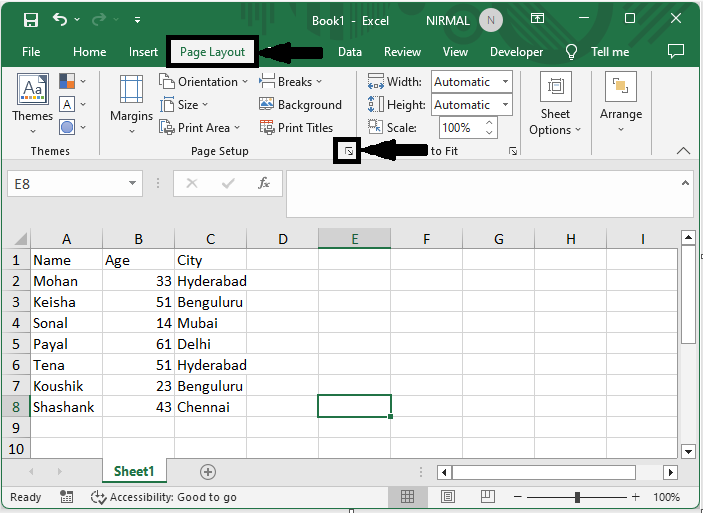
Step 1
Consider an Excel sheet where you have the required data to perform the task.
First, click on Anchor in the Page Setup group under page layout.
Page Layout > Anchor.
Step 2
Then select the column you want to repeat in the box named Rows to Repeat at the top and click OK.
Rows to Repeat at Top > Ok.

From now on, when you print the sheets, the selected row will be repeated at the top.
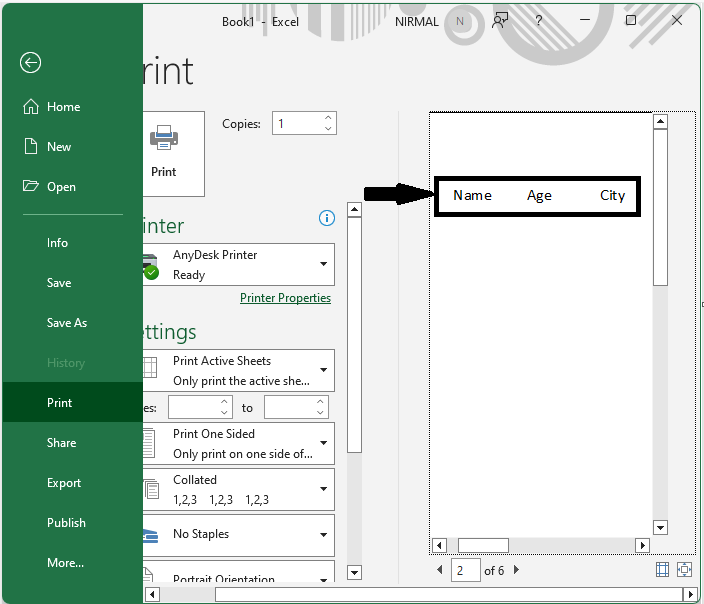
This is how you can repaint the header row and print each page in Excel.
Conclusion
In this tutorial, we have used a simple example to demonstrate how you can repeat header rows on each page in Excel to highlight a particular set of data.

554 Views
