
Article Categories
- All Categories
-
 Data Structure
-
 Networking
-
 RDBMS
RDBMS
-
 Operating System
-
 Java
Java
-
 MS Excel
-
 iOS
iOS
-
 HTML
HTML
-
 CSS
CSS
-
 Android
-
 Python
-
 C Programming
-
 C++
C++
-
 C#
C#
-
 MongoDB
-
 MySQL
MySQL
-
 Javascript
-
 PHP
PHP
-
 Economics & Finance
How to make a creative design using Canva?
If you are a beginner, Photoshop might be tough to start creating digital graphics. Also, it consumes a lot of time to create quick designs or make simple edits.
Creating a design with Canva’s tools is simple but effective. It takes less than 5 minutes to create a high−quality engaging design.
Let us start by learning to create a basic graphic. Follow these 7 steps to start creating fascinating designs.
Choose What You Want to Design
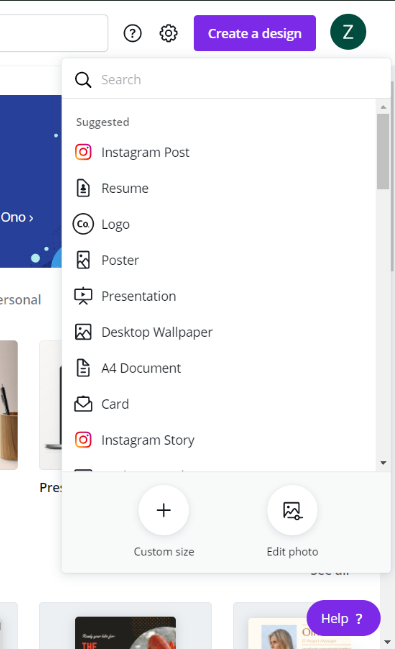
Go to the homepage of Canva and click on ‘Create a design.’
When you choose this option, you will get a dropdown list. You can select anything from logos, posters, resumes, thumbnails to infographics, charts, and calendars.
You can search for what you want to make or scroll down and select an option. If you do not what you were looking for, you can choose to create a custom design.
Here we are selecting an Instagram post to guide you through the process of creating your designs.
Select the Template
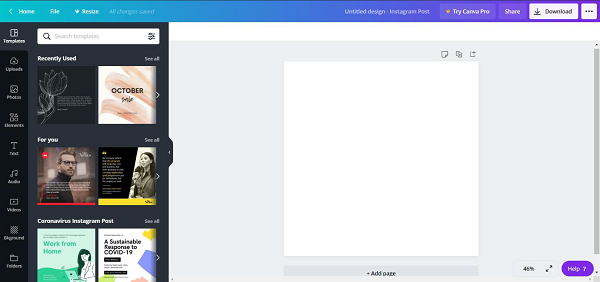
When you select an option, the design tab automatically opens.
Notice the user−friendly hierarchy. Features like templates, images, elements, audio background, and so on are placed on the left. You can select any of the tabs while designing and search for the specific thing you need. Above the design page you have formatting options for changing the background color, fonts, giving special effects, and so on.
Here is a look at how the design tab will look when it opens.
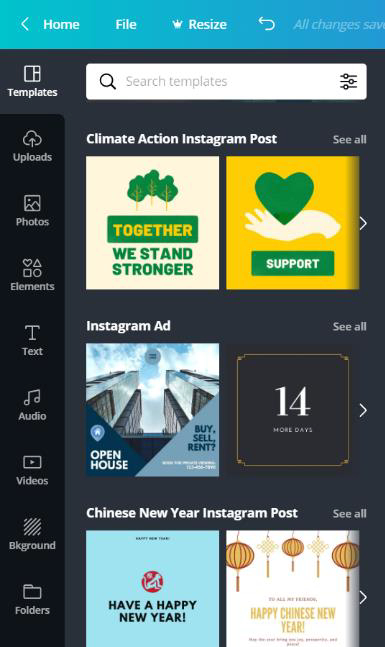
One of the best features of Canva is its library of templates. It makes designing simple yet effective. The Canva templates always have one or more of the following −
Photos
Graphics and Vectors
Color Palette
Grouped Fonts
Elements, audio, and special effects
For our sample design, we will create an Instagram post that aims for saving the environment. We will aim for a post that will have simple lines about saving trees and standing united.
Since we know what we need and we have chosen the appropriate template, let’s begin with editing.
The following steps are selective. You can try all of them or just one or two depending upon your requirement.
Changing the Background Color
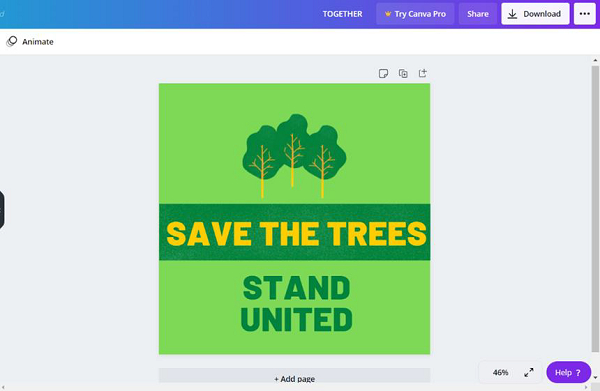
I will start with changing the background color to make the post look visually appealing.
To change the background color, click once on the post you are designing. You will notice the background color and animation option have appeared on the bar above your design. Click on background color to get a list of options to choose from.
The color palette will have colors related to the photos or elements in your design. Below are the default colors and an option to add another color palette.

Since light green will be relevant to our design, we will choose that for the background.
Editing the Text
To edit the texts in Canva, select the font you wish to edit by clicking on it. Notice the formatting options that appear on the bar above the design. There are several options like −
Font Color
Font Type
Font Size
Alignment
Bold
Italics
Special effects
More formatting options like underline, add links.
Canva templates or font styles often have different texts grouped. You can ungroup them, position them, or delete them. You can also create a duplicate or add special effects like transparency.
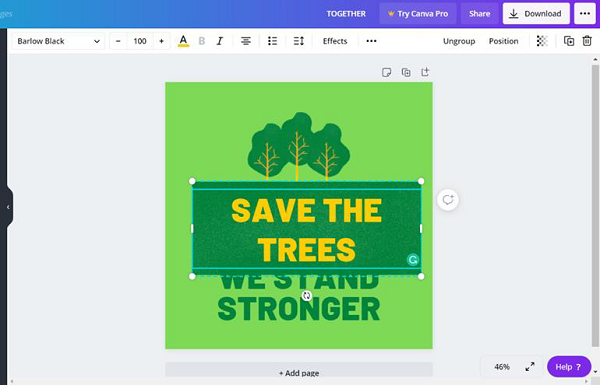
For our design, we will just edit the text to write save the trees.
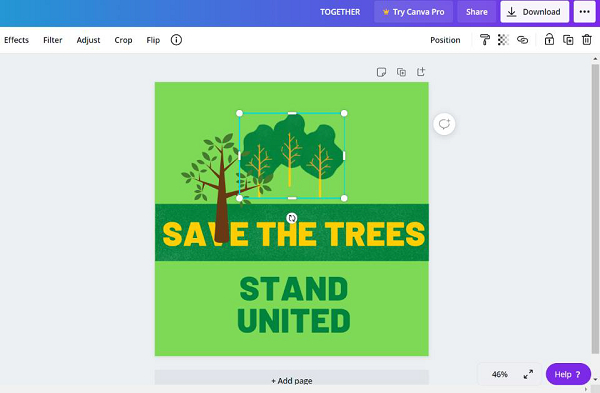
Resize the Elements
Since changing the texts has disrupted the size of the box it was in, we will resize it to fit in the design proportionately.
We can do this by either resizing the text or resizing the elements. We can resize the elements. Images, and texts with the cursor. Texts are also resized with the option on the formatting bar.
Here we will pull the box on both sides to fit the design. This is how it looks.
Navigate and Add/Remove Elements, Images, or Background
Navigate through the taskbar on the left to select from a library of templates, photos, elements, texts, audio, videos, and background.
For our design, I will simply browse through different elements and select a different tree. To get the precise collection of elements for our design, we will search for trees through the search bar on the element tab.
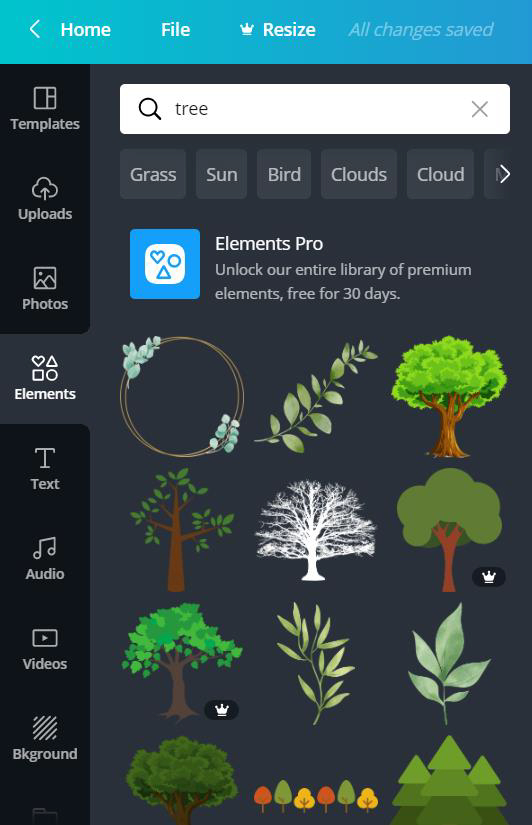

We will select a good tree from the collection and delete the previous one. To delete the element used before, click on it and press the delete option on the right side of the formatting bar.
Save Your Design
Normally, all your designs have stored in your Canva account. You can access them and edit by going to ‘All your designs’ through your homepage. After you complete your design, download it to your local files so that you can post it.
To save your design, click on the download option on the right side above the formatting bar. You will have options to save your graphic in JPG, PNG, PDF format with a recommendation. You will also have an option to adjust the size.

Here we have selected PNG format and pressed the purple download button. After you select download, the dialogue box shown below will appear.
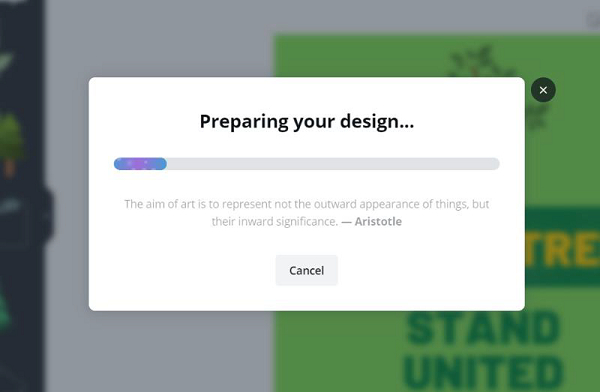
Do not exit or press anything else until your design is prepared. This box then closes and your download will start.
After the download is complete, access it on your local file storage and use it.
Final Output
This is how the final post looks like.
![]()
709 Views
