
Article Categories
- All Categories
-
 Data Structure
-
 Networking
-
 RDBMS
RDBMS
-
 Operating System
-
 Java
Java
-
 MS Excel
-
 iOS
iOS
-
 HTML
HTML
-
 CSS
CSS
-
 Android
-
 Python
-
 C Programming
-
 C++
C++
-
 C#
C#
-
 MongoDB
-
 MySQL
MySQL
-
 Javascript
-
 PHP
PHP
-
 Economics & Finance
How to install Greenshot on Windows?
In this tutorial, we will learn how to install and use Greenshot on Windows. Before beginning with the installation, let us first understand what is Greenshot.
Greenshot is a lightweight screenshot software utility for Windows. Greenshot is a useful tool for project managers, software engineers, technical writers, testers, and anybody else taking screenshots because it is simple to use and customizable.
The following are some of main characteristics of Greenshot ?
Create screenshots of a specific area, window, or full-screen in a flash.
Entire web pages can also be captured.
Easily highlight, comment, or obscure specific areas of the screenshot.
There are numerous ways to export a screenshot with Greenshot, including saving it to a file, printing it, copying it to the clipboard, attaching it to an email, sending it to an Office program, or uploading it to a photo-sharing website like Flickr or Picasa, among others.
Let us now see how to install Greenshot on Windows ?
Step 1
To install Greenshot on Windows, go to a web browser and open the official website getgreenshot.org as shown in the below screenshot ?
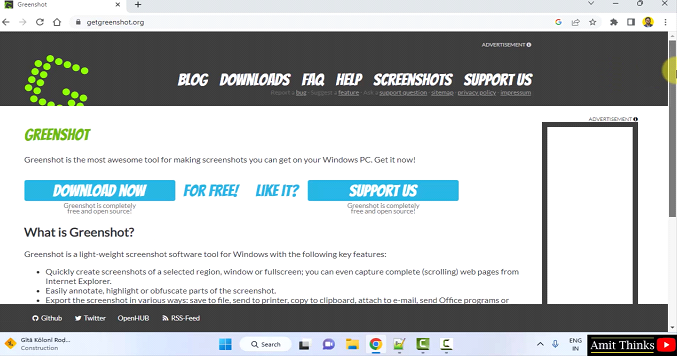
Step 2
Click the Download Now to download the Greenshot on Windows ?

Step 3
Now, the latest stable release will be visible for Greeshot. Click the Latest Stable to download. It is mentioned below that this version if for Windows ?
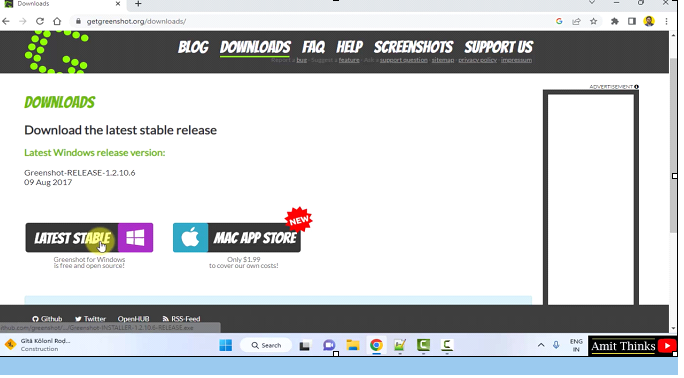
Step 4
The downloads are completed. Double-click the exe file to install ?

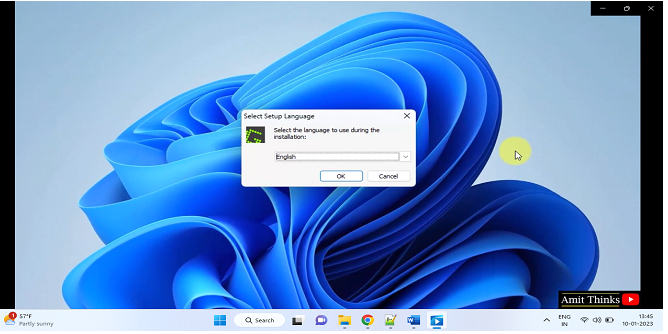
Step 5
The installation begins. The language required for installation is by default set to English. You can easily change the language from the dropdown and click OK. We selected English ?
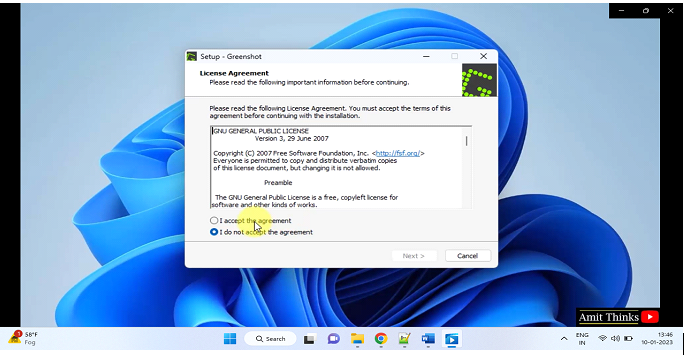
Step 6
The License Agreement is visible. Read it, select I accept the agreement and click Next
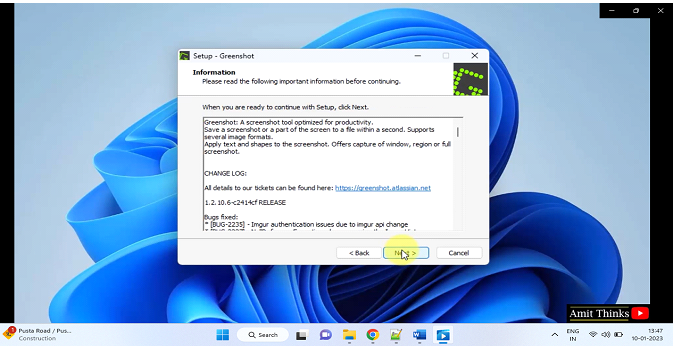
Step 7
Now, the following information about GreenShot is visible. Read and click Next again ?
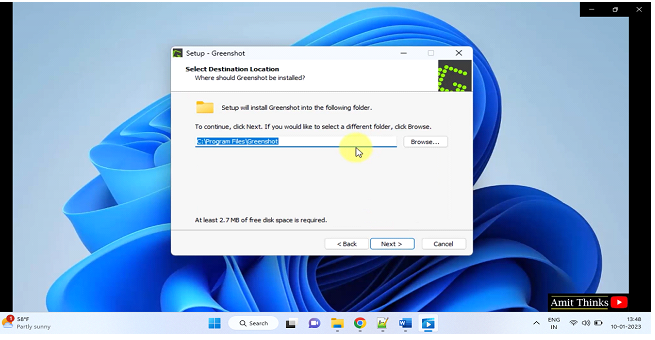
Step 8
The Select Destination Location section is visible. Here, set the path wherein the Greenshot will get installed. We will set the following default location ?
C:\Program Files\Greenshot
You can change by clicking the Browse button. Click Next after the path is set ?
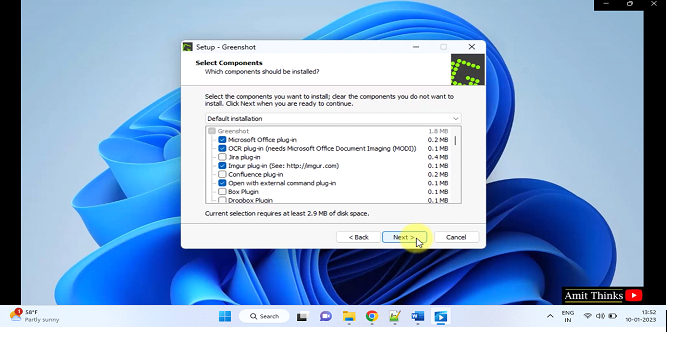
Step 9
The Select Components section is visible. This will set the Microsoft Office plugin, OCR plugin, etc for Greenshot. Keep the Default installation and click Next ?
Step 10
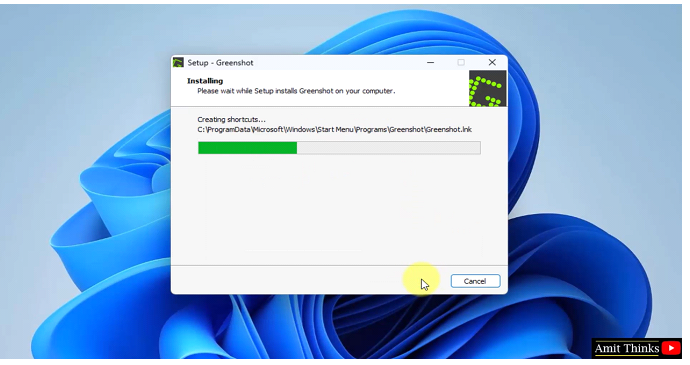
The Ready to Install dialog box is visible. Click Next to finally begin the installation. This displays the information about the path you set before
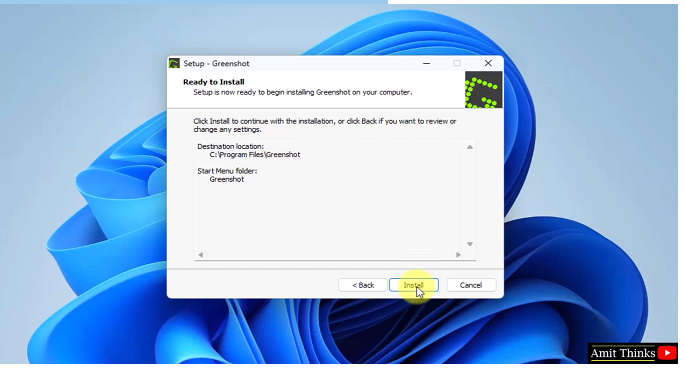
The installation begins ?
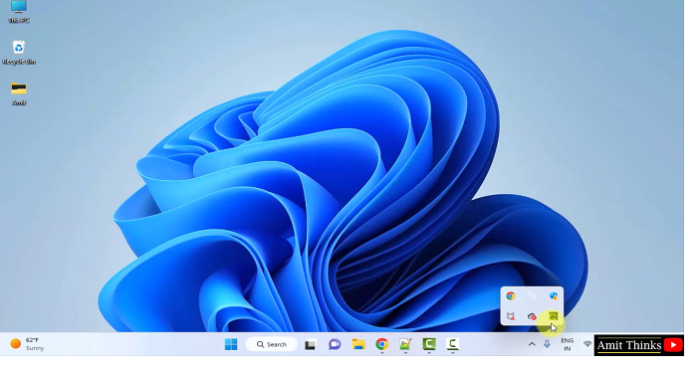
The installation completes. On clicking Finish, the Greenshot begins since the Start Greenshot is set be default ?

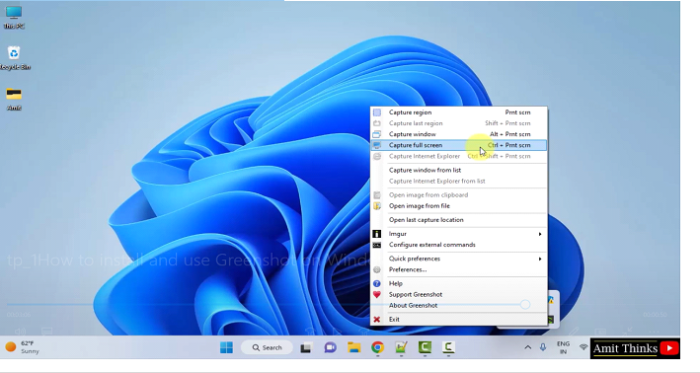
To use Greenshot, go to bottom right and under icons the Greenshot button will be visible, Click on it ?
The options are now visible from Greenshot to work on it i.e., Capture Full Screen, Capture Full Screen, Capture region, settings, etc.
In this lesson, we saw what is Greenshot, its characteristics and usage. We also saw how to install Greenshot on Windows.

2K+ Views
