
Article Categories
- All Categories
-
 Data Structure
-
 Networking
-
 RDBMS
RDBMS
-
 Operating System
-
 Java
Java
-
 MS Excel
-
 iOS
iOS
-
 HTML
HTML
-
 CSS
CSS
-
 Android
-
 Python
-
 C Programming
-
 C++
C++
-
 C#
C#
-
 MongoDB
-
 MySQL
MySQL
-
 Javascript
-
 PHP
PHP
-
 Economics & Finance
How to Install WebStorm on Windows?
In this tutorial, we will learn how to install WebStorm on Windows. Before beginning with the installation, let us first understand what is WebStorm.
The WebStorm is the smartest JavaScript IDE by JetBrains. An integrated development environment (IDE) for JavaScript and associated technologies is called WebStorm. It enhances your development experience by automating tedious processes and assisting you in mastering challenging ones. The following are the characterises of WebStorm ?
Refactor your entire codebase in a few clicks and do not miss anything when implementing large structural changes.
WebStorm has a thorough understanding of the structure of your project and can help you with all coding-related tasks. It will autocomplete your code, find and offer remedies for mistakes and duplications, and assist you in properly refactoring code.
Work with version control, debug and test your client-side and Node.js projects using WebStorm. Utilize the linters, build tools, terminal, and HTTP client that are all built within the IDE.
Write, run, and debug your unit tests using Jest, Mocha, Karma, Protractor, and Cucumber.js.
Compare branches, review and merge conflicts, and more using WebStorm?s UI to support your daily workflows.
Integrate WebStorm with popular linters like ESLint, Stylelint, or TSLint to see warnings and errors reported by these tools directly in the IDE and fix them quickly.
Code together in real time and talk to others right from the IDE. Share your project configuration, including code style settings, and work efficiently with Git and GitHub.
WebStorm makes it easy to detect errors and typos in your code. It includes hundreds of inspections for all supported languages and a spelling and grammar checker
You can preview static HTML files right in WebStorm. The changes you make to an HTML file or the linked CSS and JavaScript files will be saved, with the preview reloaded automatically so you can see the changes.
Run and debug your client-side and Node.js applications right where you edit the code.
WebStorm can quickly take you to a symbol declaration and show you its usages across the entire project
With WebStorm, you can find and replace text strings both within specific files and entire projects.
WebStorm includes Code With Me, our service for remote collaborative development and pair programming.
Code faster with the relevant keywords and symbols shown as you type.
No matter how big your projects are, move through your code quicker. Search for specific files, classes, or symbols, and then review all of the matches in one location. Any function, method, variable, component, or class definition can be accessed directly, allowing quick access to use information.
Let us now see how to install WebStorm on Windows ?
Step 1
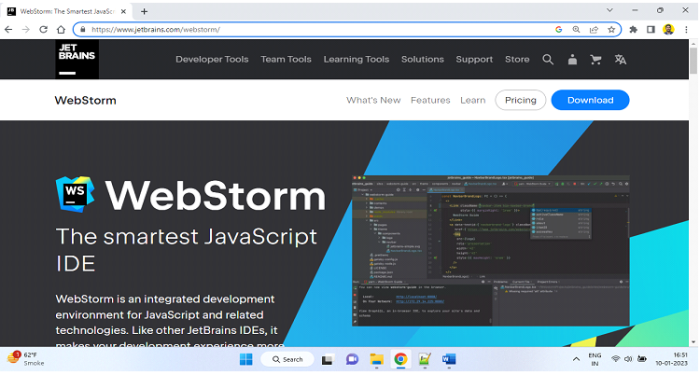
To install WebStorm on Windows, go to a web browser and open the official website https://www.jetbrains.com/webstorm/ as shown in the below screenshot ?
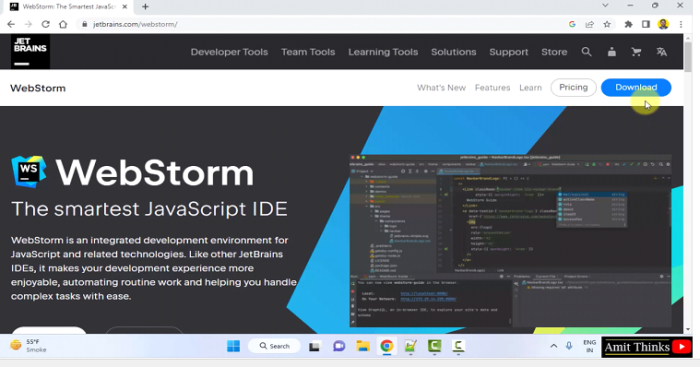
Step 2
Click the Download button to download the exe file ?
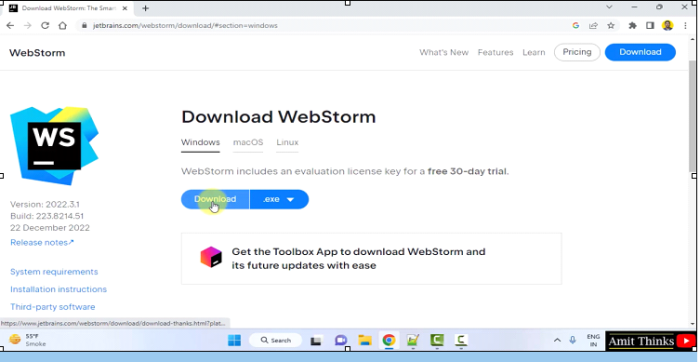
Step 3
You will be redirected to the downloads page. Herein, you can select the WebStorm versions for Windows, Linux and Mac. Since, we want for Windows, therefore we will click on the Windows version exe file as shown below ?
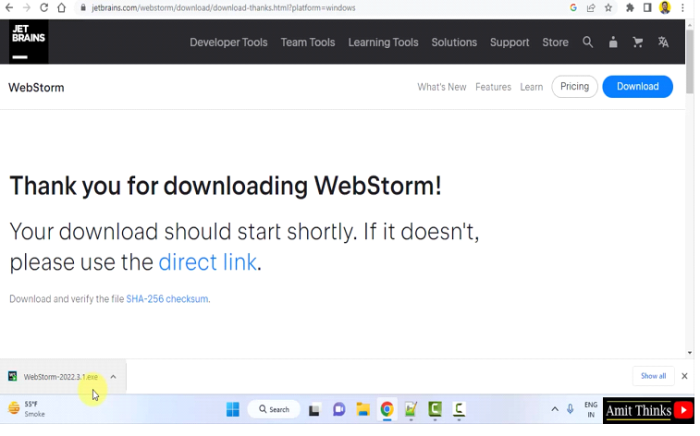
Step 4
The exe file download begins and ends successfully. Double-click the .exe to begin the installation ?
Step 5
The setup begins and the welcome screen is visible. Click Next to proceed ?

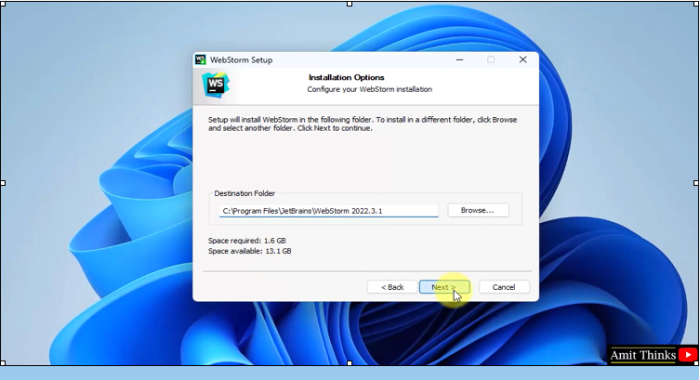
Step 6
The Installations Options section is now visible. Here, set the path for the installation. We will install the WebStorm at the default location i.e.
C:\Program Files\JetBrains\WebStorm 2022.3.1
If you want to change the location, click Browse.
Click Next to proceed the installation.
Step 7
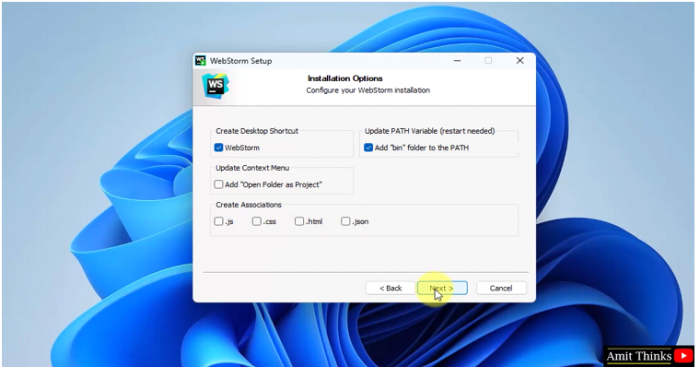
Now, you will reach the Installation Options section. Here, set the WebStorm Desktop Shortcut after installation, create associations, update context menu with Open as WebStorm project, etc.
Click Next ?
Step 8
Here, you need to choose the start menu folder. Keep the default and click Install ?

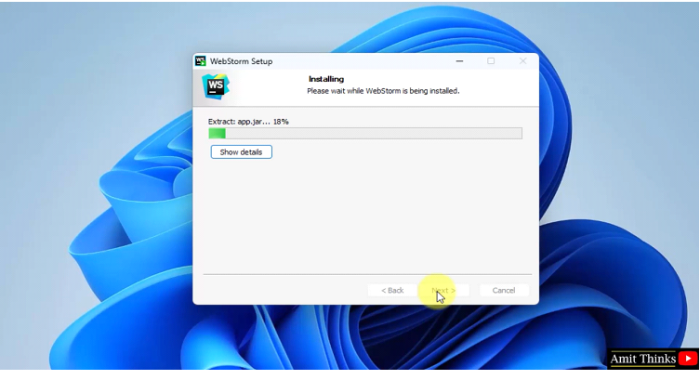
Step 9
The installation begins ?
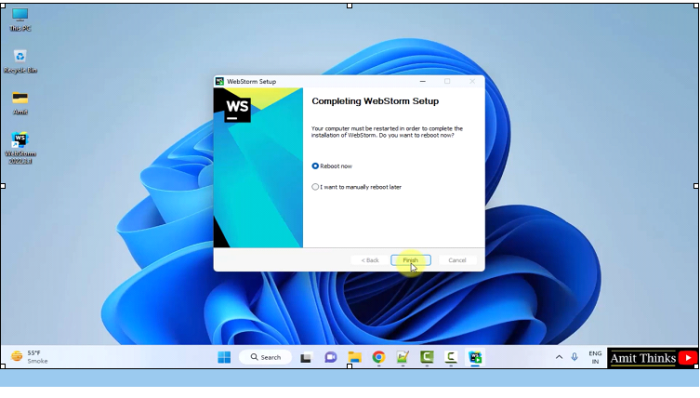
Step 10
The installation completes. Now, select the option to reboot the system now or later. We will reboot now and select Reboot now option. Now, on clicking Finish, the system will restart ?
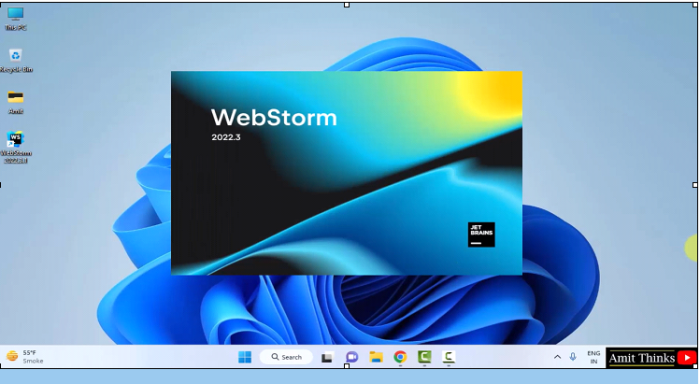
Step 11
The system restarted. Now, go to START and type WebStorm as show below. Click Open to open the WebStorm IDE ?

Step 12
On opening, the License Agreement is visible. Select I confirm that I have read and accept the terms of this User Agreement. Click Continue ?
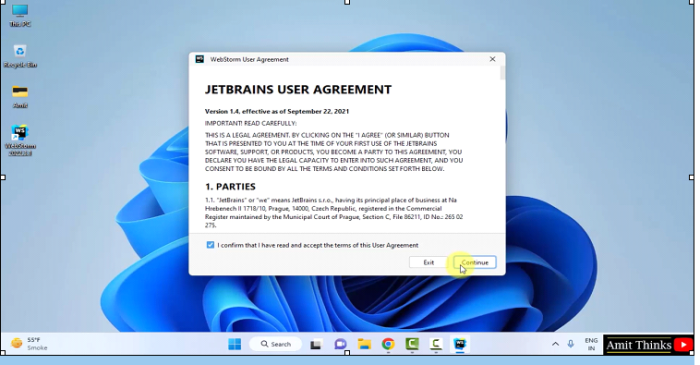
On clicking Continue, the WebStorm will open for the first time ?
Step 13
To proceed further, click Log In to JetBrains Account ?
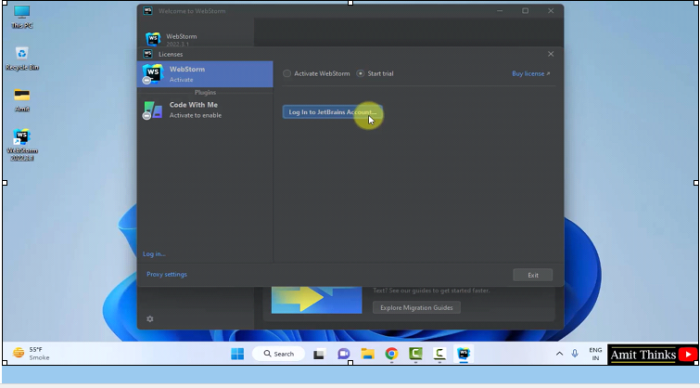
You will be redirected to the SignUp and Login page. Create your account and login ?

The WebStorm IDE opens for the first time ?
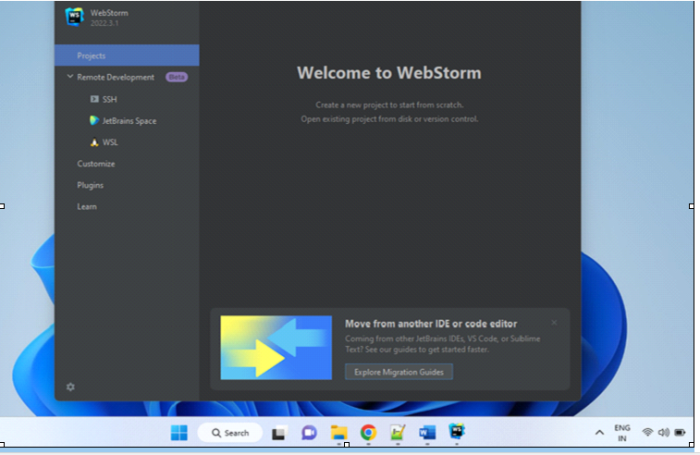
In this lesson, we saw what is WebStorm, its characteristics and usage. We also saw how to install WebStorm on Windows

2K+ Views
