
Article Categories
- All Categories
-
 Data Structure
-
 Networking
-
 RDBMS
RDBMS
-
 Operating System
-
 Java
Java
-
 MS Excel
-
 iOS
iOS
-
 HTML
HTML
-
 CSS
CSS
-
 Android
-
 Python
-
 C Programming
-
 C++
C++
-
 C#
C#
-
 MongoDB
-
 MySQL
MySQL
-
 Javascript
-
 PHP
PHP
-
 Economics & Finance
How to install PDF-XChange Editor on Windows?
In this tutorial, we will learn how to install PDF-Xchange Editor on Windows. There are two versions, free PDF-Xchange Editor and paid PDF-XChange Editor Plus. We will install the free version. Before beginning with the installation, let us first understand what is PDF-Xchange Editor.
The PDF-Xchange Editor is used to create stunning documents that conform to international ISO specifications for PDF files. The following are the basic characteristics of PDF-Xchange Editor ?
A better, more dynamic, and more effective OCR engine than the one included by default in PDF-XChange Editor is included in PDF-XChange Editor Plus.
There are many choices for creating dynamic forms in PDF-XChange Editor Plus. To access a variety of programmable form style, layout, and function choices, modify the form properties.
With the ability to add dynamic JavaScript actions to stamps, PDF-XChange Editor Plus enables the design of stamps that can show dynamic data like the current date.
When two documents are compared, the Compare Documents function shows a list of differences, including replacements, insertions, deletions, and style changes.
Export PDFs to WebP image format with PDF-XChange Editor.
Import and export document metadata.
Resize pages to page the dimensions of existing document pages in PDF-XChange Editor.
Let us now see how to install the PDF-Xchange Editor on Windows ?
Step 1
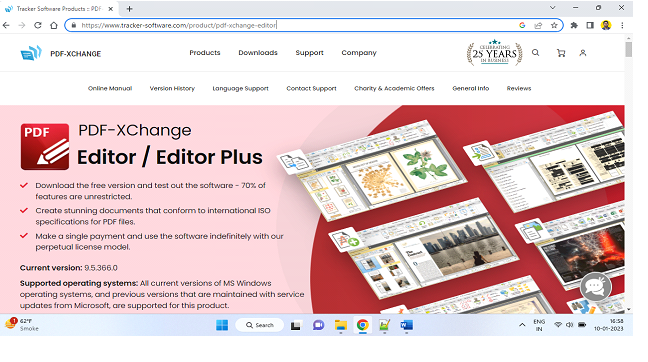
To install the PDF-Xchange Editor on Windows, go to a web browser and open the official website https://www.tracker-software.com/product/pdf-xchange-editoras shown in the below screenshot ?
Step 2
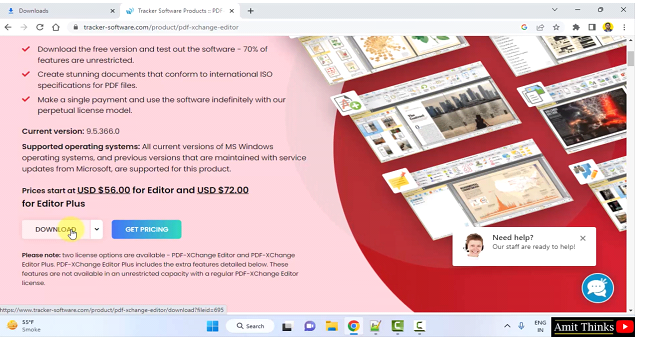
Go below and you will be able to find the download link. Click DOWNLOAD ?
Step 3
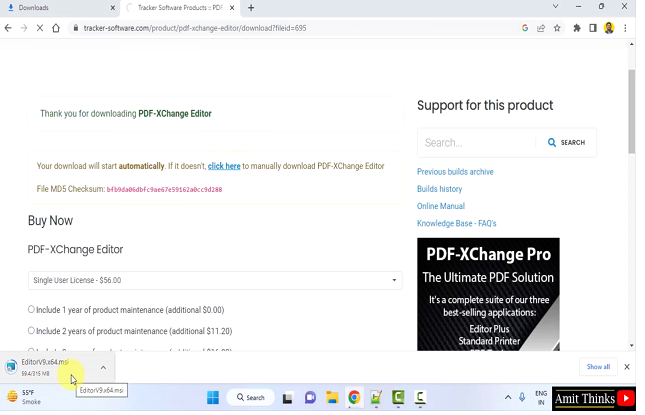
On clicking DOWNLOAD, the download begins as shown below
Step 4
The download completes. Double-click on the exe file to begin the installation. The Setup Wizard is now visible. Click Next ?

Step 5
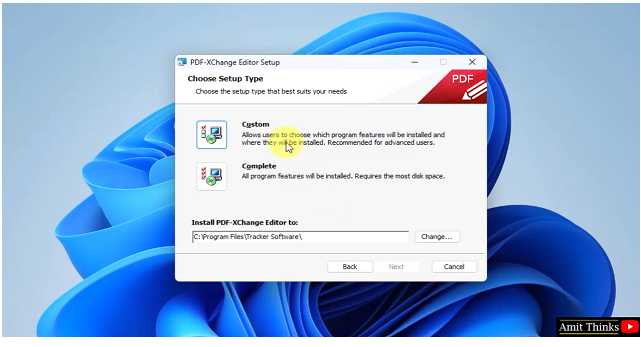
Now, the Choose Setup Type section is visible. Set the path wherein the PDF-Xchange Editor will get installed. We will set the default path ?
C:\Program Files\Tracker Software\
If you want to change the installation location, click Change.
To proceed, click Next. The Next button will get highlighted after selecting the Setup Type, Custom or Complete. We will select Custom ?
Step 6
On selecting the Custom Setup, you will be to see what you are installing. Here, we are installing the editor, extensions, tracker, etc. Keep them as it is and click Next ?
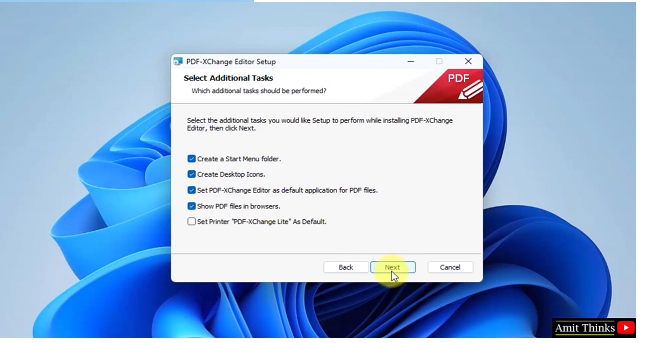
Step 7
The Select Additional Tasks section is now visible. This will allow you to select options for creating a start menu, create desktop icons, show pdf files in web browser, etc. Select whatever is appropriate and click Next ?
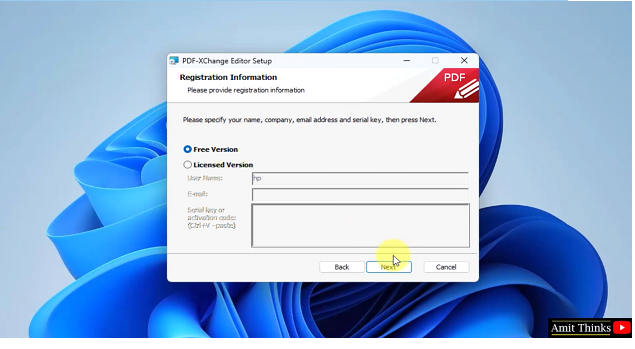
Step 8
The Registration Information section is visible. Select the Free Version and click Next ?
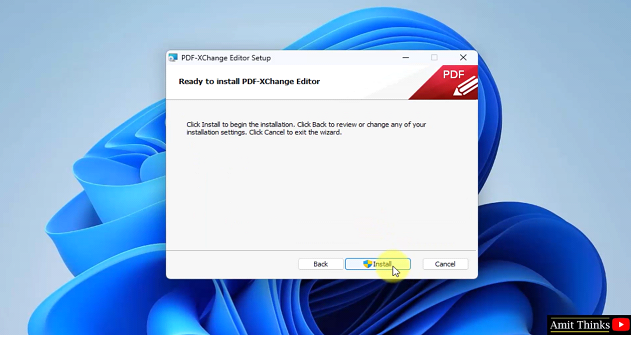
Step 9
After clicking Next, the PDF-Xchange Editor is ready to install. Click Install to begin the installation ?
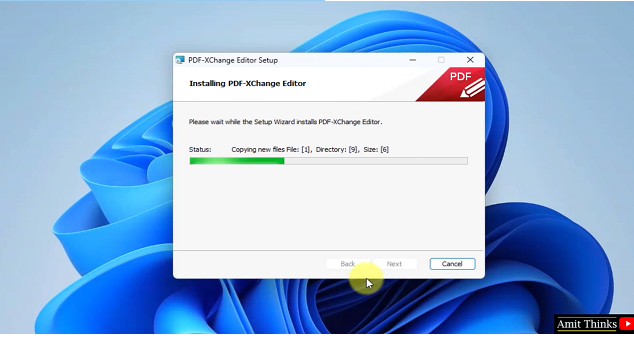
Step 10
The installation of the PDF-Xchange Editor begins ?
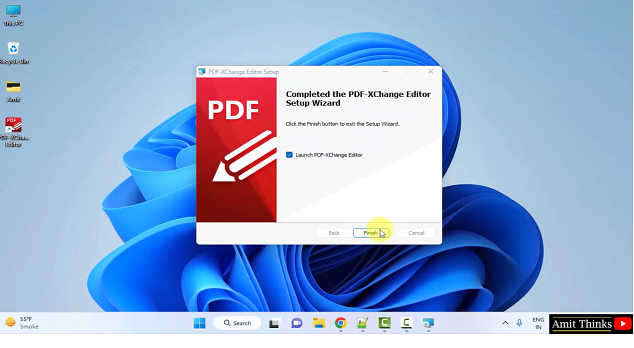
Step 11
The setup completes and the shortcut generates. On clicking Finish, the PDF-Xchange Editor will open since the Launch PDF X-Change Editor is by default selected ?
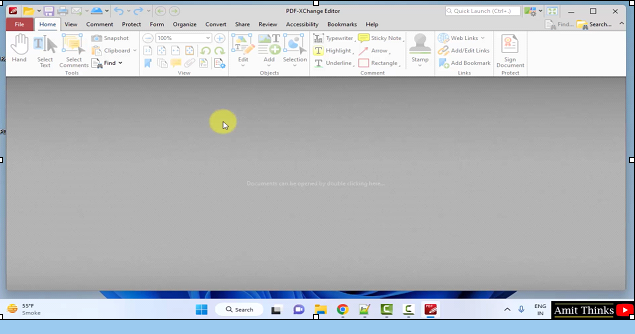
The PDF-Xchange Editor opens for the first time ?
In this lesson, we saw what is PDF-XChange Editor, its characteristics and usage. We also saw how to install PDF-XChange Editor on Windows.

1K+ Views
