- ASP.NET Core Tutorial
- ASP.NET Core - Home
- ASP.NET Core - Overview
- ASP.NET Core - Environment Setup
- ASP.NET Core - New Project
- ASP.NET Core - Project Layout
- ASP.NET Core - Project.Json
- ASP.NET Core - Configuration
- ASP.NET Core - Middleware
- ASP.NET Core - Exceptions
- ASP.NET Core - Static Files
- ASP.NET Core - Setup MVC
- ASP.NET Core - MVC Design Pattern
- ASP.NET Core - Routing
- ASP.NET Core - Attribute Routes
- ASP.NET Core - Action Results
- ASP.NET Core - Views
- Setup Entity Framework
- ASP.NET Core - DBContext
- ASP.NET Core - Razor Layout Views
- ASP.NET Core - Razor View Start
- ASP.NET Core - Razor View Import
- ASP.NET Core - Razor Tag Helpers
- ASP.NET Core - Razor Edit Form
- ASP.NET Core - Identity Overview
- ASP.NET Core - Authorize Attribute
- Identity Configuration
- ASP.NET Core - Identity Migrations
- ASP.NET Core - User Registration
- ASP.NET Core - Create a User
- ASP.NET Core - Log In and Log Out
- ASP.NET Core Useful Resources
- ASP.NET Core - Quick Guide
- ASP.NET Core - Useful Resources
- ASP.NET Core - Discussion
ASP.NET Core - Create a User
In this chapter, we will discuss how to create user. To proceed with this, we need to interact with the Identity framework to make sure that the user is valid, then create that user, and then go ahead and log them in.
There are two core services of the Identity framework, one is the UserManager, and the other is the SignInManager.
We need to inject both of these services into our controller. With this, we can call the appropriate APIs when we need to create a user or sign in a user.
Let us add private variables for SignInManager and UserManager and then add a constructor in your AccountController, which will take two parameters UserManager of type User and a SignInManager of type User.
private SignInManager<User> _signManager;
private UserManager<User> _userManager;

public AccountController(UserManager<User> userManager, SignInManager<User> signManager){
   _userManager = userManager;
   _signManager = signManager;
}
We will continue with the POST action method of AccountController and one of the first checks that we should always make inside the post action is to check if our ModelState is valid.
If the ModelState is valid, then we know the user gave us a username and a password and confirmed the password; if not, we need to ask them to provide the correct information.
Here is the implementation of the Register action.
[HttpPost]
public async Task<IActionResult> Register(RegisterViewModel model) {
   if (ModelState.IsValid) {
      var user = new User { UserName = model.Username };
      var result = await _userManager.CreateAsync(user, model.Password);

      if (result.Succeeded) {
         await _signManager.SignInAsync(user, false);
         return RedirectToAction("Index", "Home");
      } else {
         foreach (var error in result.Errors) {
            ModelState.AddModelError("", error.Description);
         }
      }
   }
   return View();
}
If our ModelState is valid, we need to talk to the Identity framework. We also need to create a new instance of our User entity and copy our input model.Username into the UserName property of the User entity.
But, we are not going to copy the password because there is no place to store the plain text password in the User entity. Instead, we will pass the password directly to the Identity framework, which will hash the password.
So we have a userManager. Create an Async method where we have to pass the Username, so that we can save the password for that user.
This Async method returns a result that tells us if the instance was a success or a failure and if it failed, it will give us some of the possible reasons why it failed.
If the result is successful, we can sign in the user that just created an account and then ask the SignInManager to sign this user. Now, redirect the user back to the home page and you will now be authenticated.
If the result was not successful, then we should try to tell the user why, and the result that comes back from the UserManager has a collection of errors that we can iterate and add those errors into ModelState. These errors will be available in the view for the tag helpers like the validation tag helpers, to display information on the page.
In the ModelState.AddModelError, we can provide a key to associate an error with a specific field. We will also use a blank string and add the description of the error that was provided.
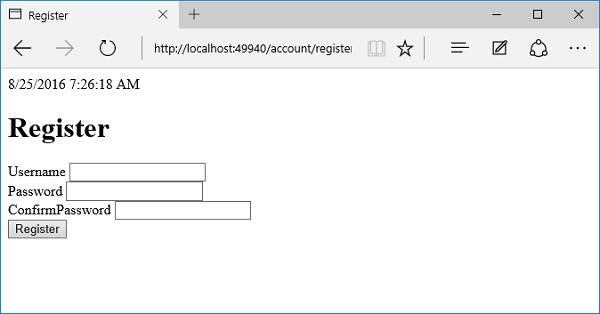
Let us save all the files and run the application and go to /account/register.
Let us enter a username and a very simple 5-character password.
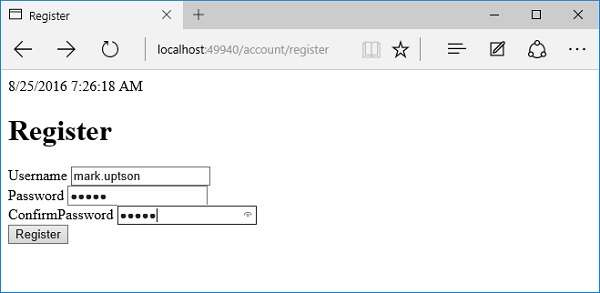
Now, click the Register button.
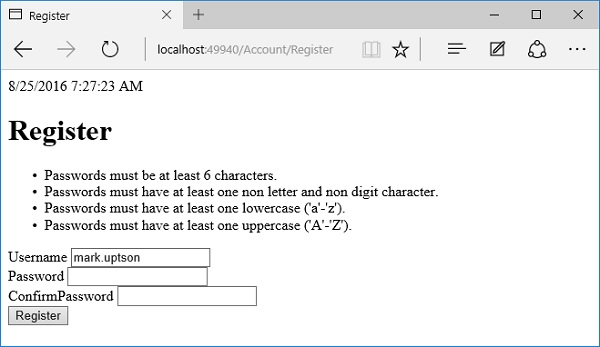
By default, the Identity framework tries to enforce some rules around passwords.
The passwords have to have at least 6 characters, one character has to be in lowercase, one has to be in uppercase, and there has to be one non-digit character.
The reason these errors appear here is because we have a validation summary on the page that is picking up the errors that come back from the userManager.CreateAsync result.
Now that we know a little more about what the password rules are, let us try and create a sufficiently complex password and click Register.
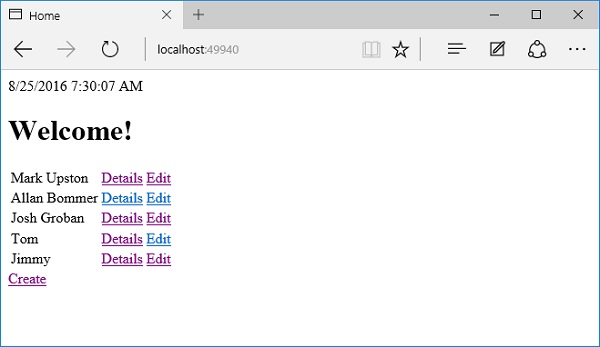
You will now see the home page. This means that the operation worked. Let us now go to the SQL Server Object Explorer.

Right-click on the dbo.AspNetUsers table and select the View Data.
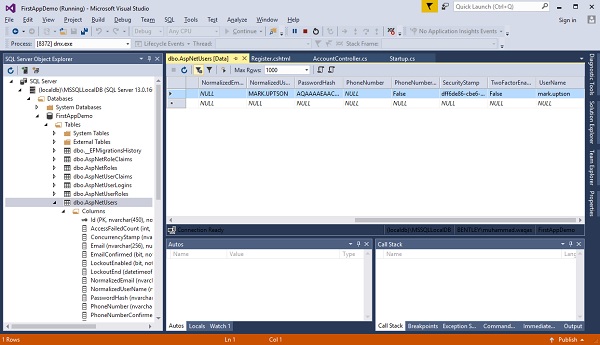
You can now see that the user was created successfully and you can also see a new record in the Users table. You can also see a hashed password value as well as a username and that is the username that we registered with mark.upston.