- ASP.NET Core Tutorial
- ASP.NET Core - Home
- ASP.NET Core - Overview
- ASP.NET Core - Environment Setup
- ASP.NET Core - New Project
- ASP.NET Core - Project Layout
- ASP.NET Core - Project.Json
- ASP.NET Core - Configuration
- ASP.NET Core - Middleware
- ASP.NET Core - Exceptions
- ASP.NET Core - Static Files
- ASP.NET Core - Setup MVC
- ASP.NET Core - MVC Design Pattern
- ASP.NET Core - Routing
- ASP.NET Core - Attribute Routes
- ASP.NET Core - Action Results
- ASP.NET Core - Views
- Setup Entity Framework
- ASP.NET Core - DBContext
- ASP.NET Core - Razor Layout Views
- ASP.NET Core - Razor View Start
- ASP.NET Core - Razor View Import
- ASP.NET Core - Razor Tag Helpers
- ASP.NET Core - Razor Edit Form
- ASP.NET Core - Identity Overview
- ASP.NET Core - Authorize Attribute
- Identity Configuration
- ASP.NET Core - Identity Migrations
- ASP.NET Core - User Registration
- ASP.NET Core - Create a User
- ASP.NET Core - Log In and Log Out
- ASP.NET Core Useful Resources
- ASP.NET Core - Quick Guide
- ASP.NET Core - Useful Resources
- ASP.NET Core - Discussion
ASP.NET Core - Razor View Import
In this chapter, we will discuss the Razor View Import. In addition to the ViewStart file, there is also a ViewImports file that the MVC framework will look for when rendering any view.
Like the ViewStart file, we can drop ViewImports.cshtml into a folder, and the ViewImports file can influence all the views in the folder hierarchy

This view is new for this version of MVC, in the previous versions of MVC, we could use an XML configuration file to configure certain aspects of the Razor view engine.
Those XML files are gone now and we use code instead.
The ViewImports file is a place where we can write code and place common directives to pull in namespaces that our views need.
If there are namespaces that we commonly use in our views, we can have using directives appear once in our ViewImports file instead of having using directives in every view or typing out the full namespace of a class.
Example
Let us take a simple example to see how to move our using directives into ViewImports. Inside the Index view, we have a using directive to bring in the namespace FirstAppDemo.Controllers as shown in the following program.
@using FirstAppDemo.Controllers
@model HomePageViewModel
@{
ViewBag.Title = "Home";
}
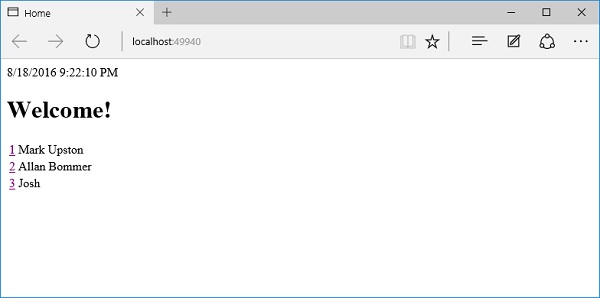
<h1>Welcome!</h1>
<table>
@foreach (var employee in Model.Employees) {
<tr>
<td>
@Html.ActionLink(employee.Id.ToString(), "Details", new { id = employee.Id })
</td>
<td>@employee.Name</td>
</tr>
}
</table>
Using directives will allow the code that is generated from the Razor view to compile correctly. Without using directives, the C# compiler won't be able to find this Employee type. To see the employee type, let us remove the using directive from the Index.cshtml file.
@model HomePageViewModel
@{
    ViewBag.Title = "Home";
}
<h1>Welcome!</h1>

<table>
   @foreach (var employee in Model.Employees) {
      <tr>
         <td>
            @Html.ActionLink(employee.Id.ToString(), "Details", new { id = employee.Id })
         </td>
         <td>@employee.Name</td>
      </tr>
   }
</table>
Now, run the application.
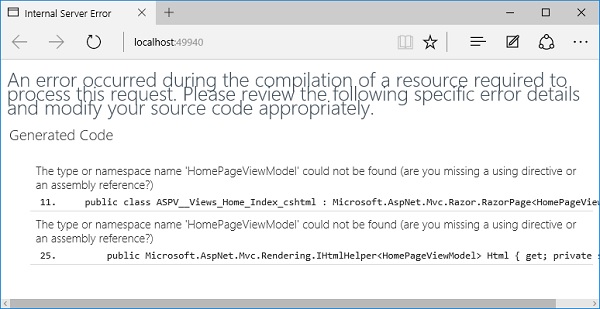
You will see one of the errors that states that the type or namespace HomePageViewModel could not be found. It might be because several of your views need that same using directive. So, instead of placing that inside each view, let us create a View import in the Views folder. This will add using statements to every view with just a right-click on the Views folder and selecting Add → New Item.
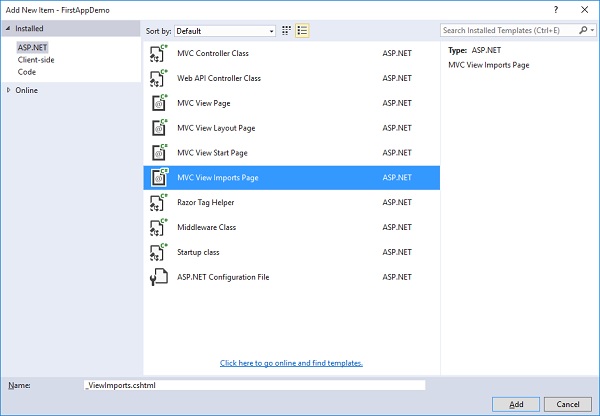
In the middle pane, select the MVC View Imports Page. By default, the name is _ViewImports.cshtml. Just like ViewStart, we cannot use this file to render HTML, so let us click on the Add button.
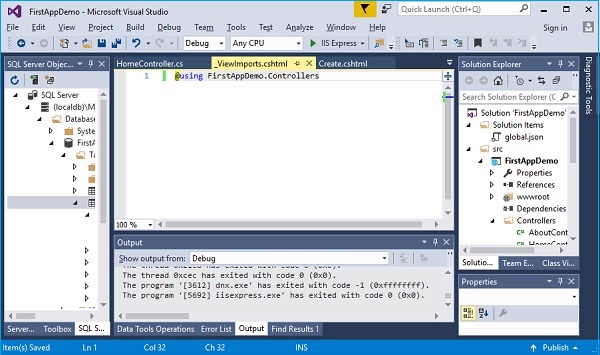
Now add the using directive in this into _ViewImports.cshtml file as shown below.
@using FirstAppDemo.Controllers
Now, all the views that appear in this folder or any subfolder will be able to use types from FirstAppDemo.Controllers without specifying that exact using statement. Let us run your application again and you can see that the view is working now.