- Angular7 Tutorial
- Angular7 - Home
- Angular7 - Overview
- Angular7 - Environment Setup
- Angular7 - Project Setup
- Angular7 - Components
- Angular7 - Modules
- Angular7 - Data Binding
- Angular7 - Event Binding
- Angular7 - Templates
- Angular7 - Directives
- Angular7 - Pipes
- Angular7 - Routing
- Angular7 - Services
- Angular7 - Http Client
- Angular7 - CLI Prompts
- Angular7 - Forms
- Materials/CDK-Virtual Scrolling
- Angular7 - Materials/CDK-Drag & Drop
- Angular7 - Animations
- Angular7 - Materials
- Testing & Building Angular7 Project
- Angular7 Useful Resources
- Angular7 - Quick Guide
- Angular7 - Useful Resources
- Angular7 - Discussion
Testing and Building Angular7 Projects
In this chapter will discuss the following topics −
- To test Angular 7 Project
- To build Angular 7 Project
Testing Angular 7 Project
During the project setup, the required packages for testing are already installed. There is a .spec.ts file created for every new component, service, directive, etc. We are going to use jasmine to write our test cases.
For any changes added to your component, services, directives or any other files created, you can include your test cases in the respective .spec.ts files. So most of the unit testing can be covered at the beginning itself.
To run the test cases, the command used is as follows−
ng test
Below is the app.component.spec.ts file for app.component.ts −
import { TestBed, async } from '@angular/core/testing';
import { RouterTestingModule } from '@angular/router/testing';
import { AppComponent } from './app.component';

describe('AppComponent', () => {
   beforeEach(async(() => {
      TestBed.configureTestingModule({
         imports: [
            RouterTestingModule
         ],
         declarations: [
            AppComponent
         ],
      }).compileComponents();
   }));
   it('should create the app', () => {
      const fixture = TestBed.createComponent(AppComponent);
      const app = fixture.debugElement.componentInstance;
      expect(app).toBeTruthy();
   });
   it(`should have as title 'angular7-app'`, () => {
      const fixture = TestBed.createComponent(AppComponent);
      const app = fixture.debugElement.componentInstance;
      expect(app.title).toEqual('angular7-app');
   });
   it('should render title in a h1 tag', () => {
      const fixture = TestBed.createComponent(AppComponent);
      fixture.detectChanges();
      const compiled = fixture.debugElement.nativeElement;
      expect(compiled.querySelector('h1').textContent).toContain(
         'Welcome to angular7-app!');
   })
});
app.component.ts
import { Component } from '@angular/core';
@Component({
   selector: 'app-root',
   templateUrl: './app.component.html',
   styleUrls: ['./app.component.css']
})
export class AppComponent {
   title = 'angular7-app';
}
Now let us run the command to see the test cases running.
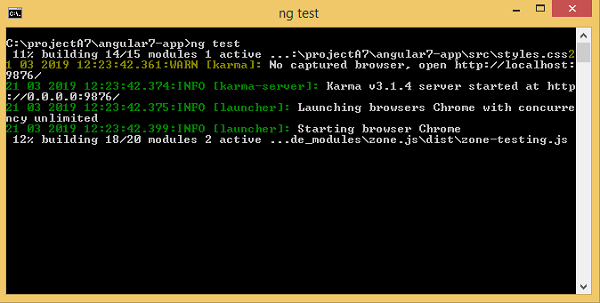
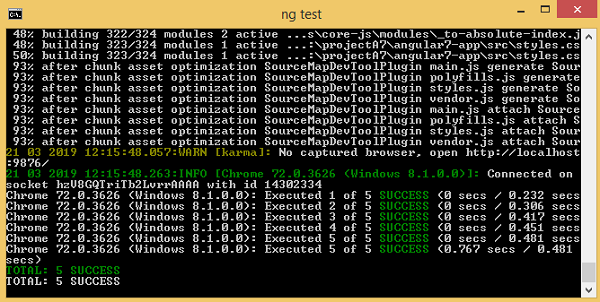
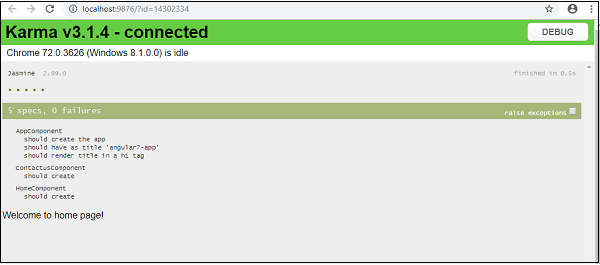
The test cases status is shown in the command line as shown above and will also open up in the browser as shown below −
Incase of any failure, it will show the details as follows −
To do that, let us change the app.component.spec.ts as follows −
import { TestBed, async } from '@angular/core/testing';
import { RouterTestingModule } from '@angular/router/testing';
import { AppComponent } from './app.component';

describe('AppComponent', () => {
   beforeEach(async(() => {
      TestBed.configureTestingModule({
         imports: [
            RouterTestingModule
         ],
         declarations: [
            AppComponent
         ],
      }).compileComponents();
   }));
   it('should create the app', () => {
      const fixture = TestBed.createComponent(AppComponent);
      const app = fixture.debugElement.componentInstance;
      expect(app).toBeTruthy();
   });
   it(`should have as title 'angular7-app'`, () => {
      const fixture = TestBed.createComponent(AppComponent);
      const app = fixture.debugElement.componentInstance;
      expect(app.title).toEqual('Angular 7'); // change the
      title from angular7-app to Angular 7
   });
   it('should render title in a h1 tag', () => {
      const fixture = TestBed.createComponent(AppComponent);
      fixture.detectChanges();
      const compiled = fixture.debugElement.nativeElement;
      expect(compiled.querySelector('h1').textContent).toContain(
         'Welcome to angular7-app!');
   });
});
In the above file, the test cases check for the title, Angular 7. But in app.component.ts, we have the title, angular7-app as shown below −
import { Component } from '@angular/core';
@Component({
   selector: 'app-root',
   templateUrl: './app.component.html',
   styleUrls: ['./app.component.css']
})
export class AppComponent {
   title = 'angular7-app';
}
Here the test case will fail and below are the details shown in command line and browser.
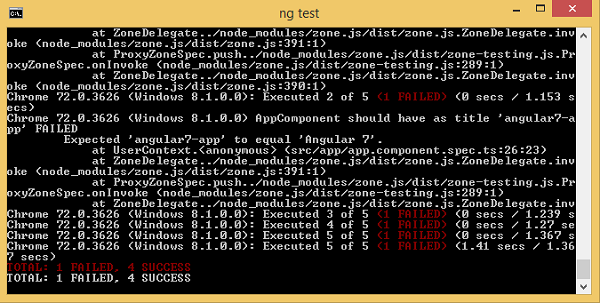
In command line
Following screen is displayed in command line −
In browser
Following screen is displayed in the browser −
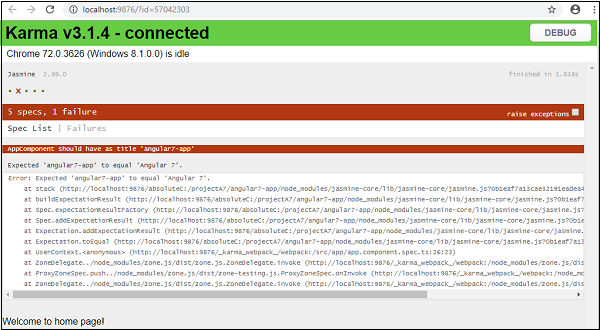
All the failed test-cases for your project will be displayed as shown above in command line and browser.
Similarly, you can write test cases for your services, directives and the new components which will be added to your project.
Building Angular 7 Project
Once you are done with the project in Angular, we need to build it so that it can be used in production or stating.
The configuration for build, i.e., production, staging, development, testing needs to be defined in your src/environments.
At present, we have the following environments defined in src/environment −
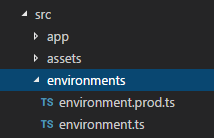
You can add files based on your build to src/environment, i.e., environment.staging.ts, enviornment.testing.ts, etc.
At present, we will try to build for production environment. The file environment.ts contains default environment settings and details of the file as follows −
export const environment = {
   production: false
};
To build the file for production, we need to make the production: true in environment.ts as follows −
export const environment = {
   production: true
};
The default environment file has to be imported inside components as follows −
app.component.ts
import { Component } from '@angular/core';
import { environment } from './../environments/environment';

@Component({
   selector: 'app-root',
   templateUrl: './app.component.html',
   styleUrls: ['./app.component.css']
})
export class AppComponent {
   title = 'angular7-app';
}
The environment replacement from default to production which we are trying to do are defined inside angular.json fileReplacements section as follows −
"production": {
   "fileReplacements": [
      {
         "replace": "src/environments/environment.ts",
         "with": "src/environments/environment.prod.ts"
      }
   ],
}
When the command for build runs, the file gets replaced to src/environments/environment.prod.ts. The additional configuration like staging or testing can be added here as shown in the below example −
"configurations": {
   "production": { ... },
   "staging": {
      "fileReplacements": [
         {
            "replace": "src/environments/environment.ts",
            "with": "src/environments/environment.staging.ts"
         }
      ]
   }
}
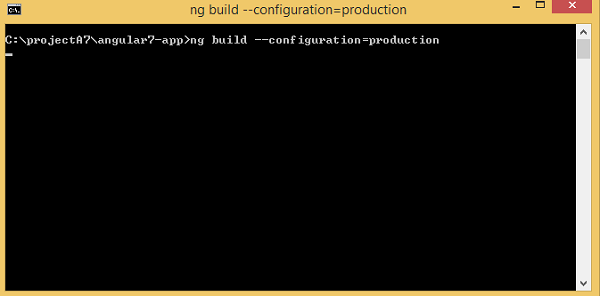
So the command to run the build is as follows −
ng build --configuration = production // for production environmnet
ng build --configuration = staging // for stating enviroment
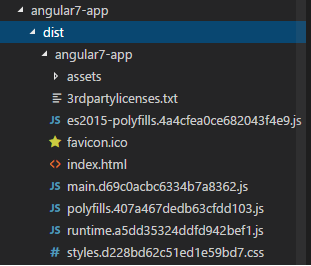
Now let us run the build command for production, the command will create a dist folder inside our project which will have the final files after build.
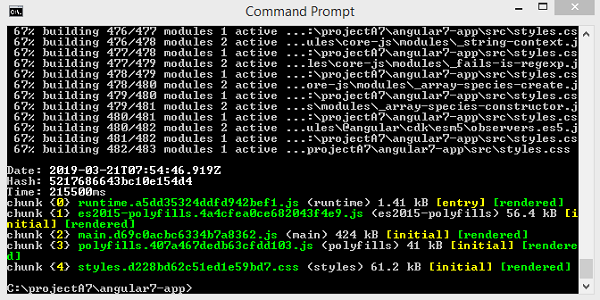
The final files are build inside dist/ folder which can be hosted on the production server at your end.