- Angular7 Tutorial
- Angular7 - Home
- Angular7 - Overview
- Angular7 - Environment Setup
- Angular7 - Project Setup
- Angular7 - Components
- Angular7 - Modules
- Angular7 - Data Binding
- Angular7 - Event Binding
- Angular7 - Templates
- Angular7 - Directives
- Angular7 - Pipes
- Angular7 - Routing
- Angular7 - Services
- Angular7 - Http Client
- Angular7 - CLI Prompts
- Angular7 - Forms
- Materials/CDK-Virtual Scrolling
- Angular7 - Materials/CDK-Drag & Drop
- Angular7 - Animations
- Angular7 - Materials
- Testing & Building Angular7 Project
- Angular7 Useful Resources
- Angular7 - Quick Guide
- Angular7 - Useful Resources
- Angular7 - Discussion
Angular7 - Project Setup
In this chapter, we shall discuss about the Project Setup in Angular 7.
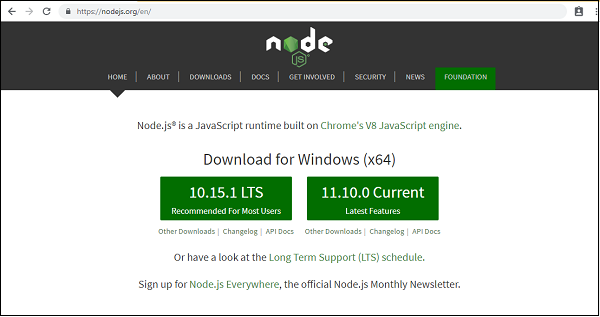
To get started with the project setup, make sure you have nodejs installed. You can check the version of node in the command line using the command, node –v, as shown below −

If you do not get the version, install nodejs from their official site −https://nodejs.org/en/.
Once you have nodejs installed, npm will also get installed with it. To check npm version, run npm -v in command line as shown below −
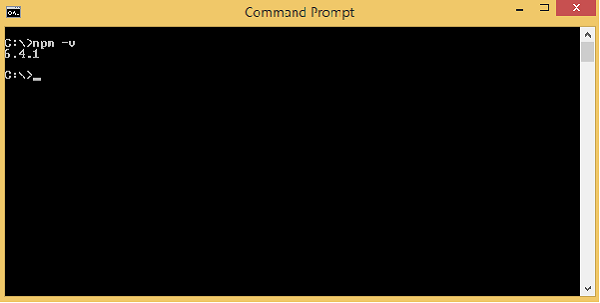
So we have node version 10 and npm version 6.4.1.
To install Angular 7, go to the site, https://cli.angular.io to install Angular CLI.
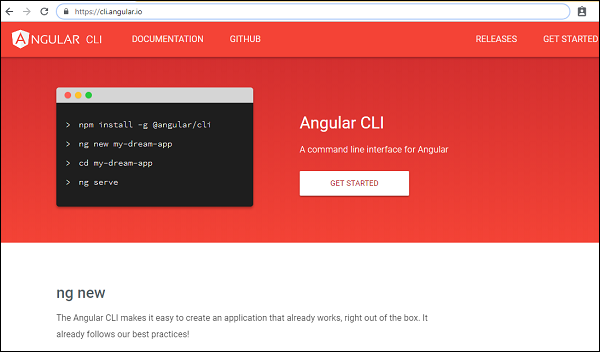
You will see the following commands on the webpage −
npm install -g @angular/cli //command to install angular 7
ng new my-dream-app // name of the project
cd my-dream-app
ng serve
The above commands help to get the project setup in Angular 7.
We will create a folder called projectA7 and install angular/cli as shown below −
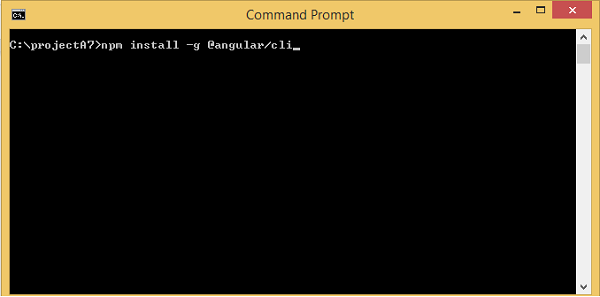
Once the installation is done, check the details of the packages installed by using the command ng version as shown below −
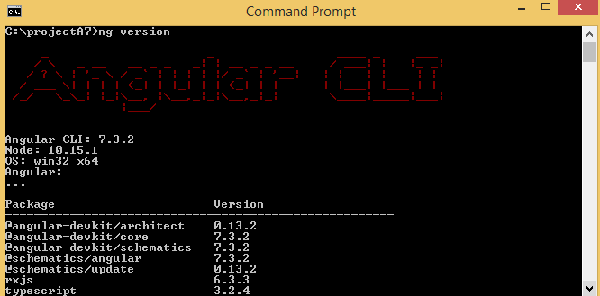
It gives the version for Angular CLI, typescript version and other packages available for Angular 7.
We are done with the installation of Angular 7, now we will start with the project setup.
To create a project in Angular 7, we will use the following command −
ng new projectname
You can use the projectname of your choice. Let us now run the above command in the command line.
Here, we use the projectname as angular7-app. Once you run the command it will ask you about routing as shown below −
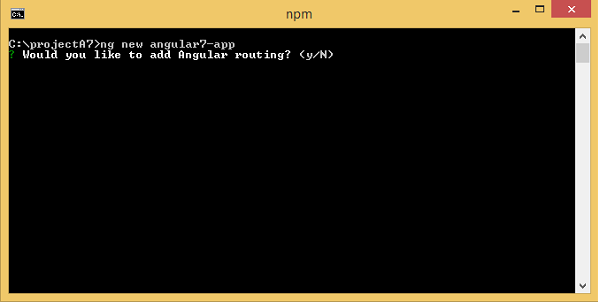
Type y to add routing to your project setup.
The next question is about the stylesheet −
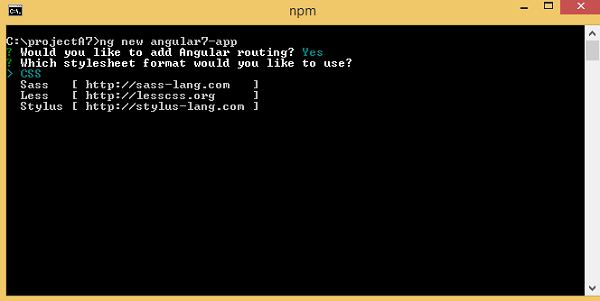
The options available are CSS, Sass, Less and Stylus. In the above screenshot, the arrow is on CSS. To change, you can use arrow keys to select the one required for your project setup. At present, we shall discuss CSS for our project-setup.

The project angular7-app is created successfully. It installs all the required packages necessary for our project to run in Angular7. Let us now switch to the project created, which is in the directory angular7-app.
Change the directory in the command line using the given line of code −
cd angular7-app
We will use Visual Studio Code IDE for working with Angular 7, you can use any IDE, i.e., Atom, WebStorm, etc.
To download Visual Studio Code, go to https://code.visualstudio.com/ and click Download for Windows.
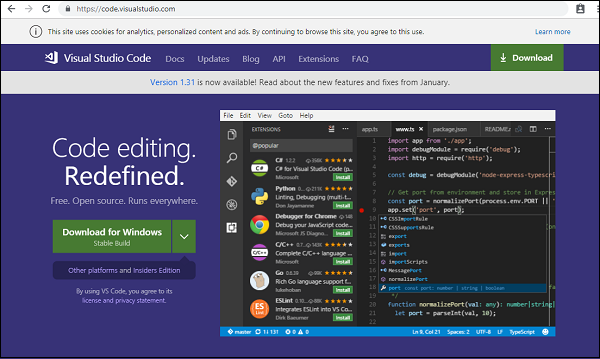
Click Download for Windows for installing the IDE and run the setup to start using IDE.
Following is the Editor −
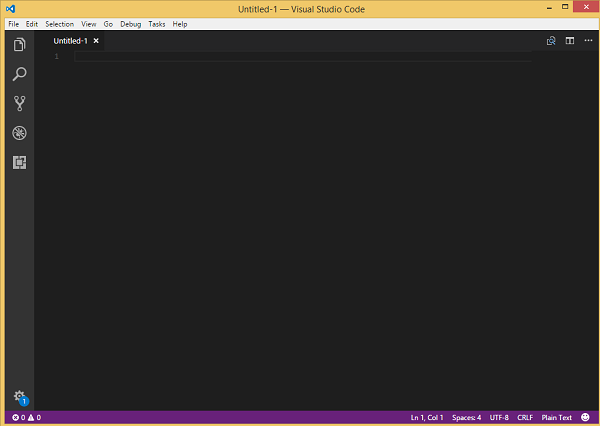
We have not started any project in it. Let us now take the project we have created using angular-cli.

We will consider the angular7-app project. Let us open the angular7-app and see how the folder structure looks like.
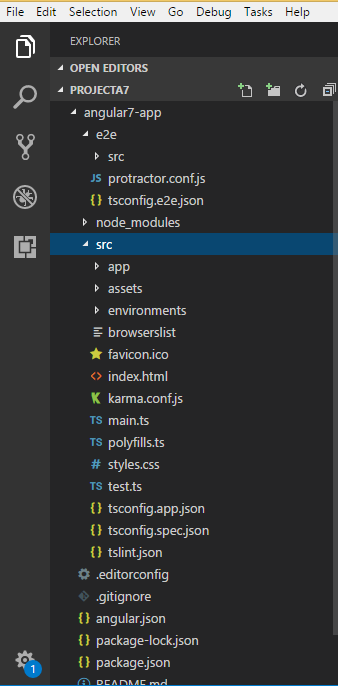
Now that we have the file structure for our project, let us compile our project with the following command −
ng serve
The ng serve command builds the application and starts the web server.
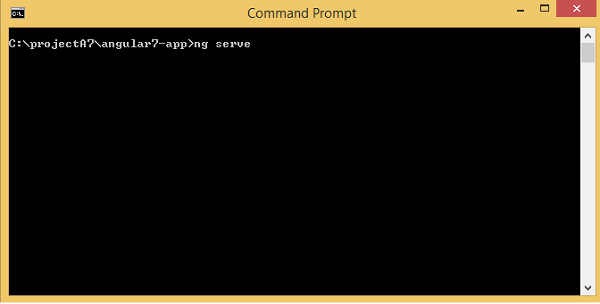
You will see the below when the command starts executing −
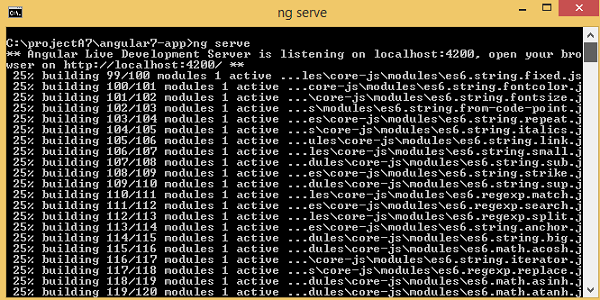
The web server starts on port 4200. Type the url, "http://localhost:4200/" in the browser and see the output. Once the project is compiled, you will receive the following output −
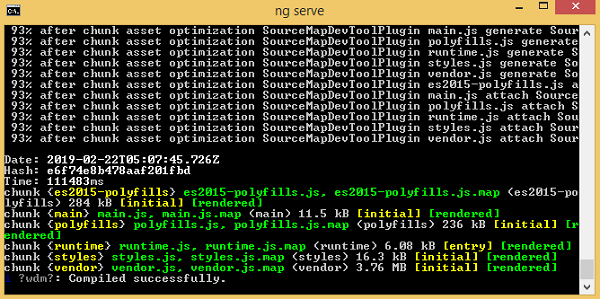
Once you run url, http://localhost:4200/ in the browser, you will be directed to the following screen −

Let us now make some changes to display the following content −
“Welcome to Angular 7!”
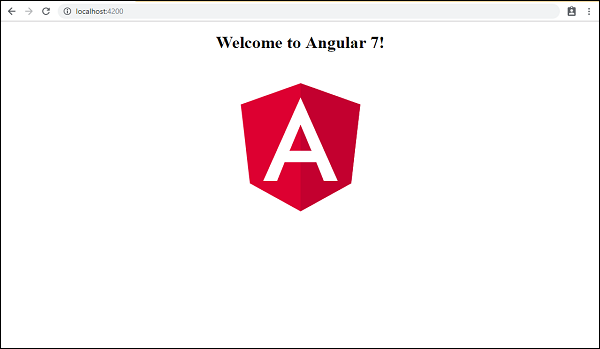
We have made changes in the files − app.component.html and app.component.ts. We will discuss more about this in our subsequent chapters.
Let us complete the project setup. If you see we have used port 4200, which is the default port that angular–cli makes use of while compiling. You can change the port if you wish using the following command −
ng serve --host 0.0.0.0 –port 4205
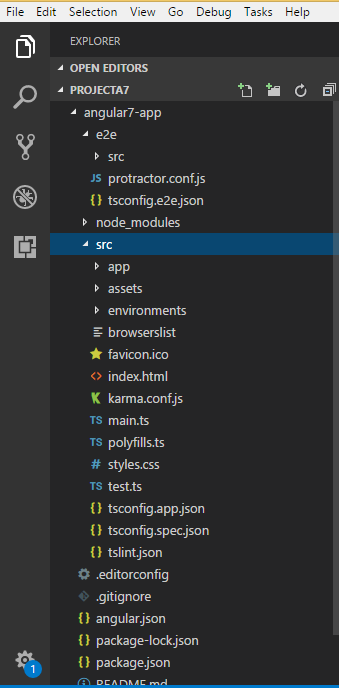
The angular7-app/ folder has the following folder structure−
e2e/ − end to end test folder. Mainly e2e is used for integration testing and helps ensure the application works fine.
node_modules/ − The npm package installed is node_modules. You can open the folder and see the packages available.
src/ − This folder is where we will work on the project using Angular 7.Inside src/ you will app/ folder created during the project setup and holds all the required files required for the project.
The angular7-app/ folder has the following file structure −
angular.json − It basically holds the project name, version of cli, etc.
.editorconfig − This is the config file for the editor.
.gitignore − A .gitignore file should be committed into the repository, in order to share the ignore rules with any other users that clone the repository.
package.json − The package.json file tells which libraries will be installed into node_modules when you run npm install.
At present, if you open the file package.json in the editor, you will get the following modules added in it −
"@angular/animations": "~7.2.0",
"@angular/common": "~7.2.0",
"@angular/compiler": "~7.2.0",
"@angular/core": "~7.2.0",
"@angular/forms": "~7.2.0",
"@angular/platform-browser": "~7.2.0",
"@angular/platform-browser-dynamic": "~7.2.0",
"@angular/router": "~7.2.0",
"core-js": "^2.5.4",
"rxjs": "~6.3.3",
"tslib": "^1.9.0",
"zone.js": "~0.8.26"
In case you need to add more libraries, you can add those over here and run the npm install command.
tsconfig.json − This basically contains the compiler options required during compilation.
tslint.json − This is the config file with rules to be considered while compiling.
The src/ folder is the main folder, which internally has a different file structure.
app
It contains the files described below. These files are installed by angular-cli by default.
app.module.ts
If you open the file, you will see that the code has reference to different libraries, which are imported. Angular-cli has used these default libraries for the import: angular/core, platform-browser.
The names itself explain the usage of the libraries. They are imported and saved into variables such as declarations, imports, providers, and bootstrap.
We can see app-routing.module is also added. This is because we had selected routing at the start of the installation. The module is added by @angular/cli.
Following is the structure of the file −
import { BrowserModule } from '@angular/platform-browser';
import { NgModule } from '@angular/core';
import { AppRoutingModule } from './app-routing.module';
import { AppComponent } from './app.component';

@NgModule({
   declarations: [
      AppComponent
   ],
   imports: [
      BrowserModule,
      AppRoutingModule
   ],
   providers: [],
   bootstrap: [AppComponent]
})
export class AppModule { }
@NgModule is imported from @angular/core and it has object with following properties −
Declarations − In declarations, the reference to the components is stored. The App component is the default component that is created whenever a new project is initiated. We will learn about creating new components in a different section.
Imports − This will have the modules imported as shown above. At present, BrowserModule is part of the imports which is imported from @angular/platform-browser. There is also routing module added AppRoutingModule.
Providers − This will have reference to the services created. The service will be discussed in a subsequent chapter.
Bootstrap − This has reference to the default component created, i.e., AppComponent.
app.component.css − You can write your css over here. Right now, we have added the background color to the div as shown below.
The structure of the file is as follows −
.divdetails {
   background-color: #ccc;
}
app.component.html
The html code will be available in this file.
The structure of the file is as follows −
<!--The content below is only a placeholder and can be replaced.-->
<div style = "text-align:center">
   <h1>Welcome to {{ title }}!</h1>
   <img width = "300" alt = "Angular Logo"
   src = "data:image/svg+xml;base64,PHN2ZyB4bWxucz0iaHR0cDovL3d3dy53My5vcmcvMjAwMC9zdmciIHZp
   ZXdCb3g9IjAgMCAyNTAgMjUwIj4KICAgIDxwYXRoIGZpbGw9IiNERDAwMzEiIGQ9Ik0xMjUgMzBMMzEuOSA
   2My4ybDE0LjIgMTIzLjFMMTI1IDIzMGw3OC45LTQzLjcgMTQuMi0xMjMuMXoiIC8+CiAgICA8cGF0aCBma
   WxsPSIjQzMwMDJGIiBkPSJNMTI1IDMwdjIyLjItLjFWMjMwbDc4LjktNDMuNyAxNC4yLTEyMy4xTDEyNSA
   zMHoiIC8+CiAgICA8cGF0aCAgZmlsbD0iI0ZGRkZGRiIgZD0iTTEyNSA1Mi4xTDY2LjggMTgyLjZoMjEuN2
   wxMS43LTI5LjJoNDkuNGwxMS43IDI5LjJIMTgzTDEyNSA1Mi4xem0xNyA4My4zaC0zNGwxNy00MC45IDE3I
   DQwLjl6IiAvPgogIDwvc3ZnPg=="7>
</div>

<h2>Here are some links to help you start:</h2>
<ul>
   <li>
      <h2><a target = "_blank" rel = "noopener"
         href = "https://angular.io/tutorial">Tour of Heroes</a>
      </h2>
   </li>
   <li>
      <h2><a target = "_blank" rel = "noopener"
         href = https://angular.io/cli">CLI Documentation</>
      </h2>
   </li>
   <li>
      <h2><a target = "_blank" rel = "noopener"
         href = "https://blog.angular.io/">Angular blog</a>
      </h2>
   </li>
</ul>
<router-outlet></router-outlet>
This is the default html code currently available with the project creation.
app.component.spec.ts
These are automatically generated files which contain unit tests for source component.
app.component.ts
The class for the component is defined over here. You can do the processing of the html structure in the .ts file. The processing will include activities such as connecting to the database, interacting with other components, routing, services, etc.
The structure of the file is as follows −
import { Component } from '@angular/core';
@Component({
   selector: 'app-root',
   templateUrl: './app.component.html',
   styleUrls: ['./app.component.css']
})
export class AppComponent {
   title = 'Angular 7';
}
app-routing.module.ts
This file will deal with the routing required for your project. It is connected with the main module, i.e., app.module.ts.
The structure of the file is as follows −
import { NgModule } from '@angular/core';
import { Routes, RouterModule } from '@angular/router';

const routes: Routes = [];
@NgModule({
   imports: [RouterModule.forRoot(routes)],
   exports: [RouterModule]
})
export class AppRoutingModule { }
Assets
You can save your images, js files in this folder.
Environment
This folder has details for the production or the dev environment. The folder contains two files.
- environment.prod.ts
- environment.ts
Both the files have details of whether the final file should be compiled in the production environment or the dev environment.
The additional file structure of angular7-app/ folder includes the following −
favicon.ico
This is a file that is usually found in the root directory of a website.
index.html
This is the file which is displayed in the browser.
<html lang = "en">
   <head>
      <meta charset = "utf-8"7gt;
      <title>Angular7App</title>
      <base href = "/">
      <meta name = "viewport" content = "width=device-width, initial-scale=1">
      <link rel = "icon" type = "image/x-icon" href = "favicon.ico">
   </head>
   <body>
      <app-root></app-root>
   </body>
</html>
The body has <app-root></app-root>. This is the selector which is used in app.component.ts file and will display the details from app.component.html file.
main.ts
main.ts is the file from where we start our project development. It starts with importing the basic module which we need. Right now if you see angular/core, angular/platform-browser-dynamic, app.module and environment is imported by default during angular-cli installation and project setup.
import { enableProdMode } from '@angular/core';
import { platformBrowserDynamic } from '@angular/platform-browser-dynamic';
import { AppModule } from './app/app.module';
import { environment } from './environments/environment';

if (environment.production) {
   enableProdMode();
}
platformBrowserDynamic().bootstrapModule(AppModule).catch(err => console.error(err));
The platformBrowserDynamic().bootstrapModule(AppModule) has the parent module reference AppModule. Hence, when it executes in the browser, the file is called index.html. Index.html internally refers to main.ts which calls the parent module, i.e., AppModule when the following code executes −
platformBrowserDynamic().bootstrapModule(AppModule).catch(err => console.error(err));
When AppModule is called, it calls app.module.ts which further calls the AppComponent based on the bootstrap as follows −
bootstrap: [AppComponent]
In app.component.ts, there is a selector: app-root which is used in the index.html file. This will display the contents present in app.component.html.
The following will be displayed in the browser −

polyfill.ts
This is mainly used for backward compatibility.
styles.css
This is the style file required for the project.
test.ts
Here, the unit test cases for testing the project will be handled.
tsconfig.app.json
This is used during compilation, it has the config details that need to be used to run the application.
tsconfig.spec.json
This helps maintain the details for testing.
typings.d.ts
It is used to manage the Typescript definition.
The final file structure will be as follows −
