- Xamarin - Home
- Xamarin - Installation
- Xamarin - First Application
- Xamarin - Application Manifest
- Xamarin - Android Resources
- Xamarin - Android Activity Lifecycle
- Xamarin - Permissions
- Xamarin - Building the App GUI
- Xamarin - Menus
- Xamarin - Layouts
- Xamarin - Android Widgets
- Xamarin - Android Dialogs
- Xamarin - Gallery
- Xamarin - Andriod Views
- Xamarin - Multiscreen App
- Xamarin - Deploying Your App
Xamarin - First Application
In this chapter, we will see how to create a small Android application using Xamarin.
Hello Xamarin! Application
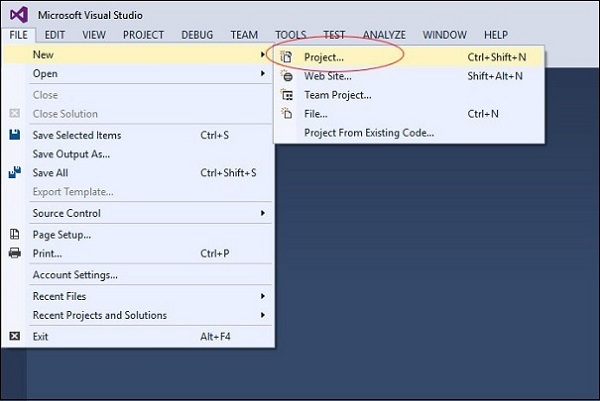
First of all, start a new instance of Visual Studio and go to File → New → Project.
On the Menu dialog box that appears, go to Templates → Visual C# → Android → Blank App (Android).
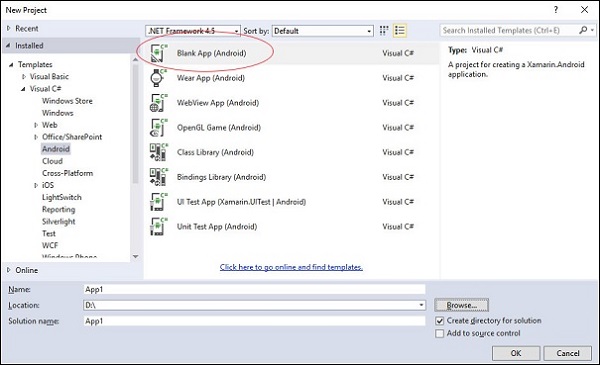
Give an appropriate name for your application. In our case, we name it helloWorld and save it in the default location provided. Next, click the OK button for the new helloXamarin project to load.
On the solution, open Resources → layout → Main.axml file. Switch from Design View and go to the Source file and type the following lines of code to build your app.
<?xml version = "1.0" encoding = "utf-8"?>
<LinearLayout xmlns:android = "http://schemas.android.com/apk/res/android"
   android:orientation = "vertical"
   android:background = "#d3d3d3"
   android:layout_width = "fill_parent"
   android:layout_height = "fill_parent">
   <TextView
      android:text = "@string/HelloXamarin"
      android:textAppearance = "?android:attr/textAppearanceLarge"
      android:layout_width = "match_parent"
      android:layout_height = "wrap_content"
      android:id = "@+id/textView2"
      android:textColor = "@android:color/black" />
</LinearLayout>
In the above code, we have created a new Android textview. Next, open the folder values and double-click Strings.xml to open it. Here, we are going to store information and values about the button created above.
<?xml version = "1.0" encoding = "utf-8"?>
<resources>
   <string name = "HelloXamarin">Hello World, I am Xamarin!</string>
   <string name = "ApplicationName">helloWorld</string>
</resources>
Open MainActivity.cs file and replace the existing code with the following lines of code.
using System;
using Android.App;
using Android.Content;
using Android.Runtime;
using Android.Views;
using Android.Widget;
using Android.OS;

namespace HelloXamarin {
   public class MainActivity : Activity {
      protected override void OnCreate(Bundle bundle) {
         base.OnCreate(bundle);
         SetContentView(Resource.Layout.Main);
      }
   }
}
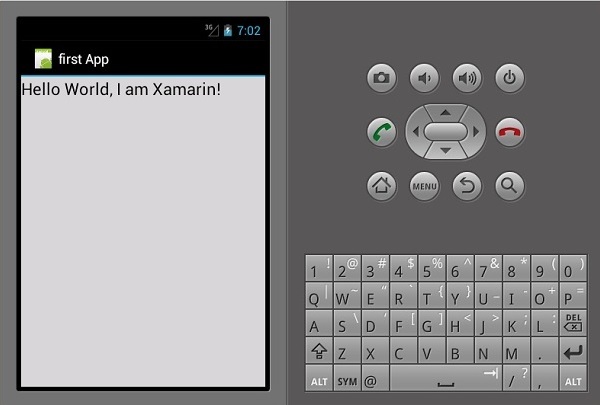
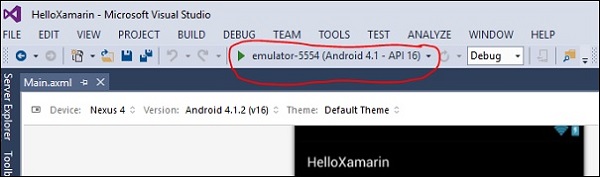
Save the application. Build and then run it to display the created app in an Android Emulator.
If you do not have an Android Emulator, then follow the steps given in the next section to create one.
Setting Up an Android Emulator
On your Visual Studio menu, go to Tools → Android → Android Emulator Manager. On the pop-up window that appears, click the Create button. It will display the following screen.
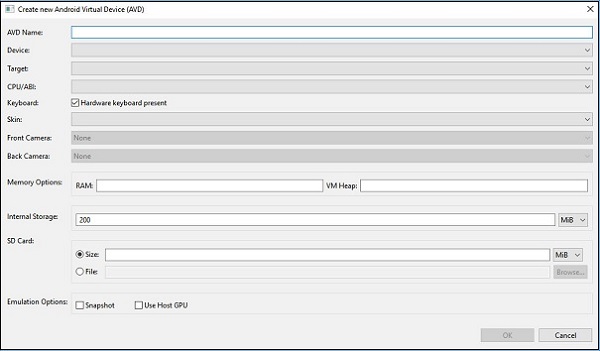
On the above screen, supply the AVD name you want. Select a device that is appropriate for your display, e.g., Nexus 4 display. Select your target platform. It is always advisable to test on a minimum target platform, e.g., API 10 Android 2.3 (Gingerbread) so as to ensure your App works across all Android platforms.
Fill in the rest of the fields and click the OK button. Your emulator is now ready. You can select it from the list of existing Android Virtual Devices and then click Start to launch it.
Modifying HelloXamarin App
In this section, we will modify our project and create a button which will display text upon click. Open main.axml and switch to source view. After our textview that we created, we will add a button as shown below.
<Button
   android:id = "@+id/MyButton"
   android:layout_width = "fill_parent"
   android:layout_height = "wrap_content"
   android:text = "@string/ButtonClick" />
After adding a button, our full code will look like this −
<?xml version = "1.0" encoding = "utf-8"?>
<LinearLayout xmlns:android = "http://schemas.android.com/apk/res/android"
   android:orientation = "vertical"
   android:layout_width = "fill_parent"
   android:layout_height = "fill_parent">
   <TextView
      android:text = "@string/HelloXamarin"
      android:textAppearance = "?android:attr/textAppearanceLarge"
      android:layout_width = "match_parent"
      android:layout_height = "wrap_content"
      android:id = "@+id/textView2" />

   <Button
      android:id = "@+id/MyButton"
      android:layout_width = "fill_parent"
      android:layout_height = "wrap_content"
      android:text = "@string/ButtonClick" />
</LinearLayout>
Next, we register our button values in the strings.xml file.
<string name = "ButtonClick">Click Me!</string>
After adding our button in the strings.xml file, we will open MainActivity.cs file to add an action for our button when it is clicked, as shown in the following code.
using System;
using Android.App;
using Android.Content;
using Android.Runtime;
using Android.Views;
using Android.Widget;
using Android.OS;

namespace HelloXamarin {
   [Activity(Label = "HelloXamarin", MainLauncher = true, Icon = "@drawable/icon")]
   public class MainActivity : Activity {
      protected override void OnCreate(Bundle bundle) {
         base.OnCreate(bundle);
         SetContentView(Resource.Layout.Main);
         Button button = FindViewById<Button>(Resource.Id.MyButton);
         button.Click += delegate { button.Text = "Hello world I am your first App"; };
      }
   }
}
Next, build and run your application.

After clicking on the button, you will get the following output −

