- SoapUI Basics
- SoapUI - Introduction
- SoapUI - Capabilities
- SoapUI - NG Pro
- SoapUI - Installation & Configuration
- SoapUI - WSDL
- SoapUI - Project
- SoapUI - TestSuite
- SoapUI - TestCase
- SoapUI - TestStep
- SoapUI - Request & Response
- SoapUI - Properties
- SoapUI - Property Transfer
- SoapUI - Logs Pane
- SoapUI - Assertions
- SoapUI - Troubleshooting
- SoapUI - Performance Testing
- SoapUI - Load Testing
- SoapUI - RESTful Web Services
- SoapUI - JDBC Connection
- SoapUI - JDBC Property
- SoapUI - JDBC Assertion
- SoapUI Useful Resources
- SoapUI - Quick Guide
- SoapUI - Useful Resources
- SoapUI - Discussion
SoapUI - TestCase
A TestCase is a collection of TestSteps assembled to test some specific aspect of web service(s). The user can add n number of TestCases to a TestSuite and even modularize them to call each other for complex testing scenarios.
Creation of TestCase
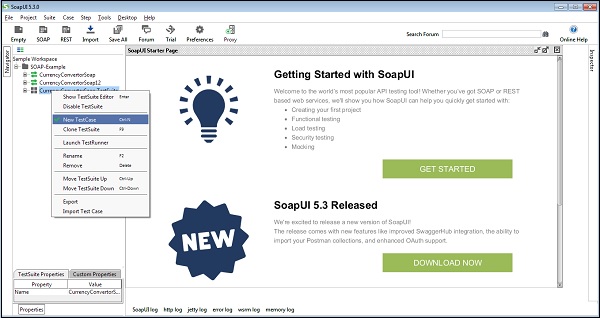
Step 1 − Within a TestSuite, the user can add multiple test cases. Right-click on the Test Suite and select New Test Case.
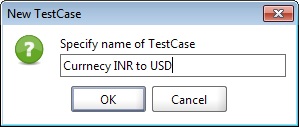
Step 2 − Enter the name of the TestCase and click OK.
The created TestCase has zero test steps as of now. TestCase is added with zero TestSteps for all kinds of tests available. Once the TestSteps are added, the numbers in the bracket would change automatically. The functional TestStep should go into 'Test Steps' while a performance TestStep should go into 'Load Test', and a security TestStep should go into 'Security Tests'.
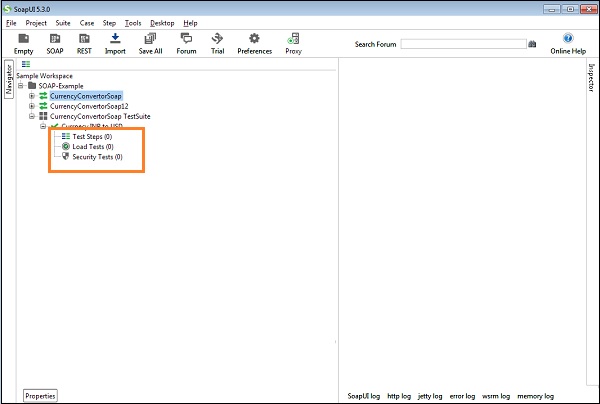
Step 3 − Double-click the TestCase Name, and a TestCase window opens on the right hand side panel. Since there are no TestSteps added, it is blank as seen in the following screenshot.

