- SoapUI Basics
- SoapUI - Introduction
- SoapUI - Capabilities
- SoapUI - NG Pro
- SoapUI - Installation & Configuration
- SoapUI - WSDL
- SoapUI - Project
- SoapUI - TestSuite
- SoapUI - TestCase
- SoapUI - TestStep
- SoapUI - Request & Response
- SoapUI - Properties
- SoapUI - Property Transfer
- SoapUI - Logs Pane
- SoapUI - Assertions
- SoapUI - Troubleshooting
- SoapUI - Performance Testing
- SoapUI - Load Testing
- SoapUI - RESTful Web Services
- SoapUI - JDBC Connection
- SoapUI - JDBC Property
- SoapUI - JDBC Assertion
- SoapUI Useful Resources
- SoapUI - Quick Guide
- SoapUI - Useful Resources
- SoapUI - Discussion
SoapUI - Installation & Configuration
SoapUI is a cross-platform tool. It supports Windows, Linux, and Mac operating systems.
Prerequisites
Processor − 1GHz or higher 32-bit or 64-bit processor.
RAM − 512MB of RAM.
Hard Disk Space − Minimum 200MB of hard disk space for installation.
Operating System Version − Windows XP or later, MAC OS 10.4 or later.
JAVA − JAVA 6 or later.
Download Process
Step 1 − Go to www.soapui.org and click Download SoapUI.
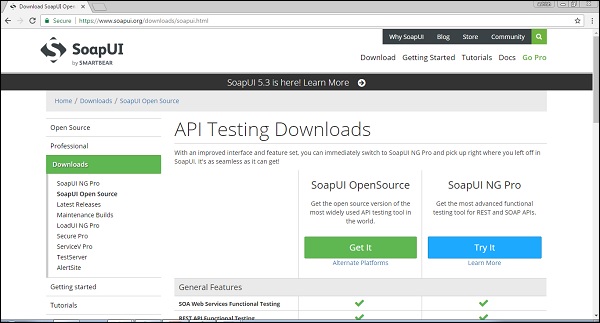
Step 2 − Click Get It to download SoapUI Open Source. It will start downloading 112MB .exe file in the system. Wait till the download process is complete.
Installation Process
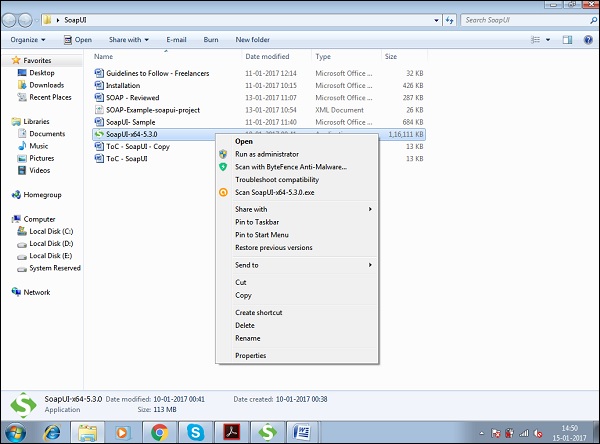
Step 1 − After downloading, run the .exe file as Run as administrator.
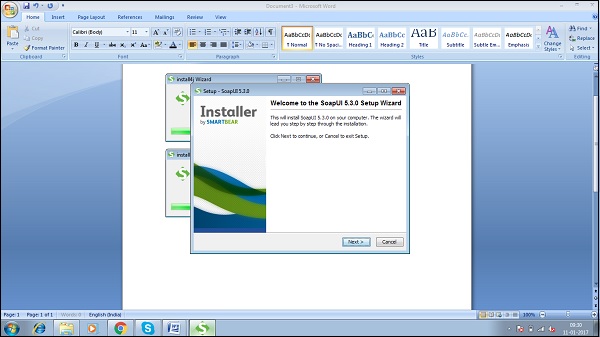
Windows will start the set up process as shown in the following screenshot.

Step 2 − Once set up, the process window displays the following screen, click Next.
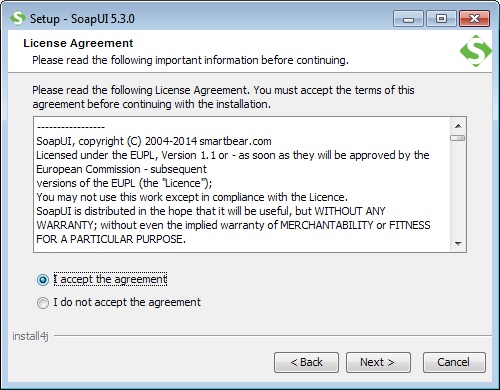
Step 3 − Accept the license agreement and click Next.
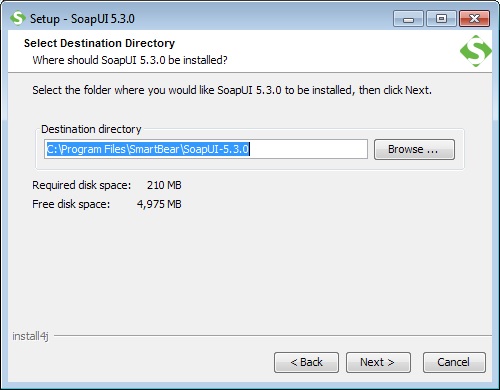
Step 4 − Choose the installation directory or keep it as the default path selected by the system. Click Next.
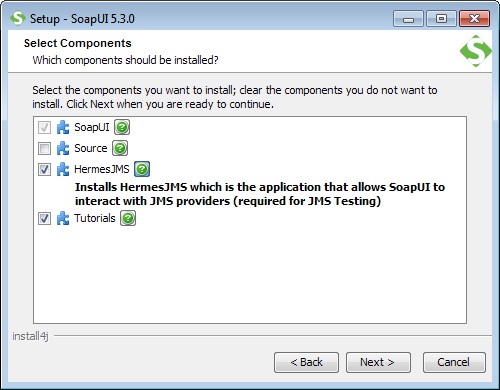
Step 5 − Choose the components that you want to install. Click Next.
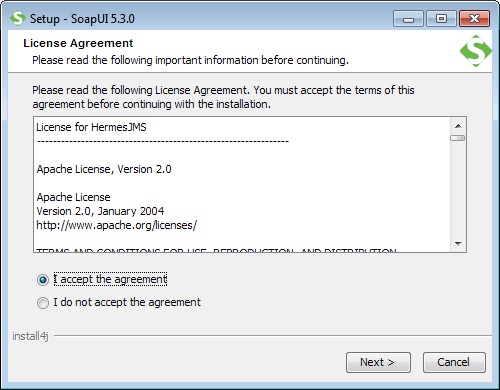
Step 6 − Accept the License Agreement for HermesJMS and click Next.
Step 7 − Select the target directory to save tutorials and click Next.

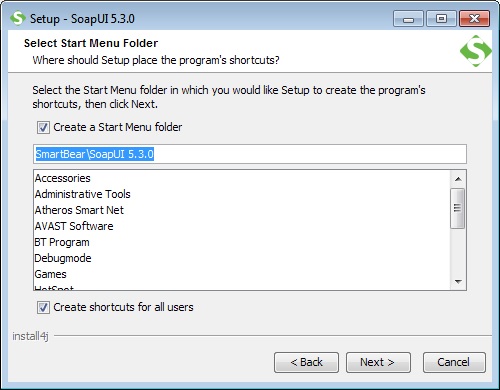
Step 8 − Choose the start menu folder location or else leave the default location as is and click 'Next'.
Step 9 − Enable the checkbox 'create a desktop icon' and click 'Next'.
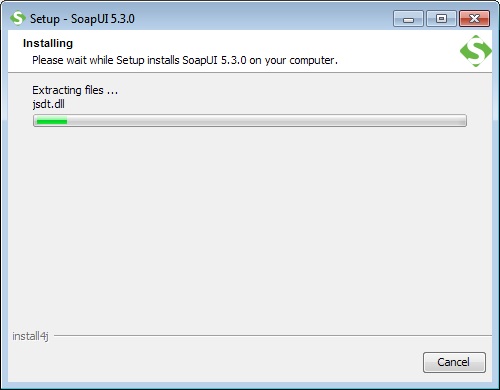
Now, the installation starts. It will take a few minutes to complete.
Step 10 − After completion of installation, click Finish in the following wizard.
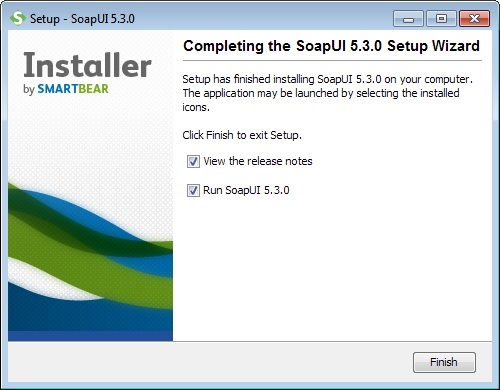
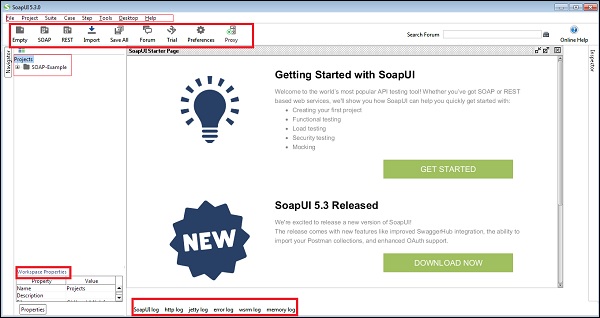
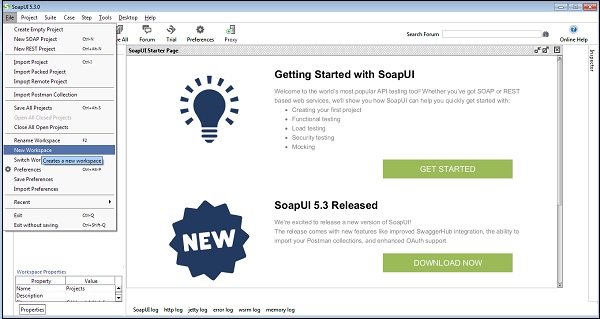
Upon clicking on Finish, SoapUI is launched.
- Menu bar
- Tool bar
- Project Navigation Bar
- Workspace Properties
- Log Panel
Configuration Process
The first step is to create a workspace that can contain multiple projects.
Step 1 − Go to File → New Workspace.
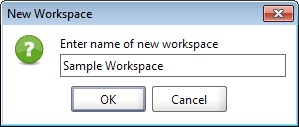
Step 2 − Add the name of workspace and click OK.
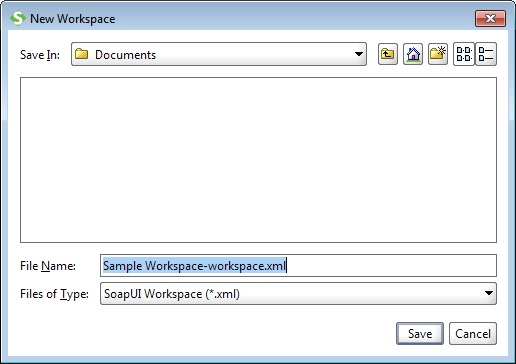
Step 3 − Now, select the path where workspace xml will be saved.
Step 4 − Select the path and click Save.
Workspace is created as shown in the following screenshot. Workspace properties is also exhibited.

