- SAP SuccessFactors - Home
- SAP SuccessFactors - Introduction
- SAP SF - Integration Add-On
- SAP SuccessFactors - HCM Suite
- SAP SuccessFactors - Architecture
- SAP SuccessFactors - Landscape
- SAP SuccessFactors - Landscape HCI
- Performance & Availability Mgmt
- SAP SF - Customize Welcome Portlet
- SAP SuccessFactors - Navigation
- Compensation and Variable Pay
- SAP SuccessFactors - Foundation
- SAP SF - Intelligent Services
- SAP SuccessFactors - Onboarding
- SAP SF - Performance and Goals
- Succession and Development
- SAP SF - Employee Central
- SAP SF - Employee Central Activities
- SAP SuccessFactors - Recruiting
SAP SuccessFactors - Foundation
SAP SuccessFactors Foundation deals with setting up SuccessFactors environment and configuring basic activities in Admin center.
The key activities of Foundation include −
- Enabling, using and managing Action search
- Public profile
- Role-based permissions
- SuccessFactors home page and configure theme
- Enabling and using Admin center
- Configuring People Profile
We have already discussed some of these activities. Let us see how to perform role-based permissions in Admin center.
Role-Based Permission
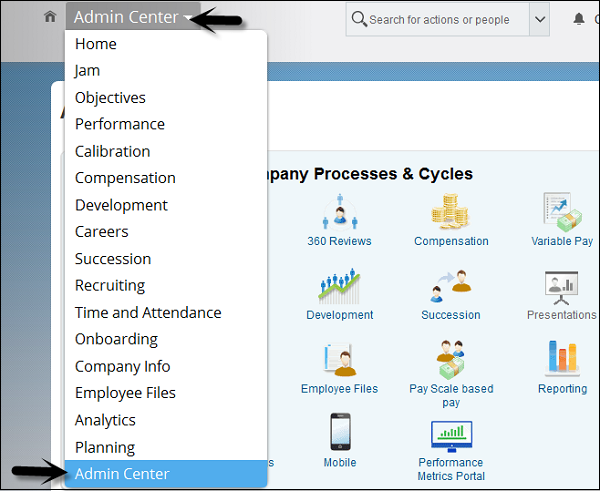
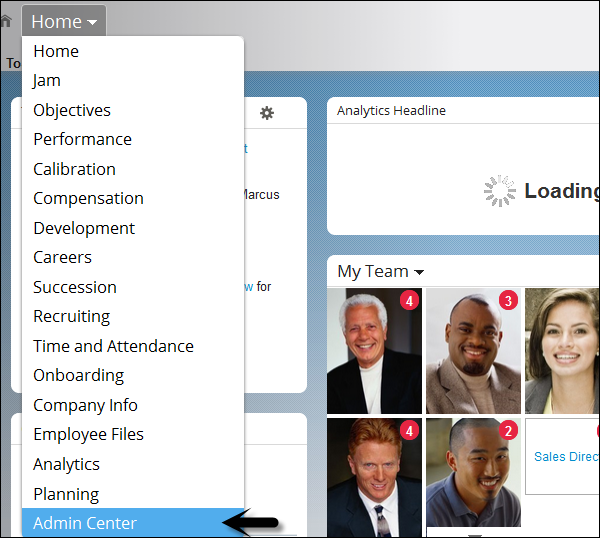
Step 1 − Login to SuccessFactors home page. From the drop down list, select Admin Center.
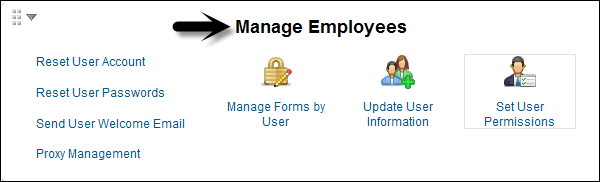
Step 2 − Click Manage employee portlet → Set user permissions → Manage Permission Groups.
Step 3 − To create a new group, click the New button. You have to mention the Group name and Category.

Step 4 − Specify the time zone and you can also define hierarchical relationships to specify group. Click Done.
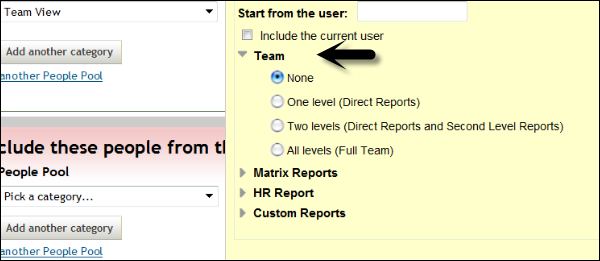
Step 5 − To add people pool, add categories and items. You can add up to three people pool in the group. This is required to add people from different locations or departments in a similar group.

If you want to exclude some people, you can use Exclude these people from the group section. Click Done to complete the group creation.
Configure Theme
To configure theme, follow the steps given below −
Step 1 − Go to SuccessFactors home page → Admin center.
The Admin Center page will open.
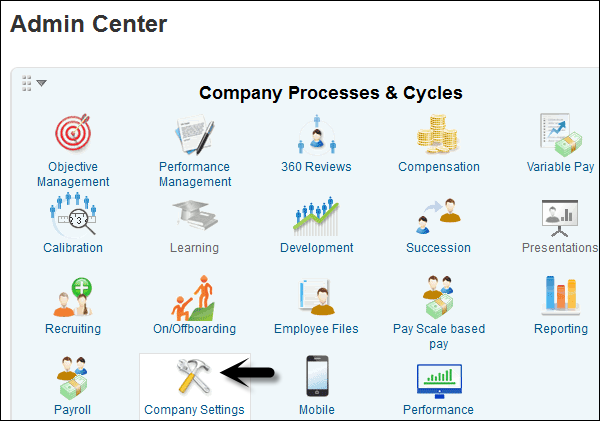
Step 2 − Click Company setting and select Theme Manager at the bottom as shown in the screenshot given below.
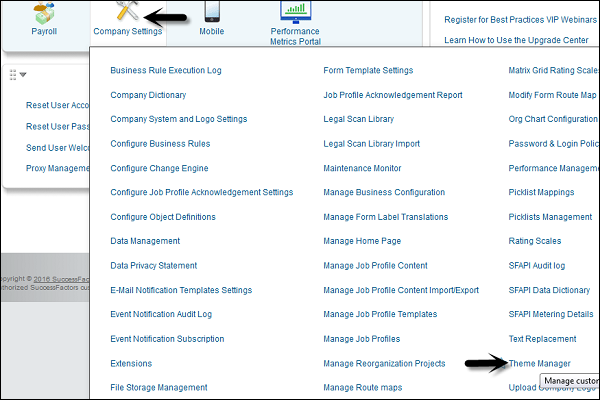
Themes determine the look of your SuccessFactors pages. You can assign any theme for a specific group. The theme marked as Default is the one that is visible to everyone else. You can change themes as often as you like.
Step 3 − To create a new theme, click Create a new Theme.

Step 4 − Give your new theme a name, description, and custom colors or you can also select the desired colors as shown in the following screenshot.
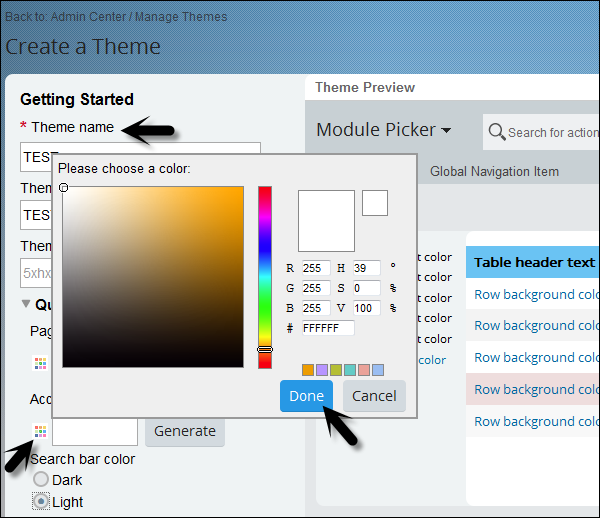
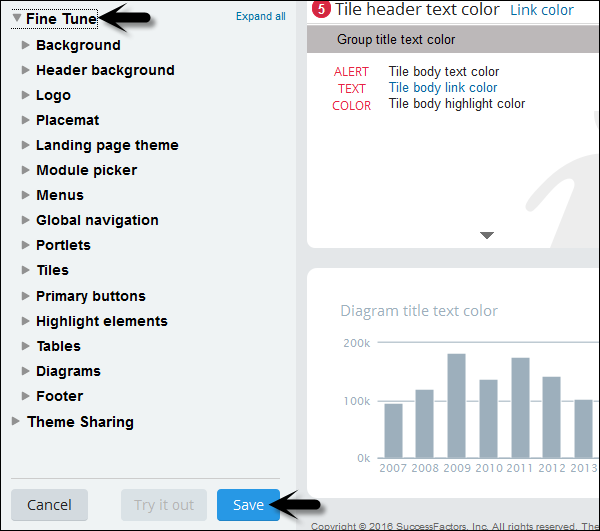
Step 5 − You can make different selection for each section. Click Fine Tuning and it will display different components in Theme designer.
Once you make the necessary combination, you can save your Theme.